Furniture / Kitchen Furniture
Installation Guide for IKEA EXCEPTIONELL Pull Out Interior Fittings
Step-by-step installation and assembly guide for the IKEA EXCEPTIONELL pull-out interior fittings. Includes parts list, assembly instructions for 70cm and 80cm units, and adjustment procedures.
Quick answers from the manual
Quick answer
- This manual provides assembly and installation instructions for the IKEA EXCEPTIONELL pull-out interior fittings, suitable for 70cm and 80cm high cabinets. p. 5, 6, 12
Key actions
- Assemble the frame p. 6, 12, 18
- Install into cabinet p. 29, 30
- Adjust front panel p. 39, 41
Where to find it in the PDF
- Parts List p. 3, 4
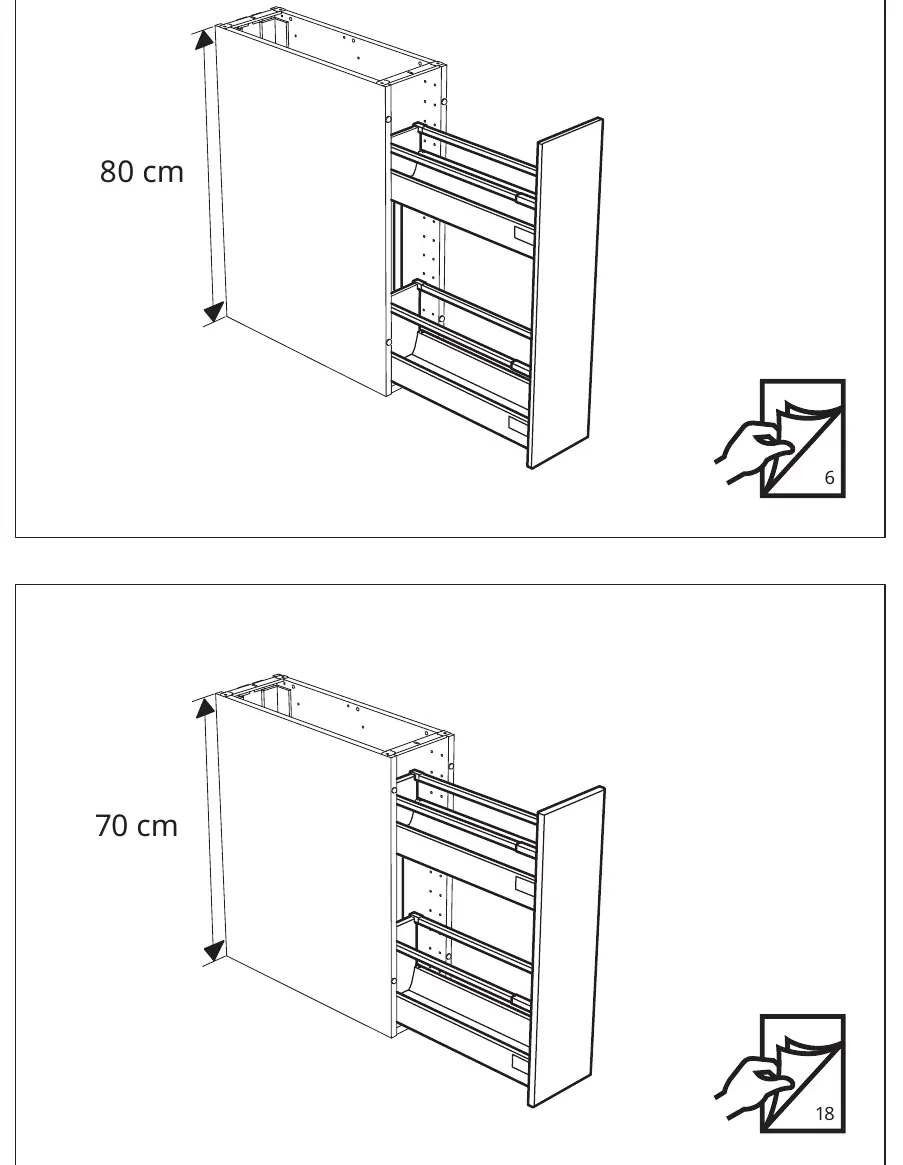
- Assembly 80cm p. 6, 11
- Assembly 70cm p. 12, 28
- Installation p. 29, 38
Table of contents
Manual images
Click an image to enlargeQuick guide from the manual
This manual provides pictorial instructions for assembling and installing the IKEA EXCEPTIONELL pull-out interior fittings. The system is designed for cabinets with heights of 70cm or 80cm. Please ensure you identify the correct parts and assembly steps for your specific cabinet height before beginning.
Tools and preparation
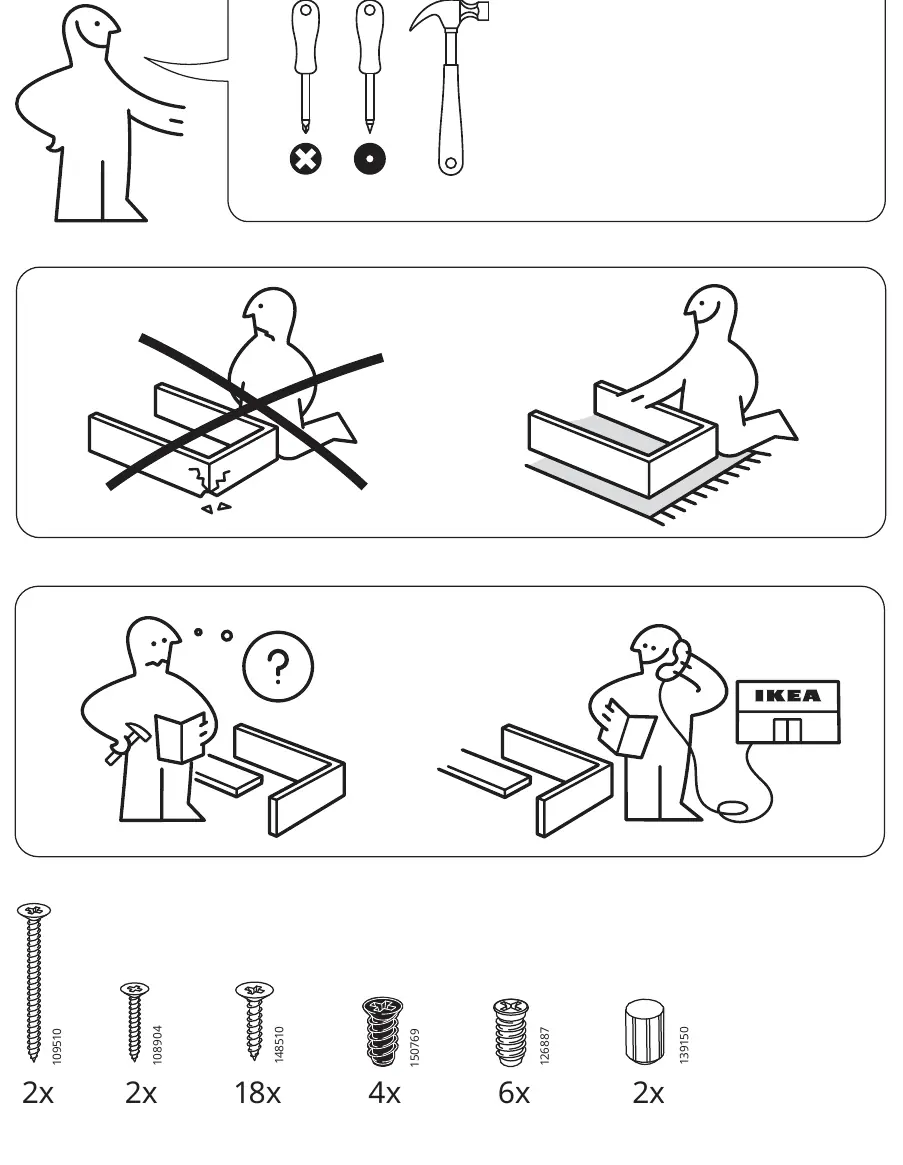
To assemble this unit, you will need a screwdriver and a hammer. It is recommended to assemble the unit on a soft surface, such as a rug, to prevent damage to the product or your floor. Do not use power tools that may overtighten screws.
Parts list
The package includes various screws, brackets, rails, and plastic components. Before starting, verify all parts against the inventory list provided on pages 3 and 4 of the manual. Ensure you have the correct quantities of each component.
Assembly instructions
The assembly process is divided based on the cabinet height:
- 80cm units: Follow the assembly steps starting on page 6.
- 70cm units: Follow the assembly steps starting on page 12 or 18, depending on your specific configuration.
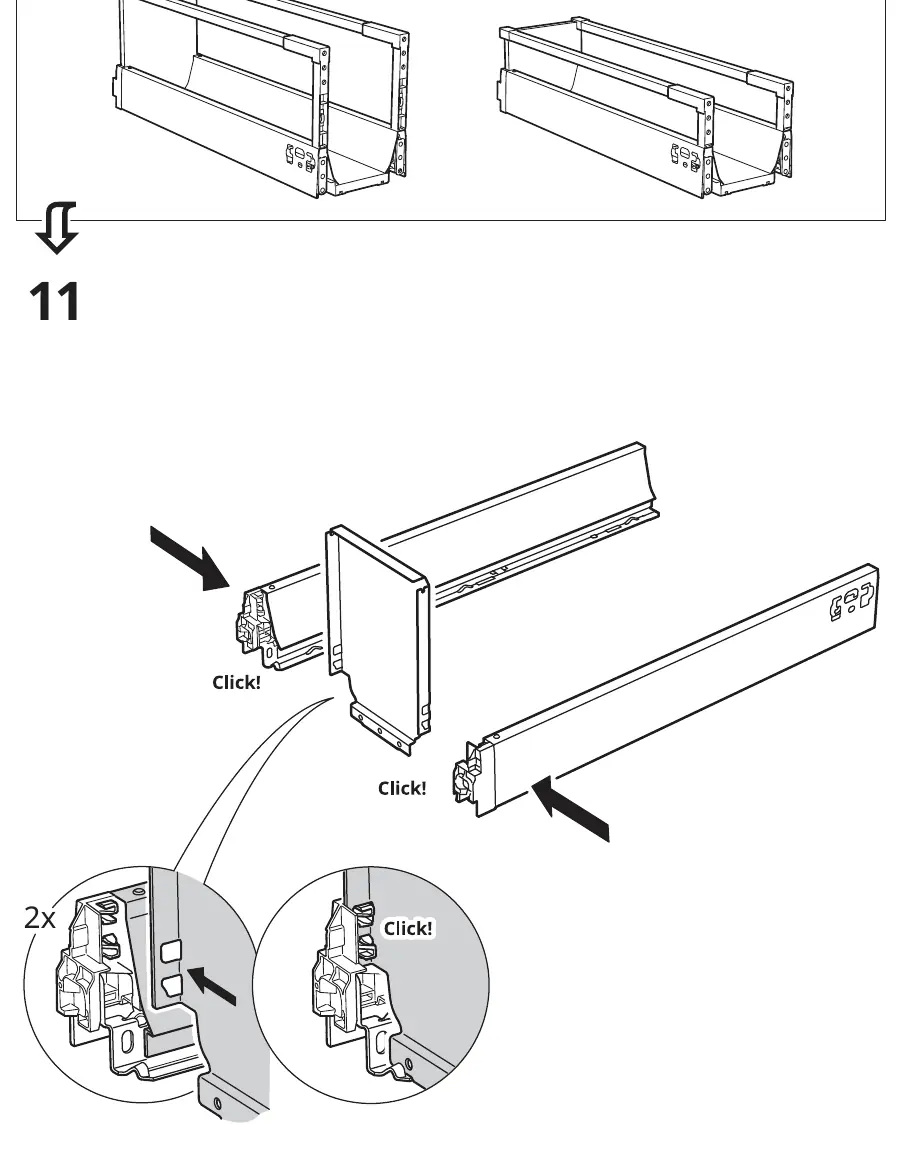
Follow the numbered steps sequentially. Arrows in the diagrams indicate the direction of movement or where parts should be clicked into place.
Installation and adjustment
Once assembled, the unit is installed into the cabinet frame. Ensure the rails are correctly aligned. After installation, you can adjust the position of the front panel using the adjustment screws located on the rails to ensure proper alignment and smooth operation. The manual provides specific steps for adjusting the height and depth of the front panel.
Removal
If you need to remove the pull-out unit from the cabinet, follow the disassembly steps provided at the end of the manual (starting on page 42), which involve releasing the locking mechanisms.
Manufacturer information
IKEA
Practical help
Common problems
Drawer front is misaligned
Use the adjustment screws on the rails to fine-tune the position of the front panel.
Unit does not slide smoothly
Check that the rails are mounted level and that no debris is obstructing the track.
Before use
- Verify all parts against the list on pages 3-4.
- Ensure you have a screwdriver and a hammer.
- Clear a workspace and use a soft surface to prevent damage.
- Identify if your cabinet is 70cm or 80cm high.
- Do not use power tools to avoid damaging the furniture.
Images and diagrams
- Pictorial steps: Arrows indicate movement or clicking parts into place.
- Icons of a person with a question mark indicate when to seek help or check the manual.
Model compatibility
- The system is compatible with specific IKEA cabinet heights (70cm and 80cm).

Manual page author
Michael Turner
Technical manual editor
Reviews PDF manuals for structure, safety notes, and practical product details so readers can find the right information quickly.