Lighting / Fixtures
Installation Guide for Resistex Résiclic Lighting Fixture
Quick installation guide for the Resistex Résiclic lighting fixture. Includes safety precautions, step-by-step mounting instructions, wiring diagrams, and color temperature settings.
Quick answers from the manual
Quick answer
- The Resistex Résiclic is a lighting fixture that requires professional installation. Ensure power is off before starting and follow the provided wiring and mounting steps. p. 1, 2
Key actions
- Turn off power p. 2
- Select color temperature p. 2
Maintenance and reset
- Do not use chemicals or abrasives for cleaning. p. 1
Show 2 more answers Show less
Technical specifications
| Parameter | Value | Meaning | Pages |
|---|---|---|---|
| Color Temperature | 3000K - 4000K | Adjustable via switch (WW=4000K, NW=3500K, CW=3000K) | p. 2 |
Where to find it in the PDF
- Safety and Maintenance p. 1
- Installation Steps p. 2
Table of contents
Important Information
The Resistex Résiclic is a lighting fixture designed for professional installation. This guide provides the necessary steps for safe mounting and electrical connection. Always ensure the power is disconnected before performing any work on the luminaire.
Safety Precautions
- Professional Installation: The installation must be performed by a professional installer in compliance with electrical standards and regulations.
- Power Supply: Never work on the luminaire while it is connected to a power source.
- Electrostatic Discharge: The product is sensitive to electrostatic discharges (ESD). Handle with necessary precautions.
Installation Steps
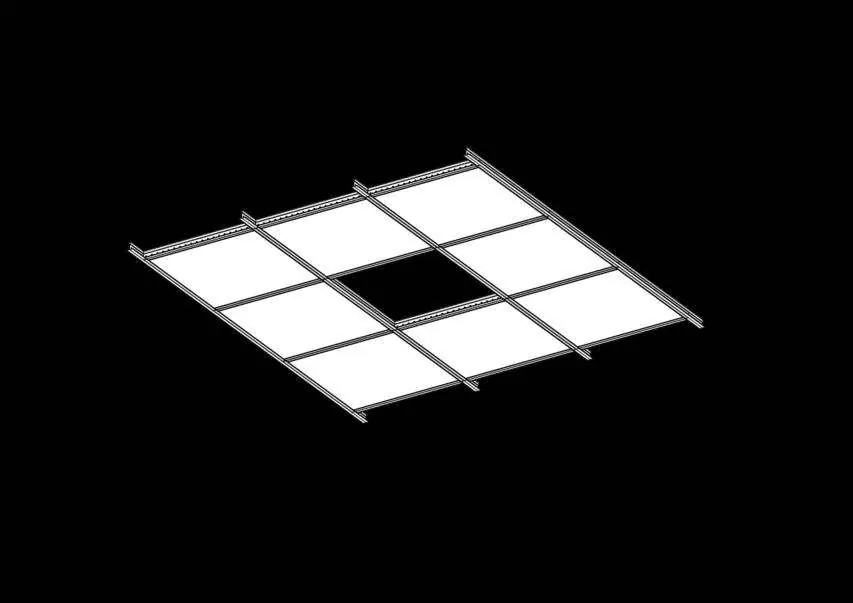
- Power Off: Ensure the main power supply is turned off.
- Assembly: Assemble the fixture components as shown in the diagram.
- Connection: Connect the internal components.
- Color Temperature Selection: Use the switch to select the desired color temperature (WW: 4000K, NW: 3500K, CW: 3000K).
- Driver Connection: Connect the driver to the fixture.
- Ceiling Mounting: Install the fixture into the ceiling grid.
- Wiring: Connect the Neutral (N) and Live (L) wires to the terminal block.
- Finalization: Ensure all connections are secure and restore power.
Maintenance
To maintain the fixture, do not use chemicals or abrasive products for cleaning. Keep these instructions for future dismantling or maintenance tasks.
Practical help
Common problems
Electrostatic discharge risk
Handle the fixture with necessary precautions as per ESD norms during installation.
Cleaning damage
Do not use chemicals or abrasive products to clean the fixture.
Before use
- Ensure the power supply is turned off
- Verify that a professional installer is performing the installation
- Check for ESD precautions
- Confirm the desired color temperature setting
Show more Show less
Specs in practice
- WW (Warm White)
- Color temperature setting: 4000K
- NW (Neutral White)
- Color temperature setting: 3500K
- CW (Cool White)
- Color temperature setting: 3000K
Images and diagrams
- Step 1: Power off indicator
- Step 4: Color temperature switch (WW/NW/CW)
- Step 7: Wiring terminal block for Neutral (N) and Live (L) connections
Model compatibility
- Requires professional installation
- Compatible with standard electrical installations

Manual page author
Emily Carter
User documentation editor