Electronics / Audio
User Guide for Walrus Audio Canvas Power Series
Quick guide for the Walrus Audio Canvas Power series (5, 8, 15, 22). Learn how to connect pedals, select voltage, mount the unit to your board, and link multiple power supplies.
Table of contents
Manual images
Jump to the sectionQuick guide from the manual
The Walrus Audio Canvas Power series provides isolated, filtered, and quiet power for guitar pedals. This guide covers the setup, mounting, and technical operation of the Canvas Power 5, 8, 15, and 22 models. Always ensure you use the correct IEC cable for your region.
Getting started
- Wire up your pedalboard and connect pedals to the appropriate power outputs.
- Connect the DC Brick cable to the 24V DC Input on the unit.
- Connect the IEC cable to the DC Brick to power the system.
- We recommend connecting all pedals before powering on the supply.
Voltage selection
Each output is rated at 9VDC, 500mA. If a pedal requires 12V or 18V, check the pedal's requirements and set the toggle switch on the unit to the appropriate voltage before connecting. Note the following limits: 375mA max at 12V and 250mA max at 18V.
Linking power
You can connect up to two additional Canvas Power devices using the 24V Link Output. When expanding, connect the largest unit to the DC Brick and reference the power meter on that unit. If your total power requirement exceeds 48W, use the 96W brick (included with Power 15 and 22 models).
Power meter and USB-C
Available on Power 8, 15, and 22 models, the onboard power meter displays the power consumption from the DC Brick. The USB-C port can be used to charge mobile devices or power small accessories like pedalboard lights.
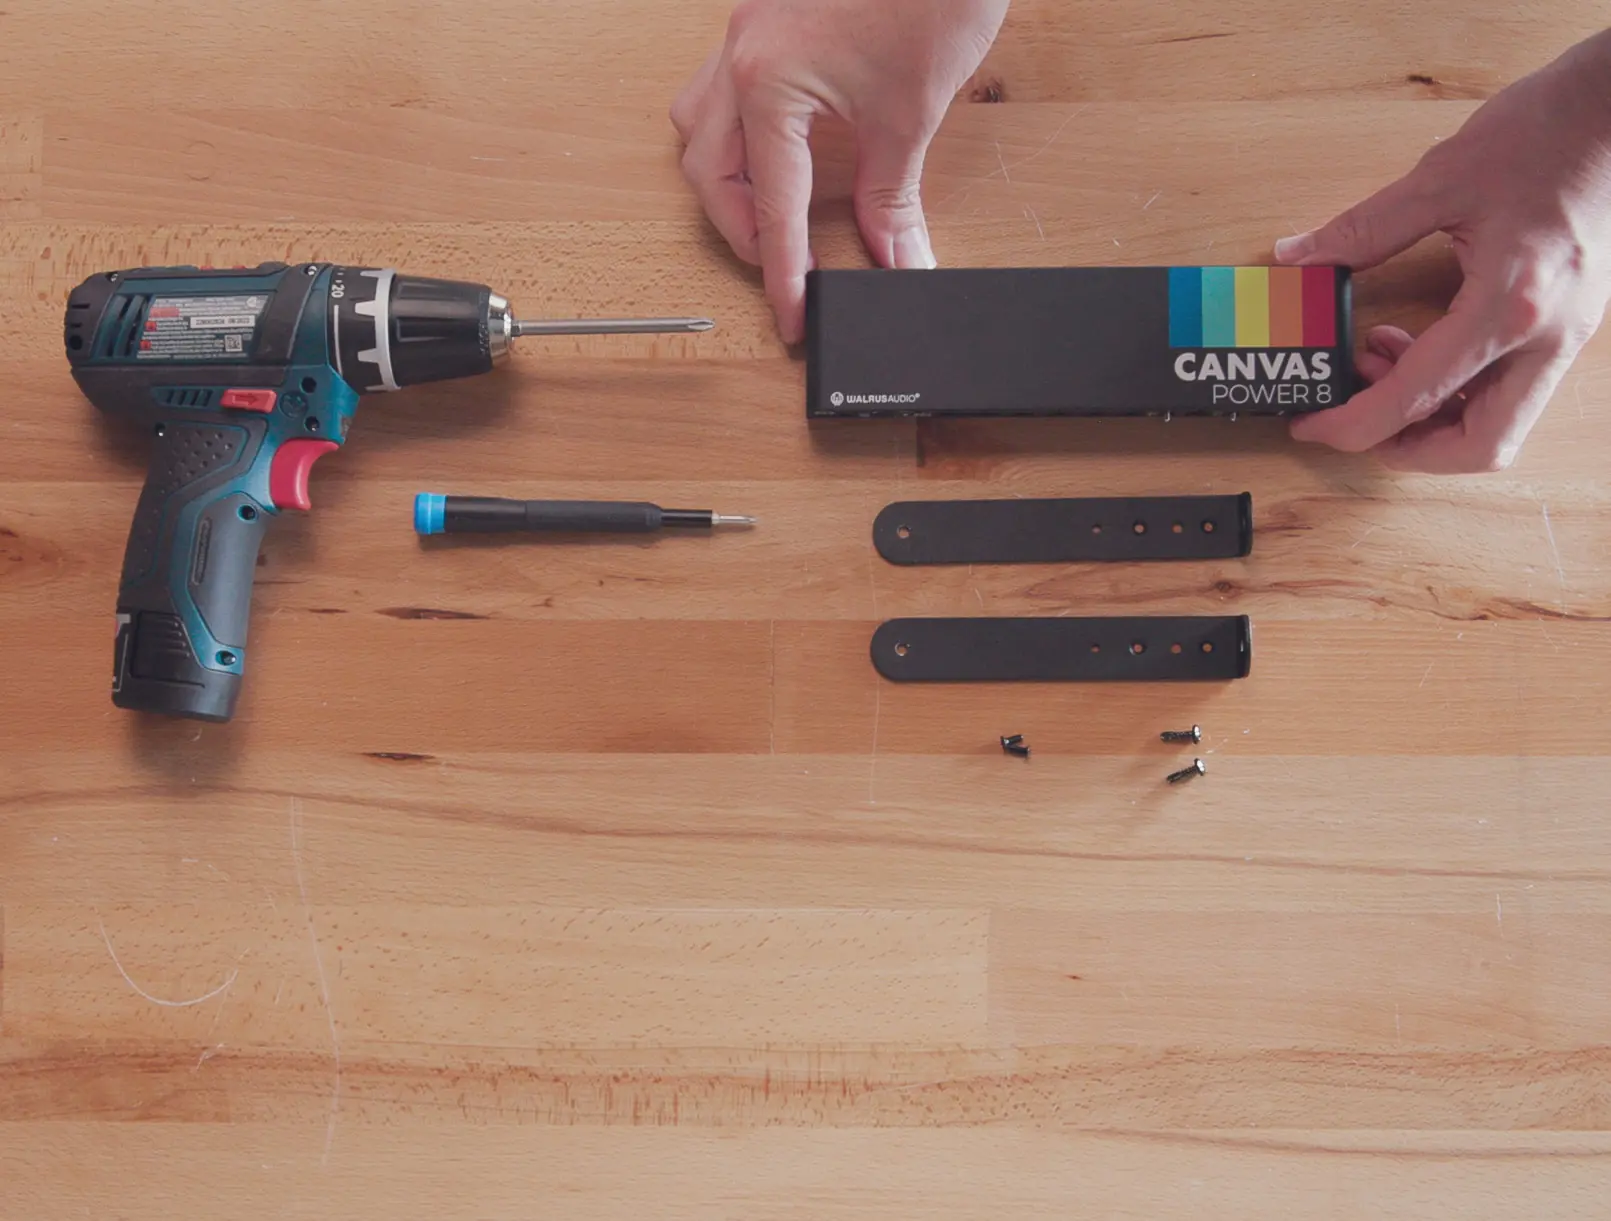
Mounting to your board
Each unit includes mounting brackets. The Power 5 comes with C-style brackets for flat-lay boards, while the Power 8, 15, and 22 include L-style brackets for raised boards.


Technical info
Most pedals draw less current than specified on their enclosure; this value can be used as a safe reference for calculating total power requirements. For technical support, contact [email protected].
Practical help
Common problems
Pedal requires 12V or 18V
Check the pedal's voltage and polarity, then set the toggle switch on the unit to the correct voltage before connecting the DC cable.
Total power requirement exceeds 48W
If linking multiple units, ensure you are using the 96W power brick (included with Power 15 and 22 models) instead of the standard 48W brick.
Before use
- Verify the pedal's voltage, polarity, and current requirements.
- Ensure the correct IEC cable for your country is used.
- Connect all pedals to the unit before powering on the supply.
- Check the power meter (on supported models) to monitor consumption.
Specs in practice
- 375mA max @ 12V
- Maximum current limit when the toggle switch is set to 12V.
- 250mA max @ 18V
- Maximum current limit when the toggle switch is set to 18V.
Images and diagrams
- The 24V Link Output allows daisy-chaining up to two additional units.
- LED indicators above each output confirm a solid connection.
- The power meter displays consumption levels at 10%, 20%, 50%, and 100%.
Model compatibility
- Power Meter and USB-C port are only available on Power 8, 15, and 22 models.
- Power 5 uses C-style brackets; Power 8, 15, and 22 use L-style brackets.

Manual page author
Emily Carter
User documentation editor
Prepares concise manual descriptions and highlights the most useful setup, operation, and maintenance information for readers.