Automotive / Motorcycle Accessories
Rear Conversion Installation Guide for Wunderlich 13615-00x
Quick installation guide for the Wunderlich 13615-00x rear conversion. Includes parts list, removal instructions for original components, foam rubber application, and final assembly steps with torque specifications.
Table of contents
Manual images
Click an image to enlargeImportant Information
This guide provides instructions for installing the Wunderlich rear conversion (Art.-Nr: 13615-00x). Before beginning, ensure you have all necessary parts and tools. The installation requires the removal of original motorcycle components. Always follow the specified torque settings to ensure safety and proper fitment.
Parts List
- 1x Cover
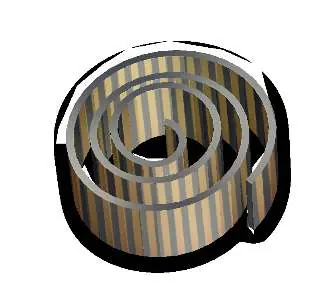
- 2x Sleeve (D=10, d=6,4, l=3mm)
- 2x Sleeve (D=14, d=8,4, l=3mm)
- 1m Foam rubber
- 2x Lens flange screw (M8x30)
- 2x Lens flange screw (M6x30)
- 1x Thread locking fluid
Preparation and Removal
Before installing the rear conversion, you must remove the original components from the motorcycle. This includes:

- Original grab handle
- Sport grab handle
- Top case carrier
Ensure these parts are completely removed before proceeding with the installation of the new cover.
Installation
Follow these steps to install the rear conversion:
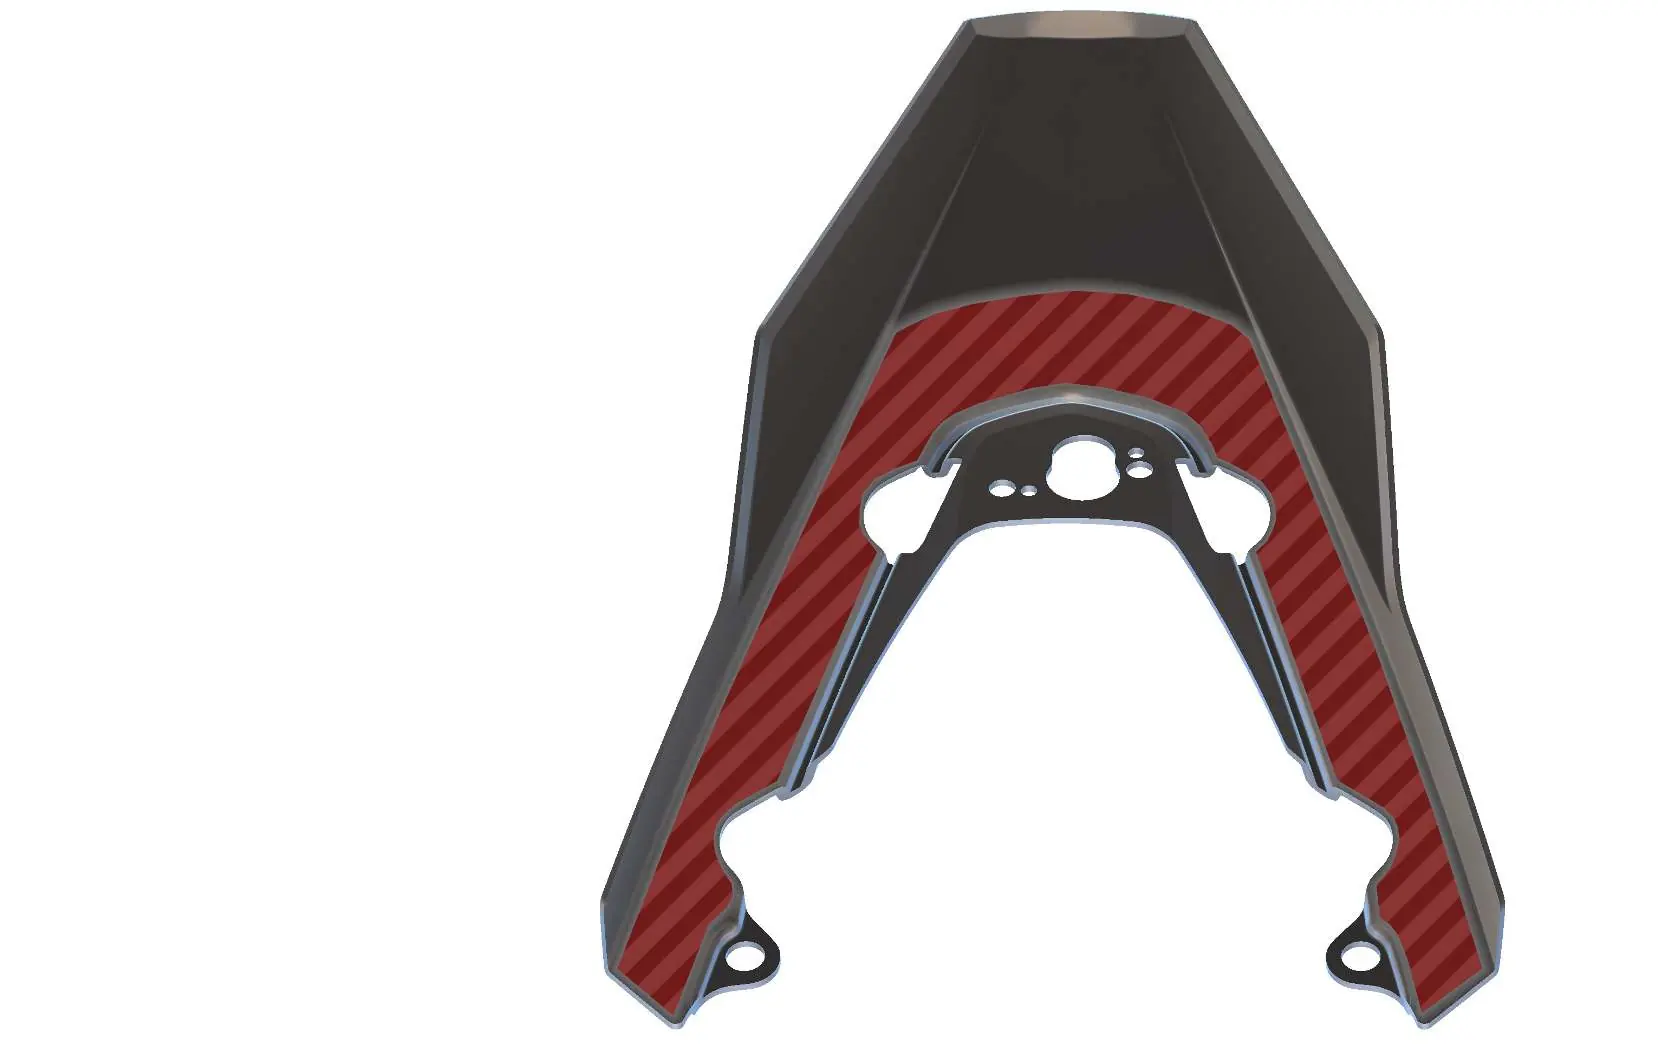
- Clean Surfaces: Thoroughly clean the surfaces on the underside of the cover where the foam rubber will be applied.
- Apply Foam Rubber: Stick the foam rubber to the underside of the cover as indicated in the manual.
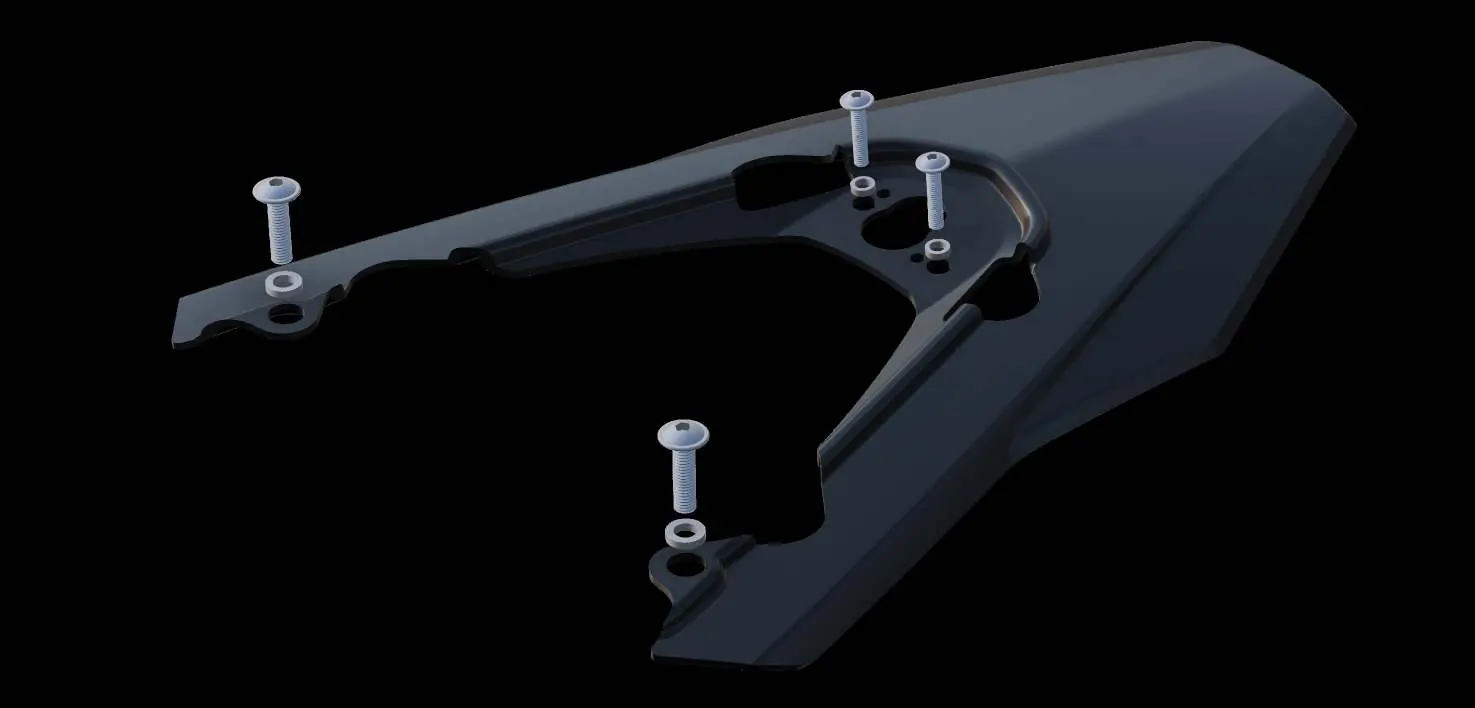
- Mounting: Position the cover on the motorcycle.
- Securing: Use the provided screws to secure the cover. Tighten the M8x30 screws to 28 Nm and the M6x30 screws to 5 Nm.
Troubleshooting
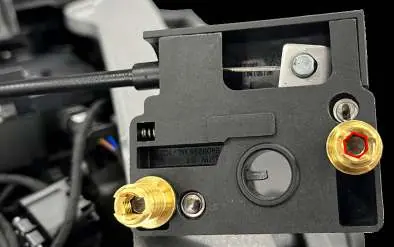
If the threaded sleeves loosen when unscrewing the seat lock, you can easily fix this. Use a 5 mm Allen key to screw the threaded sleeves back into place.
Practical help
Common problems
Threaded sleeves loosen when unscrewing the seat lock.
Screw the threaded sleeves back in using a 5 mm Allen key.
Before use
- Remove original grab handle.
- Remove sport grab handle.
- Remove top case carrier.
- Clean surfaces thoroughly before applying foam rubber.
- Verify all parts from the parts list are present.
Specs in practice
- 5 mm Allen key
- Tool required for re-inserting loose threaded sleeves.
Images and diagrams
- Page 1 provides a visual parts list and legend for symbols used in the manual.
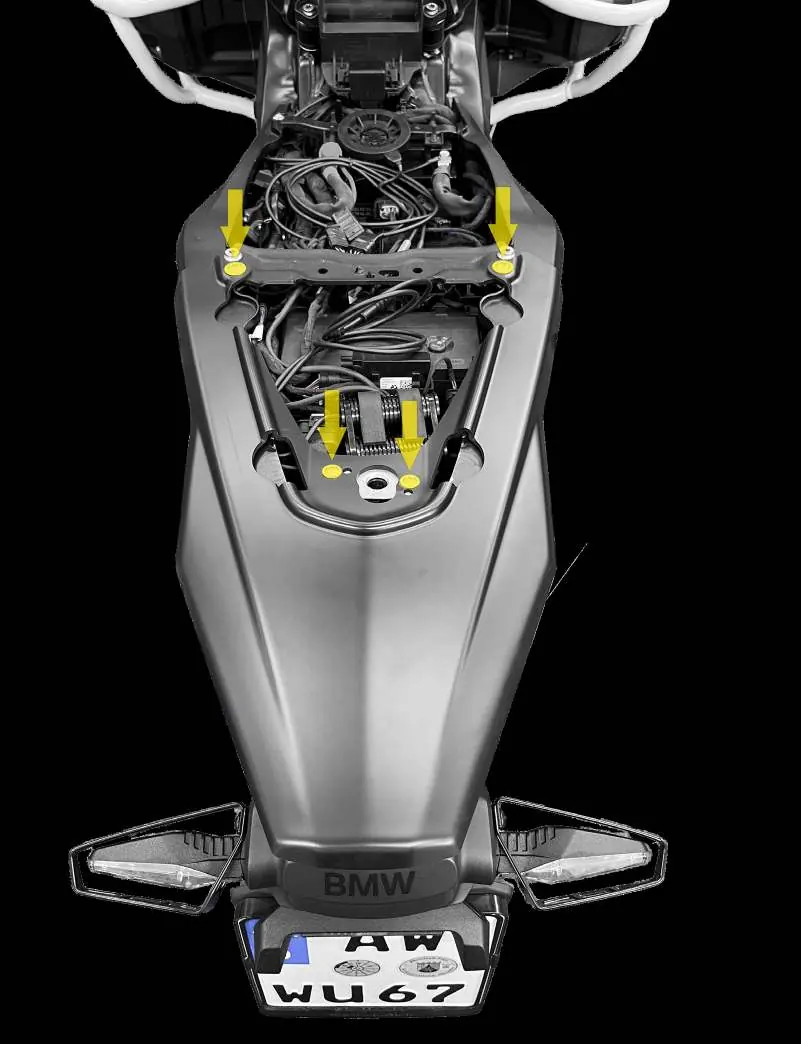
- Page 2 illustrates the removal of original grab handles and top case carrier.
- Page 4 shows the final assembly points and torque specifications.
Model compatibility
- Designed for specific BMW motorcycle models requiring the removal of original grab handles and top case carriers.

Manual page author
Emily Carter
User documentation editor
Prepares concise manual descriptions and highlights the most useful setup, operation, and maintenance information for readers.