Home / Security
AcuRite 06017RM 5-in-1 Weather Sensor Display User Guide
Quick guide for the AcuRite 06017RM display unit, covering setup, A-B-C switch synchronization, time and date configuration, unit selection, and alarm programming.
Table of contents
Manual images
Jump to the sectionQuick guide from the manual
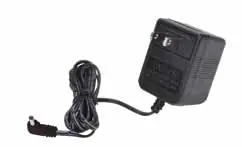
This document provides instructions for the AcuRite 06017RM display unit. Note that this display requires an AcuRite 5-in-1 Weather Sensor (sold separately) to function. For optimal performance, use the included power adapter as the primary power source, with AA batteries installed as a backup to retain records during power outages.
Display Unit Setup
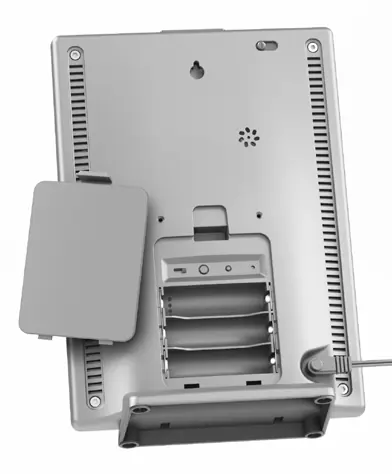
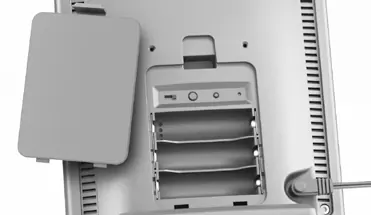
To ensure the display unit synchronizes with your sensor, you must match the A-B-C switch setting in the battery compartment of both devices. Once set, plug in the power adapter. It is recommended to install 3 AA alkaline batteries as a backup power source.
Set the Time & Date
Setting the time and date is essential for accurate history records:
- Press the up or down arrow buttons until SET CLOCK? appears on the display.
- Press the gear button to enter settings.
- Use the arrow buttons to adjust the hour and minutes, pressing the gear button to confirm each selection.
- Follow the same procedure for SET DATE? to configure the month, day, and year.
Select Measurement Units
You can toggle between standard (mph, °F) and metric (kph, °C) units:
- Navigate to SET UNITS? using the arrow buttons.
- Press the gear button and select STAND or METRIC.
- Confirm your selection, then choose your preferred wind speed units (MPH, KPH, or KNOTS).
Programmable Weather Alarms
You can set alarms for various weather categories:
- Select the desired weather category using the arrow buttons.
- Press and hold the alarm button until the SET indicator appears and the value flashes.
- Adjust the value with the arrow buttons and confirm with the gear button.
- Press the alarm button to activate the alarm; the ON indicator will highlight.
Care & Maintenance
Clean the display unit with a soft, damp cloth; avoid caustic cleaners or abrasives. Keep ventilation ports clear of dust. If readings are inaccurate, you can calibrate temperature and humidity by holding the up, down, and gear buttons simultaneously for 15-20 seconds until the CAL icon appears.
Manufacturer information
AcuRite
Practical help
Common problems
Display unit not synchronizing with sensor
Ensure the A-B-C switch inside the battery compartment matches the setting on your 5-in-1 sensor.
Alarm sounding repeatedly
Press any button to snooze the alarm, or turn the alarm OFF to deactivate it completely.
Inaccurate temperature or humidity readings
Use the calibration mode (hold up, down, and gear buttons for 15-20 seconds) to adjust readings.
Before use
- Ensure you have an AcuRite 5-in-1 Weather Sensor (sold separately).
- Match the A-B-C switch on the display to the sensor.
- Install 3 AA alkaline batteries for backup power.
- Connect the power adapter as the primary power source.
- Place the display unit away from heat sources, vents, and direct sunlight.
- Ensure the display and sensor are within 330 feet (100 m) of each other.
Specs in practice
- Wireless Range
- 330 feet (100 m) maximum, depending on home construction materials.
- Operating Frequency
- 433 MHz for wireless communication.
- Power Requirements
- Display: 5VDC, 100mA power adapter + 3 x AA alkaline batteries (optional).
Images and diagrams
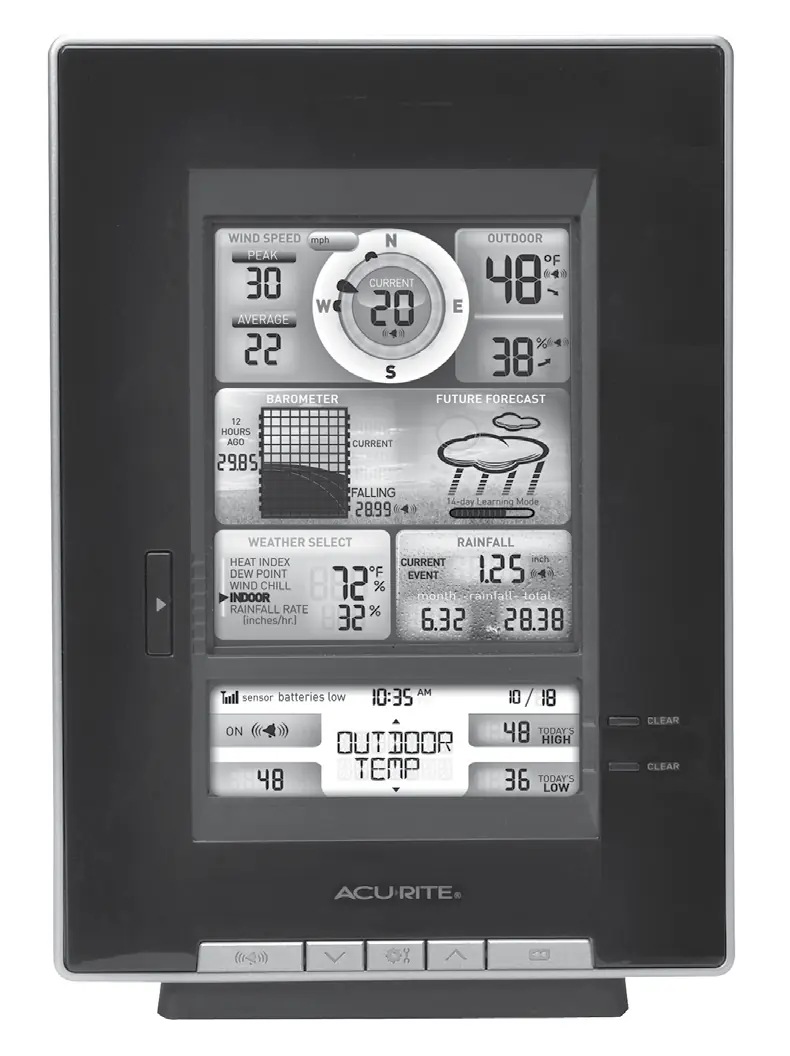
- The display features a central wind speed and direction indicator, a pressure history graph, and a weather forecast area.
- The bottom section contains buttons for alarm settings, setup preferences, and record clearing.
- The back of the unit houses the A-B-C switch, reset button, and power adapter input.
Model compatibility
- Requires an AcuRite 5-in-1 Weather Sensor to be operational.
- The A-B-C switch ID code must match the sensor's ID code.

Manual page author
Michael Turner
Technical manual editor
Reviews PDF manuals for structure, safety notes, and practical product details so readers can find the right information quickly.