Furniture / Home Furnishing
AcuRite 06051M Solar Power Pack User Guide
Quick guide for the AcuRite 06051M Solar Power Pack, including installation steps for Iris and Atlas sensors, solar charging tips, battery maintenance, and troubleshooting.
Table of contents
Manual images
Jump to the sectionQuick guide from the manual
The AcuRite 06051M Solar Power Pack is designed to provide a continuous power source for AcuRite Iris (5-in-1) and AcuRite Atlas weather sensors, eliminating the need for frequent battery replacements. The system uses a rechargeable #18650 lithium battery charged by an integrated solar panel.
General solar power considerations
- Positioning: For optimal performance, the solar cell should face south (in the Northern Hemisphere).
- Angle Adjustment: Use the mount angle adjustment to tilt the panel. A flatter angle is recommended for summer, while a 45-degree angle is better for winter to capture lower sun angles and help shed snow.
- Sun Exposure: The unit does not require full sun all day. Ambient light with occasional direct sun is usually sufficient for operation.
- Cleaning: Periodically wipe the solar cell surface with a damp cloth to remove dust and debris.
Installation and mounting
The unit can be mounted on a 3/4-inch pole or a flat surface (fence post, deck post, wall).
- Pole Mount: Use both Clamp Part A and Part B to secure the assembly around a 3/4-inch pole.
- Surface Mount: Use only Clamp Part A to secure the assembly to a flat surface using the provided wood screws.
- Drip Loop: Always form a drip loop with the power cord to prevent water from running into the sensor or battery compartment.
- Cable Routing: Do not wrap excess wire around the mounting pole, as this can interfere with the weather station's wireless signal. Secure excess wire in a loop.
Connecting to sensors
For AcuRite Iris (5-in-1): Use the included battery compartment adaptor and wire routing clips. Remove the original battery cover, install the adaptor, and secure the cable using the clips to ensure it does not interfere with the wind vane.
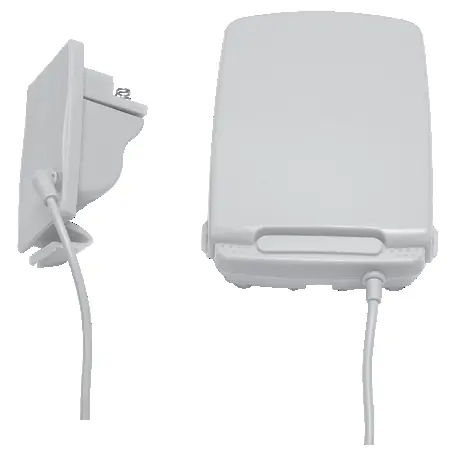
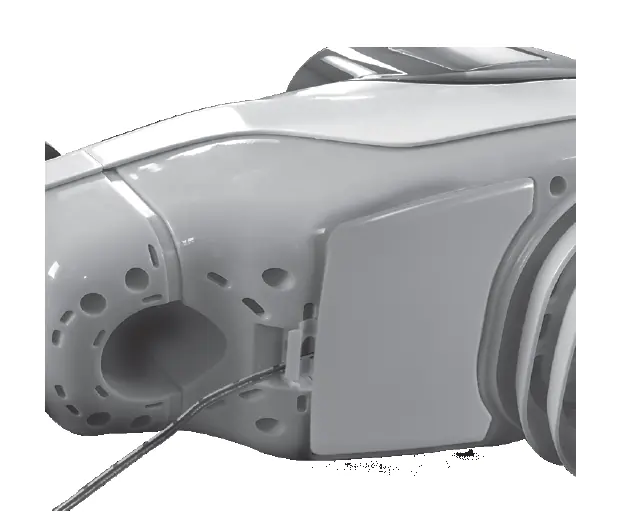
For AcuRite Atlas: The included battery compartment adaptor and wire routing clips are NOT used. Simply remove the sensor's battery cover, plug the power adapter cord directly into the battery compartment, loop the cord through the slot, and replace the cover.
Indicators
- Push-to-Check Battery Level: Press the button to see the approximate charge level (25%, 50%, 75%, 100%).
- Solar Status Indicator: Solid light indicates the battery is charging. No light indicates the battery is fully charged. A blinking light indicates the battery is missing, installed incorrectly, or needs replacement.
Manufacturer information
AcuRite
Practical help
Common problems
Solar status indicator is blinking
Check if the battery is installed correctly (polarity) or if the battery is too old and needs replacement.
Battery level is low
Ensure the solar cell is facing south and is not obstructed. In extreme cold, use the USB-C port to charge the battery manually.
Weather station not receiving data
Verify the power adapter plug is fully inserted into the sensor's battery compartment and that the cable is routed correctly.
Before use
- Ensure you have a Phillips screwdriver.
- Verify you have a 3/4-inch pole or suitable wood surface for mounting.
- Install the #18650 battery following the polarity diagram.
- Optional: Charge the battery fully via USB-C before outdoor installation.
Specs in practice
- Operating Temperature
- -40°F to 158°F (-40°C to 70°C)
- Solar Charging Range
- 32°F to 158°F (0°C to 70°C)
Images and diagrams
- Clamp Part A and B are used for pole mounting; Part A only is for surface mounting.
- The solar angle adjustment screw allows tilting the panel for seasonal efficiency.
- The drip loop is essential to prevent water damage to the sensor.
Model compatibility
- Compatible with AcuRite Iris (5-in-1) and AcuRite Atlas weather sensors.
- Not intended for use with the mounting bracket supplied with your outdoor sensor.

Manual page author
Emily Carter
User documentation editor
Prepares concise manual descriptions and highlights the most useful setup, operation, and maintenance information for readers.