Lighting / Fixtures
User Manual for Aigostar 10JNL LED Light Strip
Quick guide for the Aigostar 10JNL LED Light Strip. Learn how to safely cut, connect, and install your LED strip with step-by-step assembly instructions.
Table of contents
Manual images
Click an image to enlargeQuick Guide for Aigostar 10JNL LED Light Strip
This manual provides essential instructions for the safe installation and assembly of the Aigostar 10JNL LED Light Strip. Follow these steps carefully to ensure proper operation and safety.
Important Safety Notes
- Always unplug the rope light before installing, cutting, or modifying in any way.
- Unroll the strip light completely before attaching it to a power source.
- Cut only at designated marks.
- End cap must be attached before connecting to a power source.
- Cutting or damaging the outer plastic tubing can present an electrical or fire hazard.
Assembly Instructions
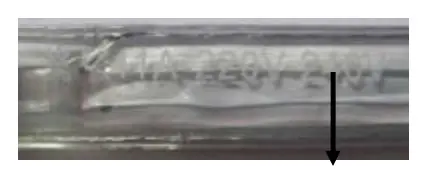
1. Cutting the Strip
Cut the strip to the required length at the designated cutting mark. If no specific mark is visible, cut in the space between every 1 meter, ensuring the spacing is wider than other points.
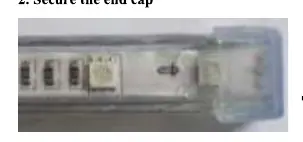
2. Securing the End Cap
Attach the end cap to the cut end of the strip to ensure safety.
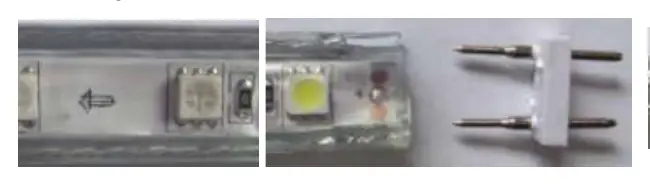
3. Attaching the 2-pin Connector
Secure the 2-pin connector to the strip. Ensure that the 2 pins touch the 2 wires of the strip tightly.
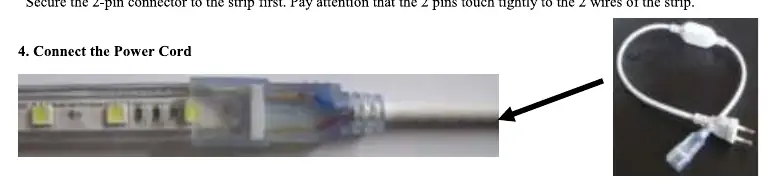
4. Connecting the Power Cord
Attach the adaptor of the power cord to the 2-pin connector. If the light does not turn on, try the other end of the strip or rotate the power adapter 180 degrees.
Manufacturer information
Aigostar
Practical help
Common problems
Light does not turn on after assembly.
Ensure the 2-pin connector is properly seated and touching the wires. If it still does not light up, try the other end of the strip or rotate the power adapter 180 degrees.
Before use
- Unplug the device from the power source before any work.
- Unroll the strip completely before connecting to power.
- Identify the designated cutting marks on the strip.
Images and diagrams
- The manual provides visual steps for cutting the strip at marked intervals, attaching the end cap, inserting the 2-pin connector, and connecting the power adapter.
Model compatibility
- Only cut at designated marks or spacing intervals.

Manual page author
David Miller
Documentation analyst
Organizes user manual content into clear summaries, with attention to model details, product context, and everyday usability.