Garden / Gazebos & Canopies
Installation and Safety Guide for American Tent 15'x30' Frame Tent
Comprehensive installation, safety, and maintenance guide for the American Tent 15'x30' Frame Tent. Includes step-by-step assembly, anchoring instructions, and storage tips.
Table of contents
Manual images
Click an image to enlargeQuick Guide
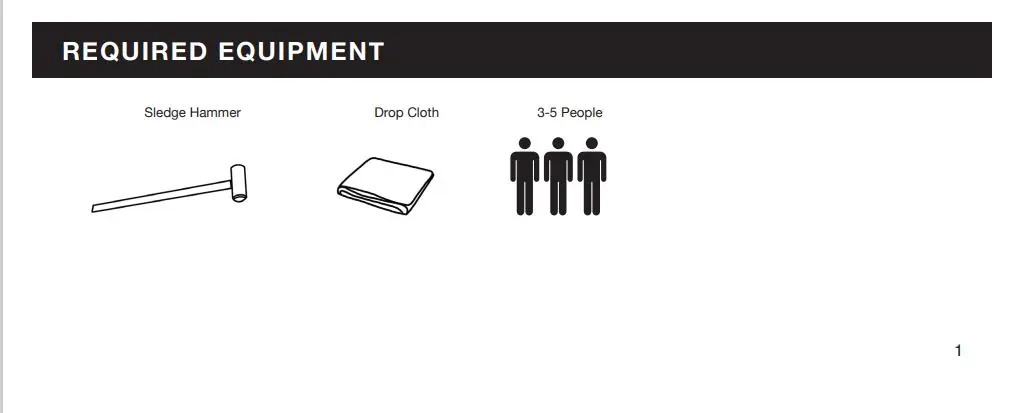
This guide provides instructions for the assembly and maintenance of the American Tent 15'x30' Frame Tent. Before beginning, ensure you have the required equipment: a sledgehammer, a drop cloth, and a team of 3-5 people. Always prioritize safety and be aware of weather conditions.
Safety and Site Selection
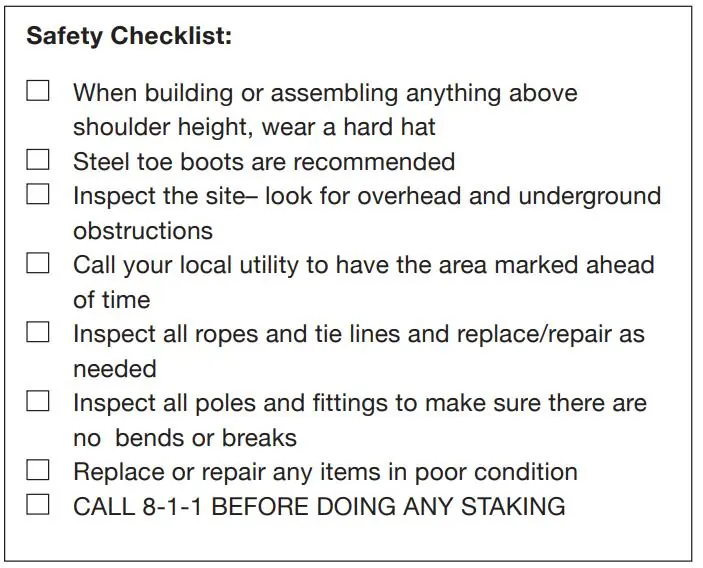
Critical Safety Warning: Call 811 at least 3 working days prior to staking to have underground utilities located and marked. The installer is responsible for assessing weather conditions. Installation or removal should only be performed when wind speeds are below 15 mph. If winds exceed 38 mph in 6-second gusts, the tent must be evacuated immediately.
Site Selection Criteria:
- Soil Conditions: Must be adequate for anchoring.
- Location: Elevated, level, and clear of debris.
- Space: Ensure sufficient perimeter space for anchoring.
- Surface: Suitable for grass, gravel, concrete, asphalt, or wood.
- Overhead: Check for electrical lines or tree branches.
Installation Steps
1. Preparation: Place all fittings and pipes on the ground according to the diagrams provided in the manual to ensure all parts are accounted for.

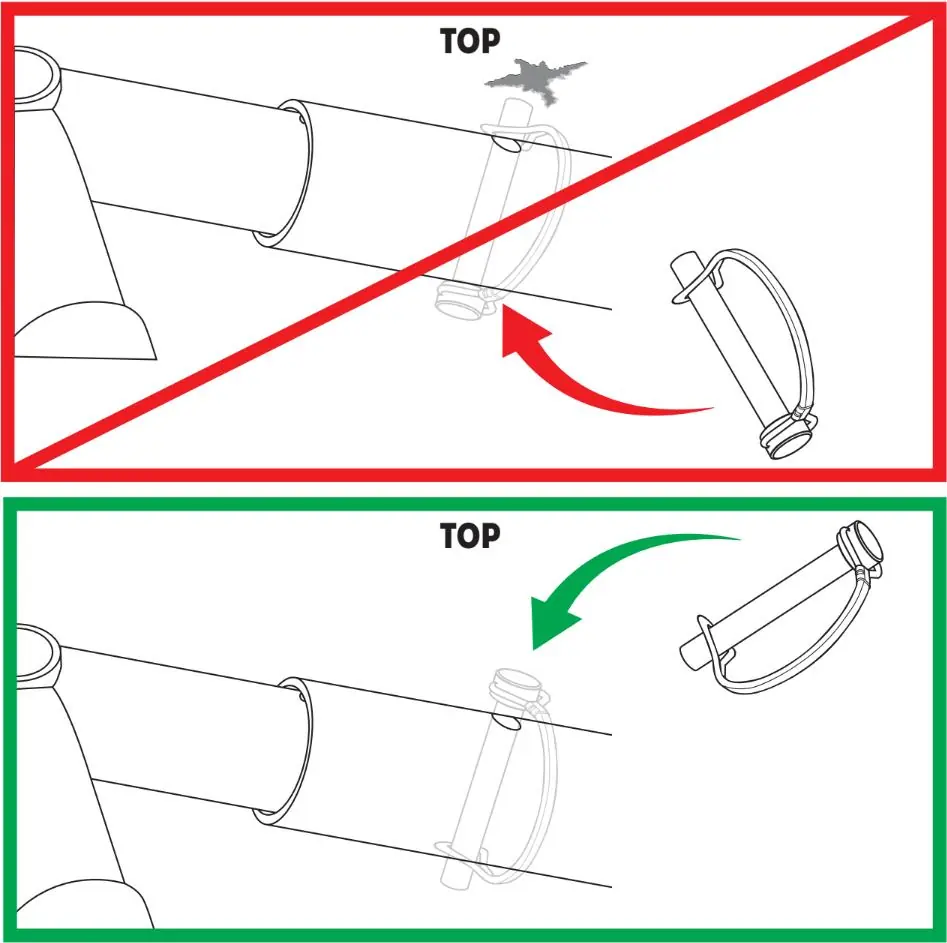
2. Crown Assembly: Begin at the crown. Use the alignment hole to prevent the rafter from moving too far onto the crown. Connect the 3-way crown to Pole D, aligning the holes and inserting the pin from the top down. Close the retainer around the pole and snap it onto the pin.
3. Frame Assembly: Connect remaining poles and fittings, working from the crown outward. Ensure all pins are installed correctly.
4. Tent Top Installation: Unroll the tent top on a drop cloth to prevent damage. If sectional, lace the tent together, ensuring the rain flap is folded over the laceline. Pull the tent top over the frame, lifting to create an air cushion. Center the top and loosely fasten alligator buckle straps.
5. Lifting and Anchoring: Attach base plates to the legs. Lift the downwind side of the frame first to prevent wind from catching the tent. Attach leg poles. Once the tent is lifted, fasten all alligator straps around the perimeter tubing. Drive stakes 5 feet out from each leg, ensuring 6 inches or less of the stake is exposed. Attach ratchet straps to the stakes using a slipknot method.
Striking and Storage
Striking: Loosen ratchet straps, remove side and end legs, and carefully lower the frame. Unlace the tent top, fan fold, and roll it only when completely dry. Disassemble fittings from the perimeter inward.
Storage: Always store tents clean and dry in a cool, dry environment. Use a bag if provided to protect from elements. Avoid storing in extreme temperatures, as freezing can crack clear vinyl.
Additional Assembly
Sidewalls: Unfold on a drop cloth. Attach the first clip to the sidewall rope and proceed, attaching every third clip before filling in the rest. Use side release buckles to connect walls or secure around poles.
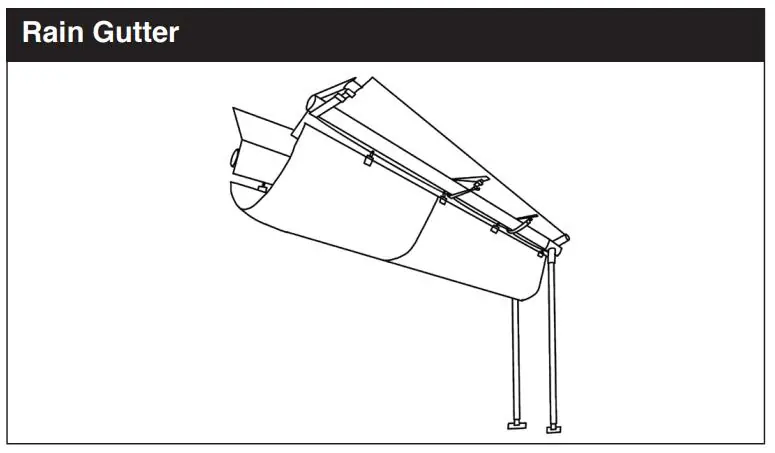
Rain Gutter: When joining two tents, place them approximately 8 inches apart. Attach the gutter clips to the sidewall rope of each tent.
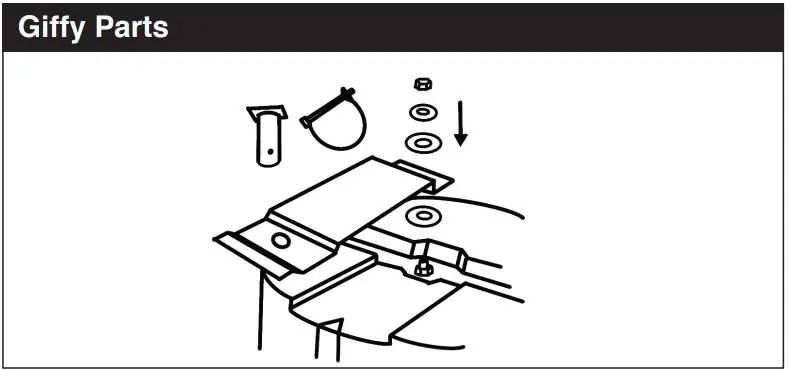
Giffy Ballasts: If using Giffy barrels, assemble the hardware (washer, nut, bolt, plate) as specified. Connect the strap to the eye bolt in the bottom of the barrel, pull through the cover slot, and attach to the tent fitting. Fill the barrel with water.
Maintenance
Clean with gentle cleaners like American Tent "Tent Cleaner," dish soap, or powder laundry detergent. Avoid bleach, abrasive chemicals, and hard brushes. Regularly check and re-tension all ratchets, straps, and cables.
Manufacturer information
American Tent
Practical help
Common problems
Ponding on tent fabric
Ensure the tent is installed and tensioned correctly. Ponding can damage fabric and cause poles to sink.
Stakes losing holding power
Ensure stakes are driven vertically into the ground. Saturated soil can reduce holding power.
Tent fabric damage
Avoid dragging the fabric on the ground. Always use a drop cloth during setup and take-down.
Before use
- Call 811 at least 3 working days prior to staking.
- Ensure the site is elevated, level, and clear of debris.
- Check for overhead electrical lines or tree branches.
- Verify all parts are accounted for using the provided diagrams.
- Ensure you have a sledgehammer and drop cloth.
- Wear a hard hat when assembling above shoulder height.
Specs in practice
- Installation wind speed
- Recommended to install or remove only when wind speed is less than 15 mph.
- Staking depth
- Drive stakes so that 6 inches or less of the head is exposed for maximum holding strength.
Images and diagrams
- Crown assembly: Shows the difference between the alignment hole and the placement hole.
- Ratchet loop: Illustrates how to create a slipknot for securing straps to stakes.
- Sidewall clips: Demonstrates the correct orientation of clips on the sidewall rope.
Model compatibility
- Tents are not designed to carry any snow load.
- This is a temporary, non-engineered structure.
- Do not use if snow has been allowed to accumulate on the tent.

Manual page author
David Miller
Documentation analyst
Organizes user manual content into clear summaries, with attention to model details, product context, and everyday usability.