Electronics / Network Adapters
Atomi Smart WiFi 2.4GHz Converter User Guide
Quick start guide and troubleshooting manual for the Atomi Smart WiFi 2.4GHz Converter. Learn how to set up your device, configure network settings, reset the converter, and resolve connection issues.
Quick answers from the manual
Quick answer
- The Atomi Smart WiFi 2.4GHz Converter creates a dedicated 2.4GHz network for smart devices. To set it up, plug it in, connect to the 'wifi-xxxx' network, configure it via a web browser using 'admin' as the password, and then connect it to your router via Ethernet. p. 1
Key actions
- Setup the converter p. 1
- Reset the device p. 2
First start
- Follow the 9-step Quick Start Guide on page 1, ensuring the Ethernet cable is only connected after the initial browser configuration. p. 1
Problems and fixes
Unable to access internet
Unplug, wait 10 seconds, plug in, wait 1 minute, and reconnect.
p. 2Maintenance and reset
- Hold the button on the side for 10 seconds, then unplug and replug the device. p. 2
Technical specifications
| Parameter | Value | Meaning | Pages |
|---|---|---|---|
| WiFi Password Length | 8-63 characters | Required length for the new network password. | p. 2 |
Where to find it in the PDF
- Quick Start Guide p. 1
- Troubleshooting and FAQ p. 2
Table of contents
Manual images
Click an image to enlargeQuick Start Guide
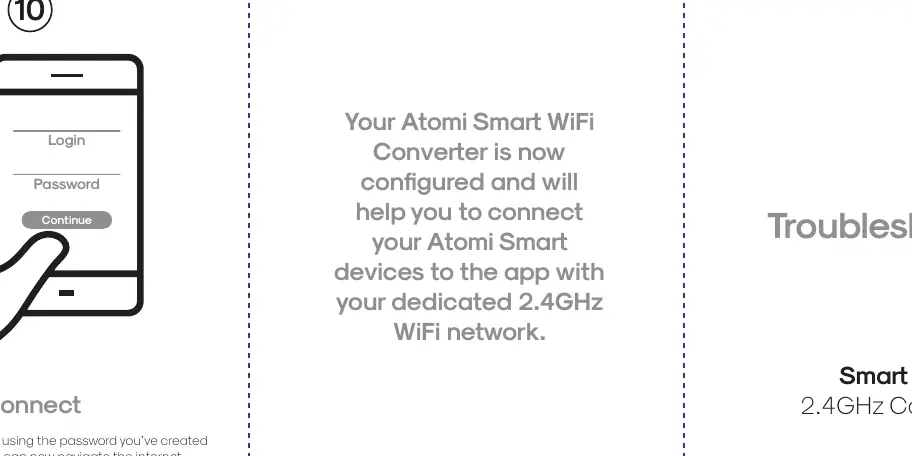
Follow these steps to set up your Atomi Smart WiFi 2.4GHz Converter:

- Plug the converter into a power outlet next to your router.
- Wait about 1 minute for the indicator light to turn green and then blue.
- Connect your phone or computer to the network named wifi-xxxx.
- Open a web browser and navigate to atomismart-connect.com or 192.168.188.1.
- Enter admin as the login password and follow the on-screen instructions.
- Unplug the converter from the outlet.
- Plug one end of the Ethernet cable into your router's LAN port and the other end into the converter.
- Plug the converter back into the power outlet and wait about 1 minute.
- Your new 2.4GHz WiFi network will now appear in your network list.
Setup and Configuration
Once the device is configured, you can connect to the new WiFi network using the password you created during the setup process. If any errors occur, unplug the device and repeat the setup steps starting from step 7.
Troubleshooting
If you experience connection issues, try the following:
- Cannot access the internet: Unplug the converter, wait 10 seconds, plug it back in, and wait 1 minute before reconnecting. If it still fails, select Forget Network on your device and try again.
- Weak signal or losing connection: Bring your other smart devices (lights, plugs, appliances) closer to the WiFi converter.
- General connection issues: Visit www.atomismart.com/helpConverter for detailed troubleshooting tips.
Device Reset
To reset the device to factory settings:
- Press and hold the button on the side of the converter for 10 seconds.
- Unplug the device from the power outlet.
- Plug it back in.
Note: This will erase the WiFi network you created.
Important Usage Notes
- Ethernet Requirement: After the initial setup, the converter must remain connected to your router via the Ethernet cable.
- WiFi Channel: Keep the WiFi channel set to Auto. Only change this if you experience persistent connection issues.
- Network Name Rules: Do not use the same name as your router's WiFi network, avoid empty spaces, and keep it under 32 characters.
- Password Rules: Passwords cannot contain empty spaces and must be between 8 and 63 characters long.
Support
For assistance, contact the customer service team:
- Phone: 1-800-757-1440 (Mon-Fri 9:00-5:00 EST)
- Email: [email protected]
Official resources from the manual
Practical help
Common problems
Unable to access the internet after setup
Unplug the converter, wait 10 seconds, plug it back in, and wait 1 minute. If it fails, select 'Forget Network' on your device and try again.
Weak signal or connection drops
Move your other smart devices (lights, plugs, appliances) closer to the WiFi converter.
Forgot password or need to change settings
Perform a factory reset by holding the side button for 10 seconds, then unplugging and replugging the device.
Before use
- Ensure you have the included Ethernet cable ready.
- Do not connect the Ethernet cable to the converter until instructed in Step 7.
- Have your router's WiFi credentials available.
- Ensure you are within range of your router during the initial setup.
Specs in practice
- WiFi Password
- Must be 8-63 characters long and contain no spaces.
- WiFi Channel
- Should be kept at 'Auto' unless connection issues occur.
Images and diagrams
- The setup process involves a 9-step sequence starting with powering on the device and ending with verifying the new network.
- The Ethernet cable is required to connect the converter to the router after the initial configuration.
Model compatibility
- Creates a dedicated 2.4GHz network for smart devices.
- Requires a wired Ethernet connection to the main router for operation.

Manual page author
Michael Turner
Technical manual editor
Reviews PDF manuals for structure, safety notes, and practical product details so readers can find the right information quickly.