Computers / PC Components
User Manual for StarTech 4-Port 2.5GBase-T Ethernet Network Adapter Card PR42GI-NETWORK-CARD
Quick-start guide for the StarTech 4-Port 2.5GBase-T Ethernet Network Adapter Card (PR42GI-NETWORK-CARD). Includes installation steps, driver setup for Windows and Linux, and technical specifications.
Quick answers from the manual
Quick answer
- This guide covers the installation of the StarTech 4-Port 2.5GBase-T Ethernet Network Adapter Card (PR42GI-NETWORK-CARD) into a PCIe slot, driver installation for Windows and Linux, and LED indicator meanings. p. 1, 2
Key actions
- Install the card into an available PCIe x4, x8, or x16 slot. p. 1
- Download and install drivers from the StarTech support website. p. 2
Problems and fixes
Wake-on-LAN not working
Use Ethernet port 1 (P1) as it is the only port that supports WoL.
p. 1Technical specifications
| Parameter | Value | Meaning | Pages |
|---|---|---|---|
| Supported Speeds | 2.5 Gbps, 1 Gbps, 100 Mbps, 10 Mbps | Network connection speeds supported by the card. | p. 1 |
Where to find it in the PDF
- Installation and Product Diagram p. 1
- Driver Installation and Regulatory Compliance p. 2
Table of contents
Manual images
Click an image to enlargeQuick guide from the manual
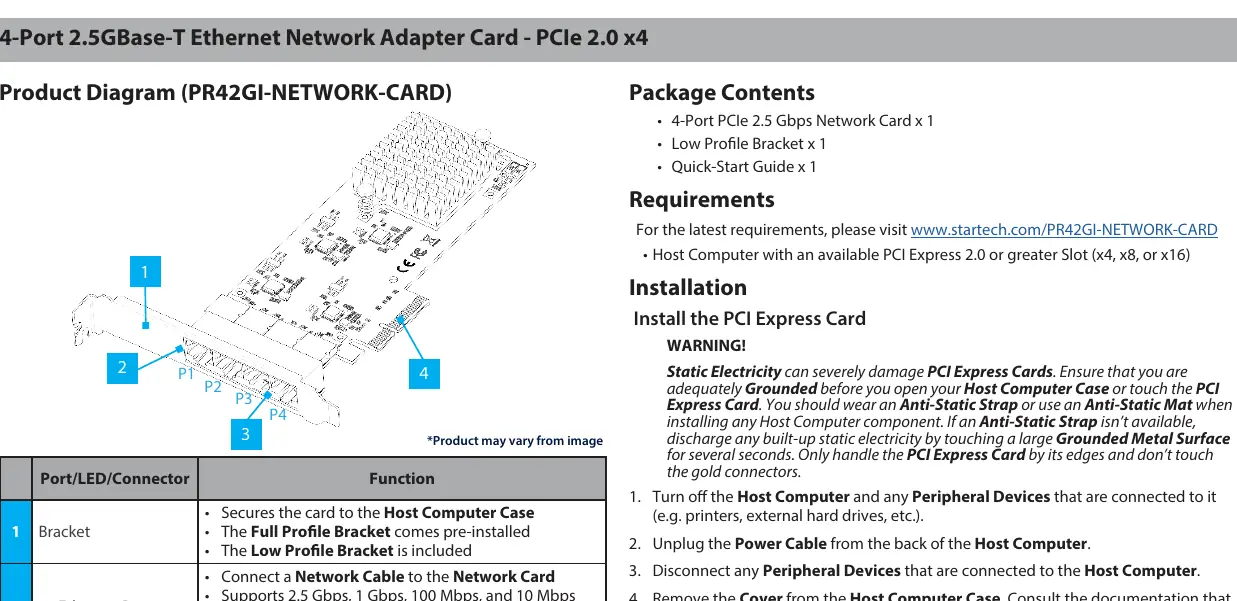
This document provides instructions for installing the StarTech 4-Port 2.5GBase-T Ethernet Network Adapter Card (PR42GI-NETWORK-CARD). The card requires an available PCI Express 2.0 or greater slot (x4, x8, or x16). Users must follow anti-static precautions during installation and download the appropriate drivers from the StarTech support website.
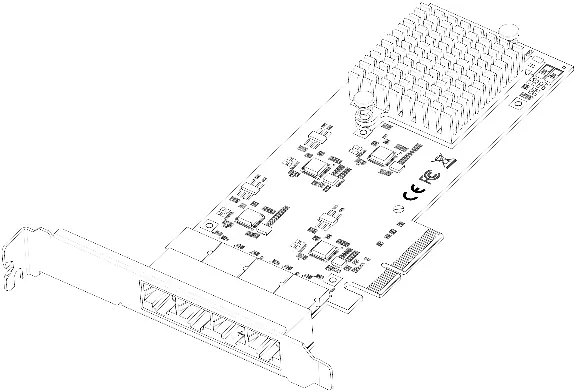
Product overview
The card features four Ethernet ports and LED indicators for link speed and activity. Note that only Ethernet port 1 (P1) supports Wake-on-LAN (WoL).
- Left LED (Link Speed): Solid Green (2.5 Gbps), Solid Amber (1 Gbps), Off (100 or 10 Mbps).
- Right LED (Link Status): Solid Green (Active link), Flashing Green (Activity).
Installation
Warning: Static electricity can damage the card. Ensure you are grounded using an anti-static strap or by touching a grounded metal surface before handling the card.
- Turn off the host computer and disconnect all peripheral devices and the power cable.
- Remove the computer case cover.
- Locate an open PCI Express slot and remove the corresponding slot cover plate.
- Insert the card into the PCIe slot and fasten the bracket to the case. If using a Small Form Factor system, replace the pre-installed full-profile bracket with the included low-profile bracket.
- Replace the case cover, reconnect power and peripherals, and turn on the computer.
Driver installation
Windows
- Navigate to the StarTech support website for the PR42GI-NETWORK-CARD and download the driver package.
- Extract the files and follow the instructions in the accompanying Intel_Windows_DIG file.
- Verify installation in the Device Manager under Network Adapters.
Linux
- Ensure kernel 5.8 or higher is in use.
- Open a terminal and run sudo dmesg | grep Intel to check for driver integration.
Practical help
Common problems
Wake-on-LAN (WoL) is not working
Ensure the network cable is connected to Ethernet port 1 (P1), as it is the only port that supports WoL.
Card not detected or driver issues
Verify the card is fully seated in the PCIe slot. For Windows, check Device Manager; for Linux, use the dmesg command to verify driver integration.
Before use
- Ensure the host computer has an available PCI Express 2.0 or greater slot (x4, x8, or x16).
- Prepare an anti-static strap or mat to prevent static damage.
- Turn off the host computer and disconnect all power and peripherals.
- Check if your system requires the included Low Profile Bracket instead of the pre-installed Full Profile Bracket.
Specs in practice
- Left LED (Green)
- Indicates a 2.5 Gbps link speed.
- Left LED (Amber)
- Indicates a 1 Gbps link speed.
Model compatibility
- Supports 2.5 Gbps, 1 Gbps, 100 Mbps, and 10 Mbps speeds.
- Linux users must ensure kernel 5.8 or higher is installed.

Manual page author
Michael Turner
Technical manual editor
Reviews PDF manuals for structure, safety notes, and practical product details so readers can find the right information quickly.