Industrial / Commercial Refrigeration
Avantco 194CGF900 Countertop Glass Froster/Chiller
Quick guide for the Avantco 194CGF900 Countertop Glass Froster/Chiller. Learn how to install the bracket, connect the CO2 tank, replace batteries for LED lights, and troubleshoot common frosting issues.
Quick answers from the manual
Quick answer
- The Avantco 194CGF900 is a countertop glass froster that uses liquid CO2. It requires installation of a mounting bracket, connection to a CO2 tank, and optional AA batteries for LED lighting. p. 1, 2
Key actions
- Install the bracket and clamp to the work surface. p. 2
- Connect the CO2 tank using the connection hose and rubber seal rings. p. 2
First start
- Select bracket, clamp to surface, connect CO2 tank, check for leaks, and test by pressing the froster head. p. 2
Problems and fixes
Long frosting time
Replace the CO2 tank with a full tank.
p. 2
Not frosting at all
Replace the CO2 tank with a full tank.
p. 2
Lights not working
Replace worn batteries with new AA batteries.
p. 2Maintenance and reset
- Replace CO2 cylinder when frosting time exceeds 10 seconds. p. 2
Technical specifications
| Parameter | Value | Meaning | Pages |
|---|---|---|---|
| Batteries | 2 x AA | Required for LED light functionality. | p. 2 |
Where to find it in the PDF
- Operation and Troubleshooting p. 2
Table of contents
Manual images
Click an image to enlargeQuick guide from the manual
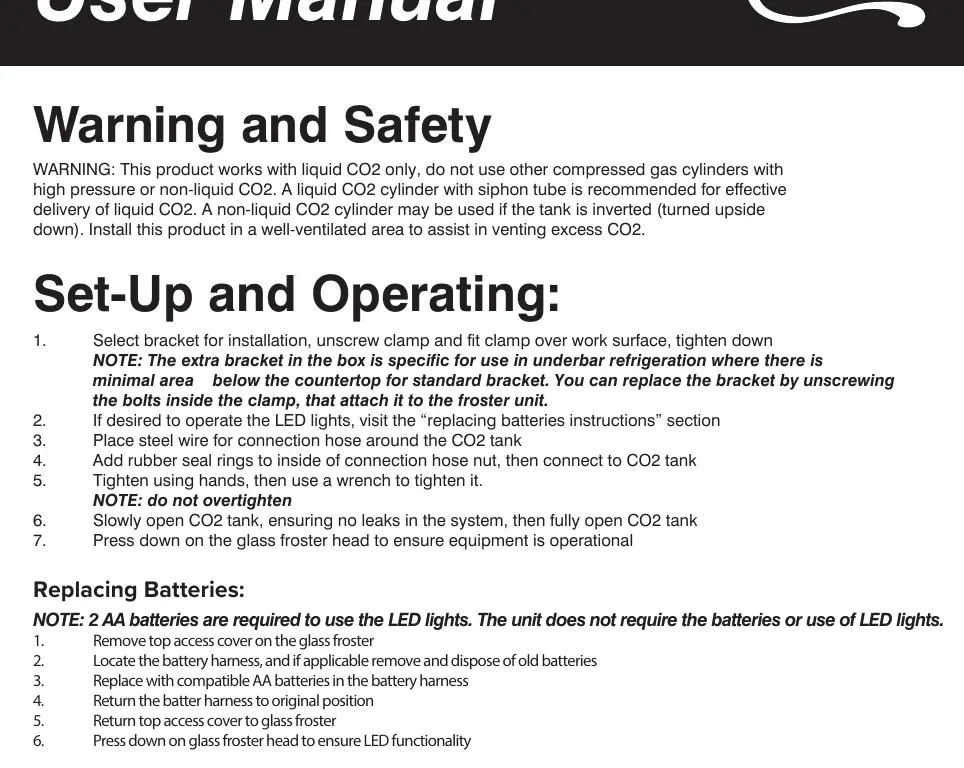
This manual provides instructions for the Avantco 194CGF900 Countertop Glass Froster/Chiller. The device requires liquid CO2 for operation. Ensure the installation area is well-ventilated to allow for the venting of excess CO2. A liquid CO2 cylinder with a siphon tube is recommended for effective delivery.

Installation and Setup
- Select the appropriate bracket for your installation surface.
- Unscrew the clamp and fit it over the work surface, then tighten it down.
- Note: An extra bracket is included for underbar refrigeration where space is limited. You can swap brackets by unscrewing the bolts inside the clamp that attach it to the froster unit.
- Place the steel wire for the connection hose around the CO2 tank.
- Add rubber seal rings to the inside of the connection hose nut and connect it to the CO2 tank.
- Tighten by hand, then use a wrench to secure it. Do not overtighten.
- Slowly open the CO2 tank to check for leaks, then open it fully.
- Press down on the glass froster head to verify operation.
Replacing the CO2 Cylinder
If frosting time exceeds 10 seconds, the cylinder needs replacement.
- Close the shut-off valve on the CO2 cylinder.
- Press the head of the glass froster to release excess pressure.
- Loosen the nut on the CO2 cylinder and remove the empty cylinder.
- Replace with a full CO2 cylinder.
- Reattach the connection hose, ensuring rubber seal rings are in place.
- Tighten by hand and then with a wrench.
- Open the tank slowly to check for leaks, then fully open.
Battery Replacement
The unit requires 2 AA batteries to operate the LED lights. The unit functions without batteries if LED lights are not required.
- Remove the top access cover.
- Locate the battery harness and remove old batteries.
- Insert new AA batteries.
- Return the harness and cover to their original positions.
Manufacturer information
Avantco Equipment
Practical help
Common problems
Long frosting time
Replace the CO2 tank with a full tank.
Not frosting at all
Replace the CO2 tank with a full tank.
Lights not working
Replace worn batteries with new AA batteries.
Before use
- Ensure you are using liquid CO2 with a siphon tube.
- Verify the installation area is well-ventilated.
- Have a wrench ready for tightening the CO2 hose connection.
- Check that rubber seal rings are inside the connection hose nut.
- Ensure the CO2 tank valve is opened slowly to check for leaks.
Model compatibility
- Includes two bracket types: standard and underbar refrigeration bracket.

Manual page author
Emily Carter
User documentation editor
Prepares concise manual descriptions and highlights the most useful setup, operation, and maintenance information for readers.