Industrial / Commercial Refrigeration
User Manual for Avantco 193GD4C15HCW Refrigerated Bakery Case
Comprehensive user guide for the Avantco refrigerated bakery case. Includes installation guidelines, digital temperature controller settings, maintenance procedures, and safety warnings.
Quick answers from the manual
Quick answer
- The Avantco refrigerated bakery case is designed for indoor use. Key setup steps include leveling the unit, ensuring 6 inches of clearance, and allowing it to stand for 24 hours if transported on its side. p. 4
Key actions
- Adjusting Temperature p. 5
- Manual Defrost p. 5
- Cleaning Condenser Coil p. 7
First start
- Let stand upright for 24 hours if transported on its side. p. 4
- Ensure all accessories are installed. p. 4
Problems and fixes
Display shows 'Disorder'
Press down arrow for 2 seconds until buzzer rings. Then press up arrow for 6 seconds until buzzer rings again.
p. 5Maintenance and reset
- Digital Controller Reset p. 5
Where to find it in the PDF
- Structure and Components p. 3
- Installation p. 4
- Digital Temperature Controller p. 5
Table of contents
Manual images
Click an image to enlargeQuick Guide
This manual provides essential instructions for the setup, operation, and maintenance of your Avantco refrigerated bakery case. Key requirements include ensuring the unit is placed on a level surface, maintaining proper ventilation clearance, and allowing the unit to stand upright for 24 hours if it was transported on its side.
Structure and Components
The unit features a glass door, adjustable merchandising shelves, and a refrigeration system located in the base. Key components include:
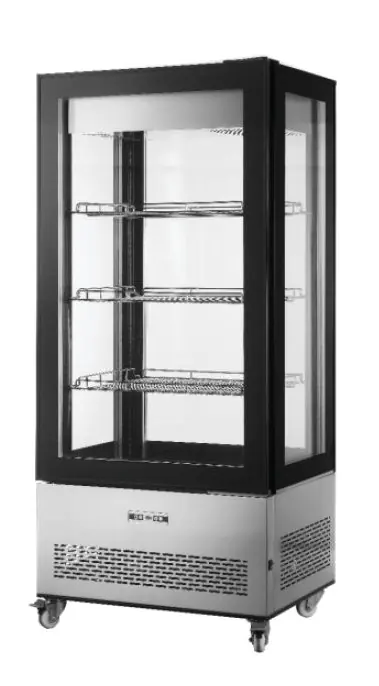
- Glass Door: Provides visibility and access to products.
- Merchandising Shelves: Height is adjustable. To adjust, remove the shelf, place supports at the desired height, and replace the shelf.
- Hot Air Exhaust & Air Intake: Never block these grates; the refrigeration system requires airflow for proper operation.
- Power Switch: Located on the unit base.
Installation Guidelines
Proper installation is critical for the longevity and efficiency of your unit:
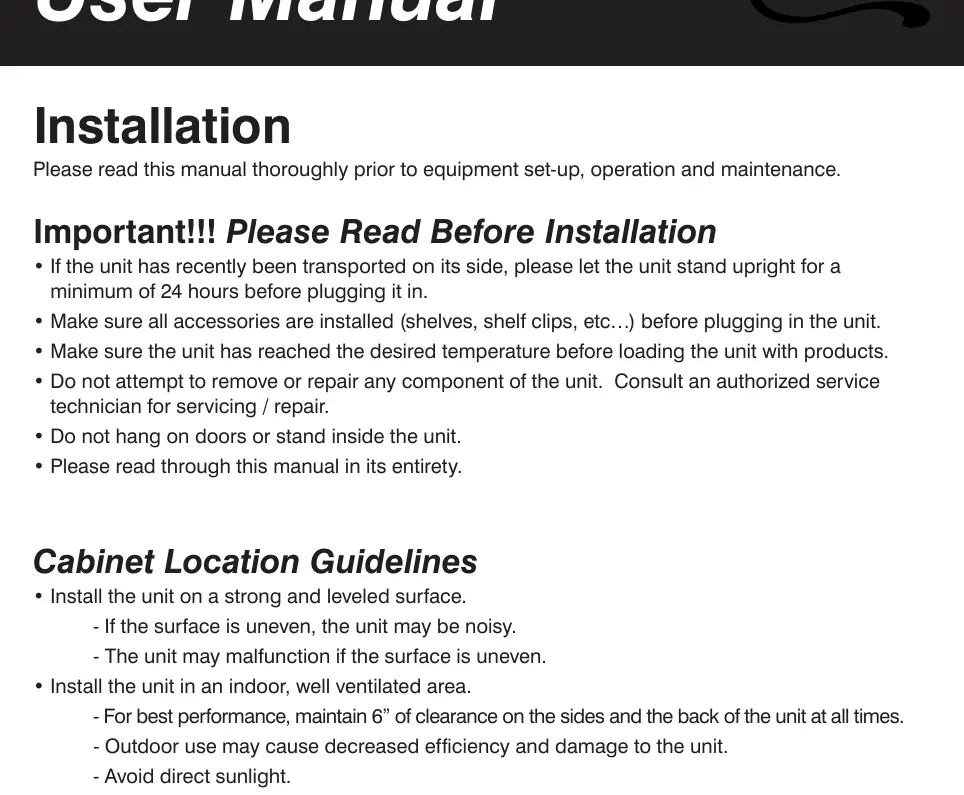
- Surface: Install on a strong, level surface to prevent noise and malfunctions.
- Clearance: Maintain at least 6 inches of clearance on the sides and back of the unit.
- Environment: Install in an indoor, well-ventilated area. Avoid direct sunlight, high humidity, and dusty environments.
- Placement: Keep away from heat and moisture-generating equipment.
- Initial Setup: If the unit was transported on its side, let it stand upright for at least 24 hours before plugging it in.
Digital Temperature Controller
The unit is factory-set to optimum temperatures. To adjust settings:

- View Temperature: Press the SET button.
- Modify Temperature: Press the up or down arrow buttons to change the value, then press SET to store.
- Illumination: Press the light button to toggle interior lights.
- Manual Defrost: Press and hold the defrost button for 6 seconds.
- Reset: If the display shows "Disorder", press the down arrow for 2 seconds until the buzzer rings, then press the up arrow for 6 seconds until it rings again.
Electrical Requirements
- Ensure the required voltage is supplied at all times.
- Use a grounded, properly-sized electrical outlet with over-current protection.
- The unit should have its own dedicated outlet; do not use extension cords.
- Do not plug or unplug with wet hands.
- If unplugging, wait at least 10 minutes before plugging back in to prevent compressor damage.
Operation and Maintenance
Regular maintenance ensures efficient operation:
- Loading: Do not block air vents. Ensure shelves are level and secured. Do not store flammable or explosive materials.
- Condenser Coil: Clean at least once per month to remove dust and lint. Use a commercial condenser coil cleaner.
- Fan Blades and Motor: Clean with a soft cloth. If washing, cover the motor to prevent moisture damage.
- Interior: Clean with warm water and mild soap. Do not use steel wool, caustic soap, or bleach.
Manufacturer information
Avantco Equipment
Practical help
Common problems
Unit is noisy
Ensure the unit is installed on a strong, level surface.
Unit malfunctioning
Check for dust on the condenser coil, ensure proper ventilation clearance (6 inches), and verify the ambient temperature is not too high.
Display shows 'Disorder'
Perform a digital controller reset: press the down arrow for 2 seconds, then the up arrow for 6 seconds.
Compressor damage
Always wait at least 10 minutes after unplugging the unit before plugging it back in.
Before use
- Let the unit stand upright for 24 hours if it was transported on its side.
- Ensure all shelves and shelf clips are installed.
- Verify the unit has reached the desired temperature before loading products.
- Ensure 6 inches of clearance on the sides and back.
- Verify the electrical outlet is grounded and dedicated.
Specs in practice
- Automatic Defrost
- Refrigeration coils are kept below freezing; the fan circulates air to melt accumulated frost, which then drains into an evaporator pan.
Images and diagrams
- The digital controller features buttons for temperature adjustment (up/down arrows), light control, and manual defrost.
- The base of the unit contains the air intake and hot air exhaust grates which must remain unobstructed.
Model compatibility
- Indoor use only.
- Avoid direct sunlight.
- Not for use in high humidity or dusty areas.

Manual page author
David Miller
Documentation analyst
Organizes user manual content into clear summaries, with attention to model details, product context, and everyday usability.