Home Appliances / Commercial Kitchen Equipment
User Manual for Avantco Electric Bain Marie Countertop Food Warmers
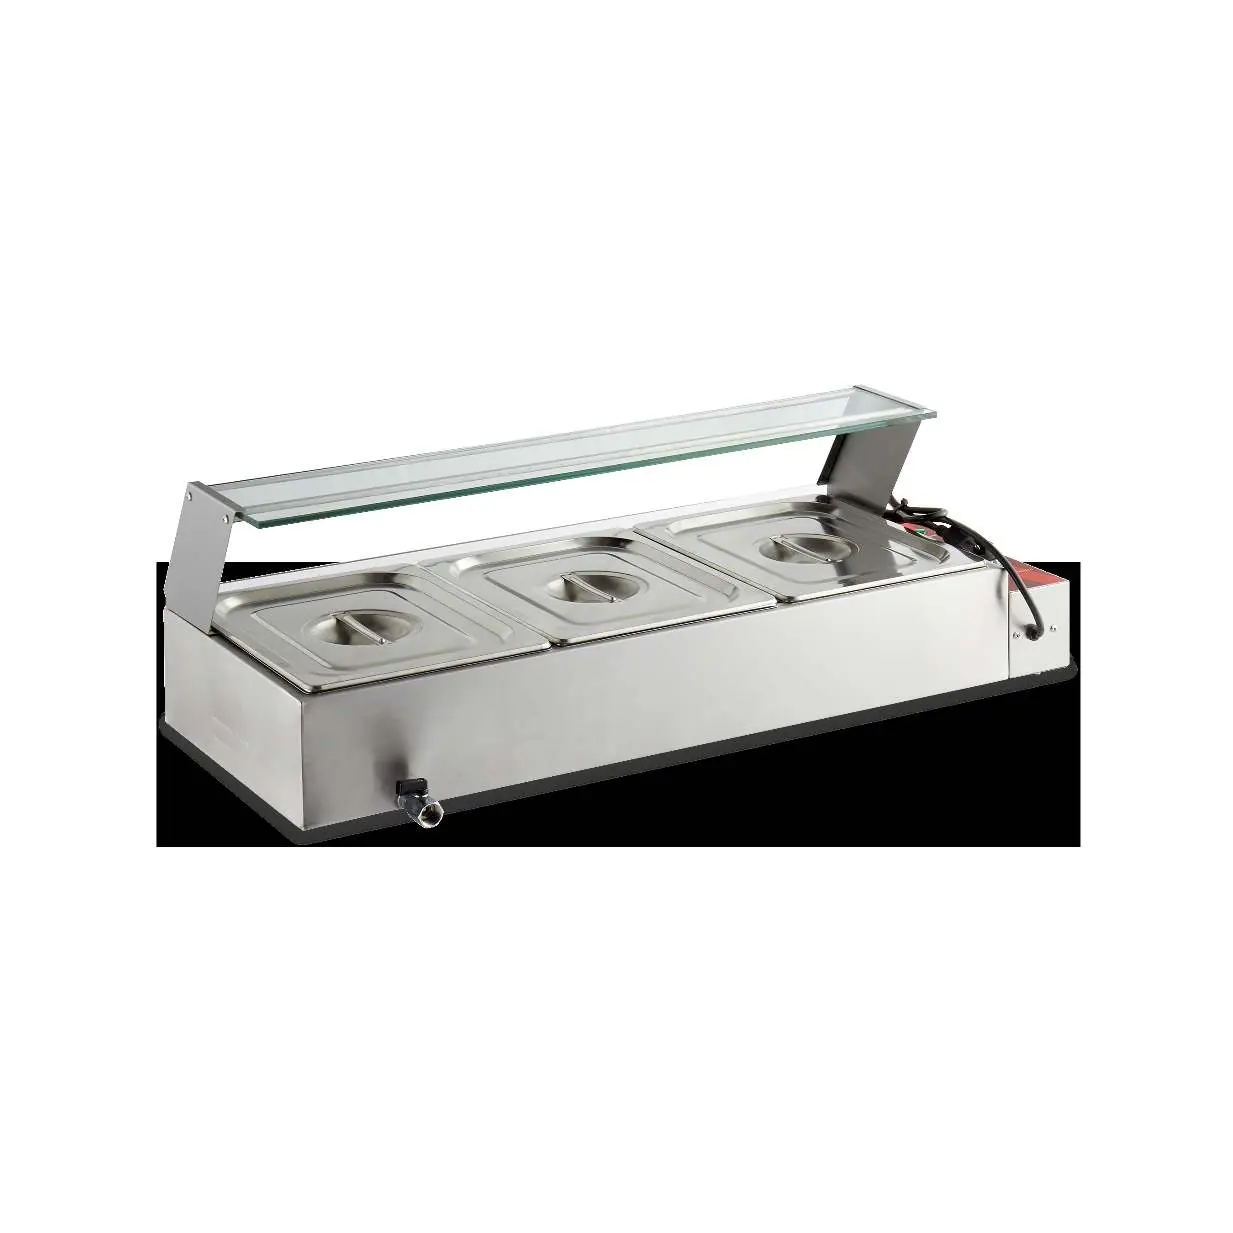
Quick guide for Avantco Electric Bain Marie Countertop Food Warmers (177BMFW3, 177BMFW4, 177BMFW5). Includes setup, installation, operation, cleaning, and troubleshooting instructions.
Quick answers from the manual
Quick answer
- The Avantco Electric Bain Marie is a countertop food warmer. It requires water to be filled to the MAX line, a dedicated grounded circuit, and a full preheat cycle before use. p. 1, 4, 6
Key actions
- Assemble the unit by securing side parts, installing glass, and attaching poles with screws. p. 5
- Perform daily cleaning by removing food residue and wiping exterior surfaces with warm, soapy water. p. 6
First start
- Inspect packaging, place on a level surface, connect to a grounded outlet, fill with water, and run a full preheat cycle. p. 4, 6
Problems and fixes
Bain marie is not heating
Plug in the equipment or fill with appropriate amount of water.
p. 8
Trips GFCI outlet
Plug into a non-GFCI outlet and run on low for 30 minutes.
p. 8Technical specifications
| Parameter | Value | Meaning | Pages |
|---|---|---|---|
| Voltage | 120V | Operating voltage | p. 4 |
| Frequency | 60Hz | Operating frequency | p. 4 |
Where to find it in the PDF
- Critical Information p. 2
- Installation p. 5
- Operation p. 6
- Troubleshooting p. 8
Table of contents
Manual images
Click an image to enlargeQuick Guide
This manual covers the Avantco Electric Bain Marie Countertop Food Warmers (models 177BMFW3, 177BMFW4, 177BMFW5). Key operational requirements include maintaining water levels to submerge the heating element, allowing a full preheat cycle before use, and ensuring the unit is placed on a stable, level surface.
Safety Warnings
- Fire Hazards: Keep combustible materials at least 12 inches from the sides and 24 inches from the top. Maintain a 3-inch clearance from non-combustible materials for ventilation.
- Electrical Safety: Connect only to a grounded power socket with the correct voltage. Do not plug additional appliances into the same socket.
- Usage: For commercial, indoor use only.
Installation
Follow these steps to assemble the unit:

- Unpack: Remove all components from the shipping container.
- Side Parts: Secure the right and left parts onto the tank body using the provided screws.
- Glass Installation: Insert one piece of glass into the hook of the right and left parts.
- Poles and Glass: Insert the two long poles into the holes of the side parts. Place the second piece of glass between the long poles and side parts. Secure using the four screws.
- Final Assembly: Ensure all parts are tight before use.
Operation
- Power: Connect to a grounded outlet with a compatible power rating (120V, 60Hz).
- Water: Maintain enough water to keep the heating element submerged. Always keep water at the MAX fill line.
- Preheat: Rotate the thermostat knob and allow the unit to complete a full preheat cycle before adding food.
- Placement: Place cooked or heated product into hotel pans and insert into the bain marie. Cover with correct sized lids.
Cleaning and Maintenance
Daily Cleaning:
- Allow the unit to cool to room temperature before cleaning.
- Remove excess grease and food residues after each use using a non-scratch scraper.
- Clean exterior surfaces daily with warm, soapy water and a soft cloth.
- For heavy dirt, use a stainless steel cleaner in the direction of the polishing lines. Do not use steel wool or wire brushes.
Monthly Checks:
- Inspect the plug and cord for wear, discoloration, or cuts.
- Check all seals, gaskets, and hoses for leaks.
- Examine taps and levers for ease of operation.
Manufacturer information
Avantco Equipment
Practical help
Common problems
Bain marie is not heating
Ensure the unit is plugged in and the water level is sufficient to cover the heating element.
Not reaching set temperature
Allow the unit to finish the preheat cycle. If it still fails, the heating element may have failed; contact a service technician.
Trips GFCI outlet
Moisture buildup may cause a false trip. Plug into a non-GFCI outlet and run on low for 30 minutes to dry out.
Low water light illuminates
Add hot water to the well to bring the level to the MAX fill line.
Before use
- Inspect packaging for shipping damage.
- Place unit on a stable, level surface near an outlet.
- Ensure the unit is connected to a properly grounded outlet.
- Verify the unit is on a dedicated circuit.
- Fill the well with water to the MAX fill line.
- Run a full preheat cycle before adding food.
Specs in practice
- MAX fill line
- The required water level to ensure the heating element is submerged and protected.
Images and diagrams
- Assembly requires attaching side panels to the tank body, inserting glass panels into hooks, and securing the top poles with screws.
Model compatibility
- Designed for commercial, indoor use only.
- Requires a dedicated electrical circuit.

Manual page author
Emily Carter
User documentation editor
Prepares concise manual descriptions and highlights the most useful setup, operation, and maintenance information for readers.