Home Appliances / Vacuum Cleaners
User Manual for Bissell PowerForce Helix and PowerForce Helix Turbo Vacuum
Access the official user manual for the Bissell PowerForce Helix and PowerForce Helix Turbo vacuum series. This guide provides essential instructions for assembly, operation, filter maintenance, troubleshooting, and part replacement to...
Table of contents
Manual images
Click an image to enlargeQuick Guide from the Manual
This vacuum is designed for household use. Before operating, ensure all filters are correctly installed and the dirt container is properly seated. Always unplug the unit before performing any maintenance or troubleshooting. The vacuum features a polarized plug; if it does not fit fully into the outlet, reverse it. Do not use the vacuum on wet surfaces or to pick up flammable materials.
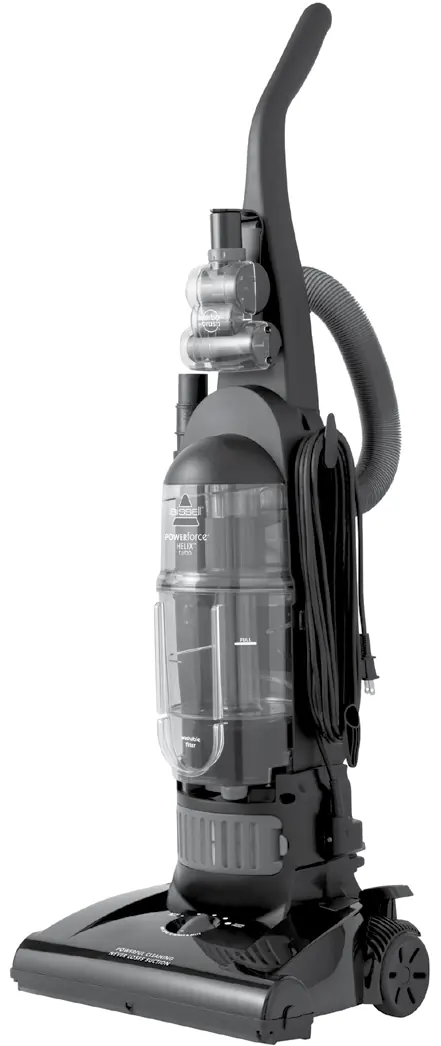
Product Overview
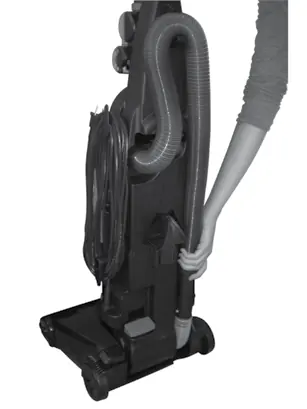
The vacuum consists of a main body with a handle, a dirt container with a primary separator, and a powerfoot. Key components include the height adjustment knob, cord wrap, and various tools such as the TurboBrush, crevice tool, and extension wand. The power switch is located on the bottom left of the back of the unit.
Assembly
To assemble the vacuum, follow these steps:
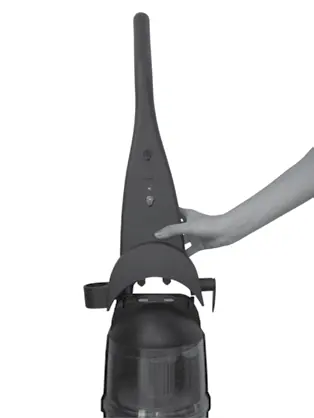
- Attach handle: Remove the screw packet from the handle base. Stand the vacuum upright, insert the handle base into the grooves on the vacuum body, and secure it with the two provided screws.
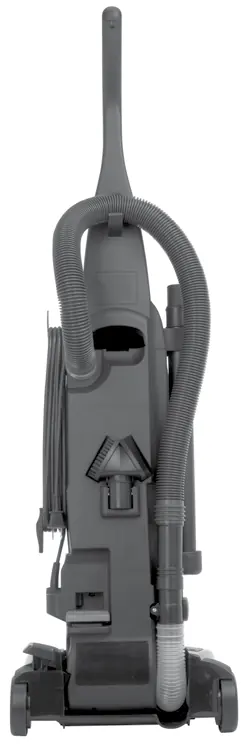
- Attach hose and tools: Align the tabs on the Twist 'n Snap hose with the notches on the hose collar and turn right to lock. Slide the hose end into the hose wand base and snap into the upper hose clip. Attach the extension wand, crevice tool, and combination tool to their respective storage clips.
- TurboBrush (select models): Slide the bracket onto the front of the handle, then snap the TurboBrush tool into the bracket.
Operations
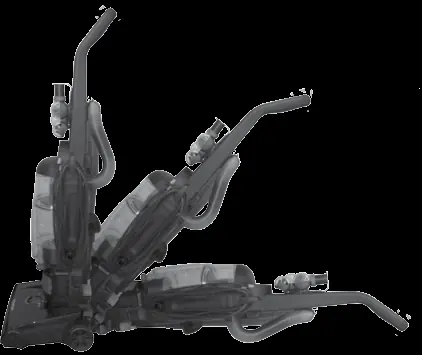
The vacuum offers three handle positions for different cleaning needs:
- Upright: Used for storage, transport, and above-floor cleaning with tools.
- Normal Cleaning: Press the handle release pedal once to recline the vacuum for standard floor cleaning.
- Low Cleaning: From the normal position, press the pedal again to reach under low furniture.
Use the height adjustment knob on the powerfoot to select one of 5 settings based on carpet pile height. For above-floor cleaning, remove the hose from the suction intake and attach the desired tool.
Maintenance and Care
Regular maintenance is essential for performance:
- Dirt Container: Empty when dirt reaches the Full line. Unlock the Lock 'n Seal lever, remove the container, and empty. The container can be washed in warm water with mild detergent; ensure it is completely dry before reassembly.
- Filters: Regularly clean the inner and outer circular filters. Remove the dirt container, twist to unlock the filter assembly, and separate the foam and pleated filters. Wash by hand in warm water and air dry completely. Do not put filters in the dishwasher.
- Pre-Motor Filter: Located under the filter cup, remove and rinse under warm water. Air dry before replacing.
- Post-Motor Filter (select models): Replace when dirty; this filter is not washable.
- Rotating Brush and Belt: Turn the vacuum over, remove the four screws on the brush cover, and lift off. Clean debris from the brush, pulley, and belt. Check the belt for wear and replace if necessary.
Troubleshooting
If the vacuum does not turn on, check the electrical plug and home circuit breaker. If suction is poor, ensure the dirt container is installed correctly, the hose is fully connected, and filters are clean. Check for clogs in the hose, wand, or air passageway. If the brush stops rotating, inspect the drive belt for damage.
Manufacturer information
Bissell Inc.
Practical help
Common problems
Vacuum won't turn on
Check if the power cord is plugged in, or if a fuse has blown or a circuit breaker has tripped in your home.
Poor suction or no suction
Ensure the dirt tank is installed properly, the hose is fully connected, filters are clean, and there are no clogs in the hose or air passageway.
Brush not rotating
Check the drive belt for wear, cuts, or stressed areas. Replace the belt if damaged.
Before use
- Ensure all filters are clean and dry.
- Verify the dirt container is properly seated and locked.
- Check that the hose is securely connected to the base and handle.
- Ensure the power cord is not damaged.
- Check that the brush roll is free of debris.
Specs in practice
- Height Adjustment
- 5 settings available to accommodate different carpet pile heights and bare floors.
- Polarized Plug
- Safety feature with one blade wider than the other; fits into an outlet only one way.
Images and diagrams
- Assembly: Handle attaches to the body with two screws.
- Maintenance: Filters are accessed by removing the dirt container and twisting the filter assembly.
- Clog removal: Hose wand base can be removed by unscrewing it from the vacuum.
Model compatibility
- TurboBrush Tool is included with select models only.
- Post-Motor Filter is for select 68C7 models only.

Manual page author
Emily Carter
User documentation editor
Prepares concise manual descriptions and highlights the most useful setup, operation, and maintenance information for readers.