Power / Car Chargers
Installation Guide for BlueBuilt Connection Kit for 185cm Upright Refrigerators
Step-by-step installation guide for the BlueBuilt connection kit, designed for joining 185cm Wisberg and Veripart upright refrigerators side-by-side.
Quick answers from the manual
Quick answer
- This kit is used to join two 185cm upright refrigerators (Wisberg or Veripart) side-by-side. It includes top, bottom, and rear connecting liners, a central strip, and necessary screws. p. 8, 9
Key actions
- Power off both units before starting installation. p. 9
- Align units with a 10mm gap. p. 9
Problems and fixes
Units do not align
Adjust the levelling feet of both units until they are at the same height.
p. 12Technical specifications
| Parameter | Value | Meaning | Pages |
|---|---|---|---|
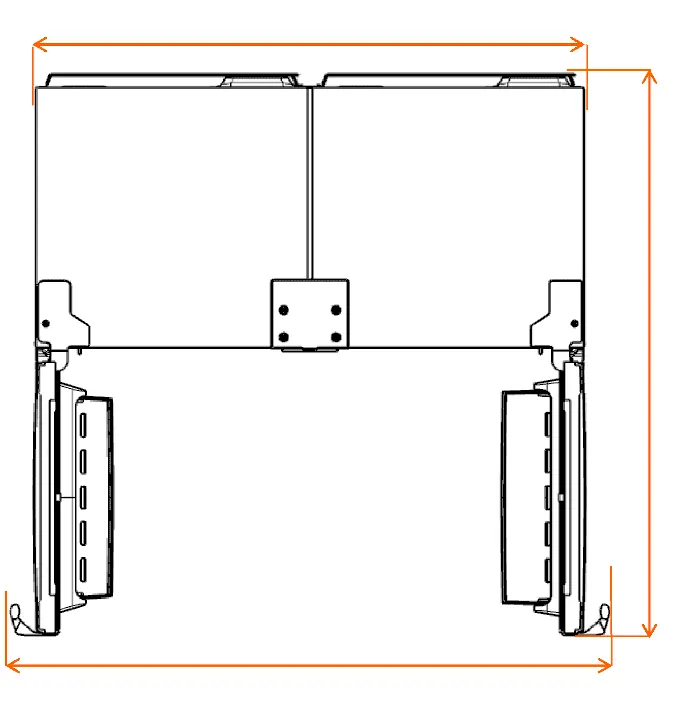
| Total Width | 1198 mm | Combined width of the two units. | p. 12 |
Where to find it in the PDF
- Installation Steps p. 10, 11
Table of contents
Manual images
Click an image to enlargeImportant Information
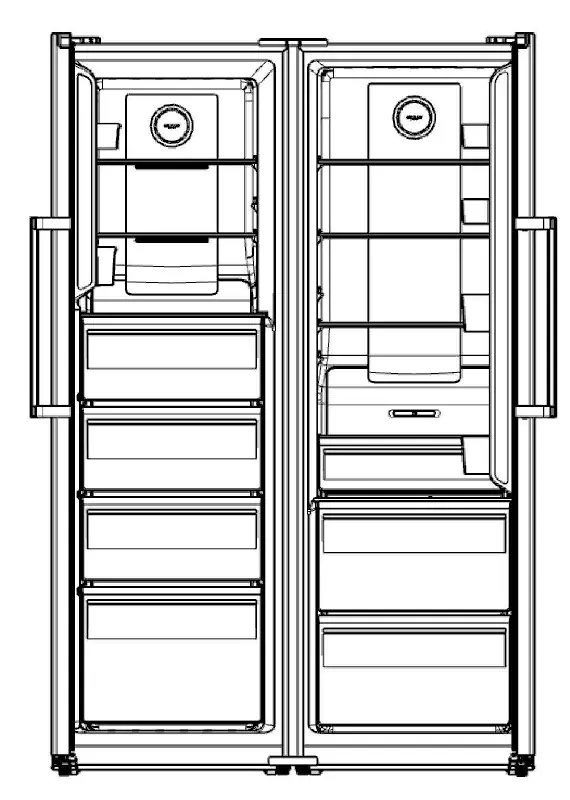
This document provides instructions for installing the BlueBuilt connection kit, which allows you to join two 185cm upright refrigerators (Wisberg or Veripart models) side-by-side. Before beginning, ensure both units are powered off and that you have the correct kit (White: BBUPCK185W or Black: BBUPCK185B). Proper alignment and levelling are critical for a successful installation.
Kit Contents
- 1x Top cover
- 3x Connecting liners
- 1x Bottom cover
- 1x Bottom connecting liner
- 1x Central strip
- 8x Screw (A)
- 4x Screw (B)
Preparation Before Installation
- Power off both refrigerators.
- Arrange the units so that one refrigerator opens to the left and the other opens to the right.
- Place the left-opening unit on the left and the right-opening unit on the right.
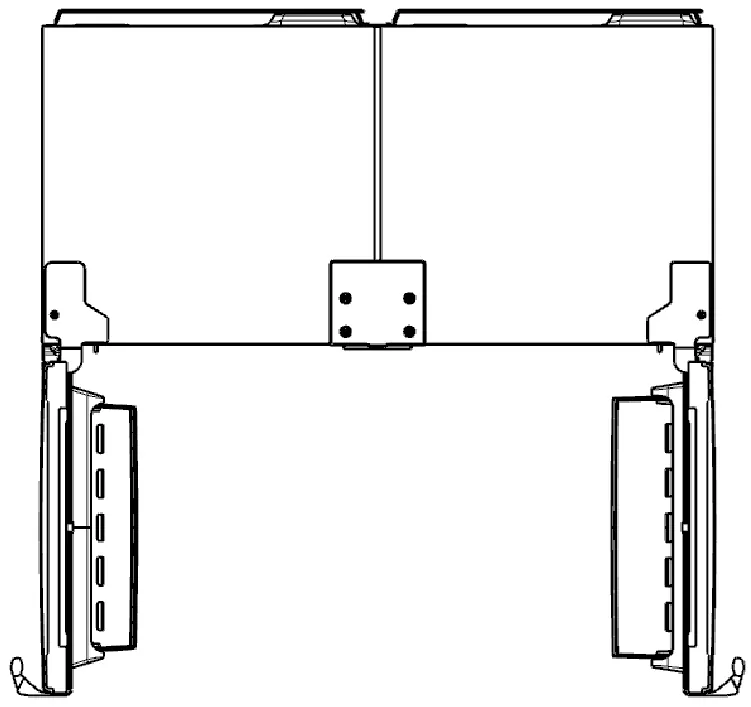
- Align both units at the front and back, maintaining a gap of approximately 10mm between them.
Installation Steps
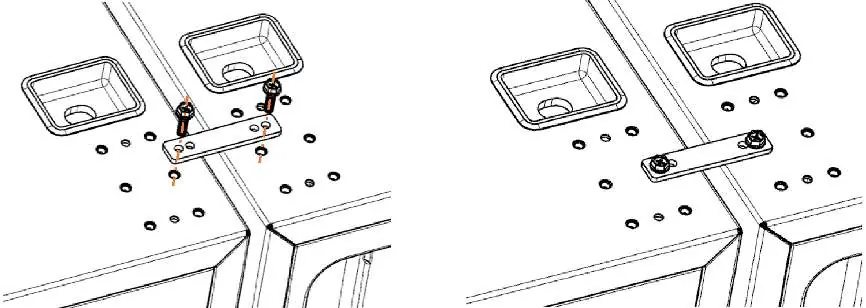
1. Top and Bottom Connection
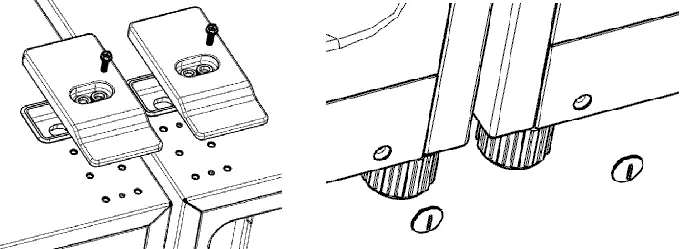
Remove the top decorative covers and the screw hole covers located above the levelling feet on both units. Place a connecting liner on top of both units and secure it tightly using 2 x screw (A). Adjust the levelling feet of both units to ensure they are at the same height. Install the bottom connecting liner and secure it with 2 x screw (A).
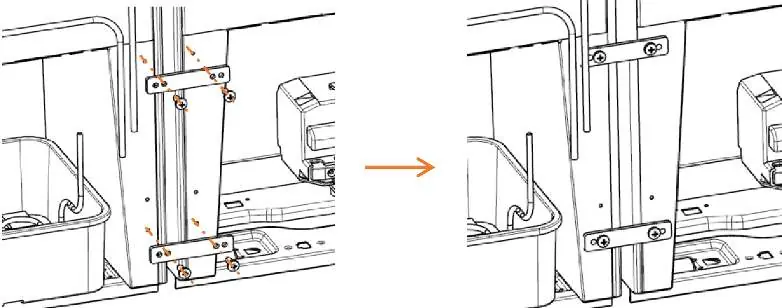
2. Rear Connection
Place two connecting liners at the back of both units and secure them using 4 x screw (B).
3. Finishing Touches
Insert the central strip into the gap between the units. Place the top cover and secure it with 4 x screw (A). Finally, install the bottom cover.
Post-Installation Check
After installation, verify that the units are level and at the same height. Ensure there is sufficient space around the units. Check that the doors and handles are in the correct position for your usage requirements.
Manufacturer information
BlueBuilt
Practical help
Common problems
Units cannot be attached together
Ensure both units are at the same height or properly levelled. Adjust the levelling feet of both units until they are aligned.
Doors do not open correctly
Check if the doors and door handles need to be reversed to the correct position before attaching the units.
Before use
- Power off both refrigerators
- Verify you have the correct kit (White or Black)
- Ensure one unit opens left and the other opens right
- Align units at front and back
- Maintain a 10mm gap between units
Images and diagrams
- The manual provides diagrams for top, bottom, and rear connection points.
- The top view diagram illustrates the alignment and spacing requirements.
Model compatibility
- Compatible with 185cm Wisberg and Veripart upright models.

Manual page author
Emily Carter
User documentation editor
Prepares concise manual descriptions and highlights the most useful setup, operation, and maintenance information for readers.