Power / Solar Panels
Instruction Manual for Bresser 9633105 Game/Surveillance Camera
Quick guide for the Bresser 9633105 Game/Surveillance Camera. Learn how to set up, mount, configure settings, and access your photos and videos.
Quick answers from the manual
Quick answer
- The Bresser 9633105 is a wildlife camera. To use it, insert 8 AA batteries and an SD card, switch to SETUP to configure settings, then switch to ON to begin monitoring. p. 7, 8
Key actions
- Insert batteries p. 7
- Configure settings p. 7, 8
First start
- Insert batteries and SD card, switch to SETUP, configure language and settings, then switch to ON. p. 7, 8
Show 4 more answers Show less
Problems and fixes
False triggers
Do not aim at heat sources or moving branches.
p. 10Maintenance and reset
- Reset settings via the menu option 'Reset Settings'. p. 9
Technical specifications
| Parameter | Value | Meaning | Pages |
|---|---|---|---|
| Photo Resolution | 20MP (interpolated) | Max image quality | p. 9 |
| Video Resolution | 1920x1080p | Full HD video | p. 9 |
| Operating Temperature | -20°C to +60°C | Environmental range | p. 10 |
Where to find it in the PDF
- Camera Overview p. 7
- Specifications p. 9, 10
Table of contents
Manual images
Click an image to enlargeQuick guide from the manual
The Bresser 9633105 is a game and surveillance camera designed for recording digital photos and videos, particularly for wildlife observation. This guide covers the essential steps to get your device operational, including power supply, SD card installation, configuration, and mounting.
About the camera
The camera features a PIR sensor for motion detection, infrared LEDs for night vision, and a built-in LCD screen for menu navigation and file review. The device is powered by 8 AA batteries and requires an SD card (up to 32GB) for storage.
Power supply
To power the device:
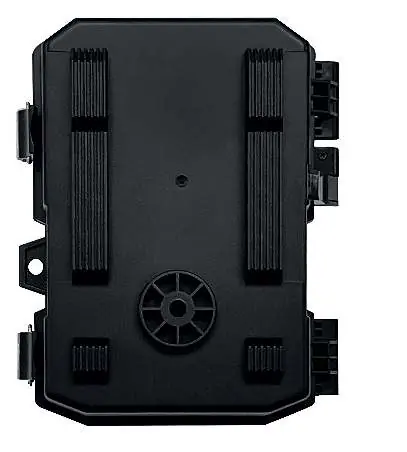
- Open the latches (2) to access the battery compartment (13).
- Insert 8 AA 1.5V Alkaline batteries, ensuring correct polarity.
- Close and secure the battery cover firmly.
Inserting SD card
The camera does not have built-in memory and requires an SD card to function.
- Push the SD card into the slot (11) until you hear a click. The side with the wording must face up.
- The device supports SD cards up to 32 GB.
- To remove, push the card slightly to pop it out.
- Wait for the card to reach room temperature after transport before use to prevent condensation.
Setting up the camera
To configure the camera settings:
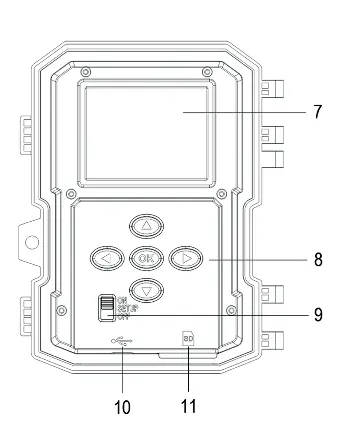
- Push the switch button (9) to SETUP.
- Press the left arrow button to open the settings menu.
- Use the right arrow button to navigate to 'Language', press OK, and select your preferred language.
- Continue navigating through the menu to adjust settings like Photo Resolution, Video Length, and PIR Sensitivity.
- Once configured, push the switch button to ON. The camera will count down from 10 to 0 and the screen will turn black, indicating it is in standby mode.
Accessing photos and videos
You can view your files using two methods:
- Via SD Card: Eject the SD card and insert it into a computer's card reader. Open the removable disk icon in your file explorer to copy the files.
- Via USB-C Cable: Connect the camera directly to a computer using a USB-C cable. Open the removable disk icon representing the camera to access the files.
Mounting
For optimal results:
- Mount the camera on a sturdy tree with a diameter of about 15 cm (6 in).
- Place the camera at a height of 1.5 to 2 meters (5 - 6.5 ft).
- The ideal distance from the monitored area is 5 meters (16-17 ft).
- At night, the subject should be between 3 meters (10 ft) and 19 meters (60 ft) from the camera.
- Perform a sensing angle and distance test by switching to SETUP mode and moving in front of the camera; the motion indicator LED will blink if the position is sensed.
Specifications
- Photo Resolution: 20MP (interpolated), 5MP (sensor)
- Video Resolution: 1920x1080p, 640x480p
- Trigger Time:< 0.6 sec
- Waterproof Rating: IP65
- Operating Temperature: -20°C to +60°C
- Power: 8 pcs. AA Alkaline batteries
Manufacturer information
Bresser GmbH
Practical help
Common problems
Camera not recording
Ensure the SD card is inserted correctly, is not full, and the camera is switched to the ON position.
False triggers
Avoid aiming the camera at heat sources, tree branches, or brush, especially on windy days.
Before use
- Insert 8 AA Alkaline batteries
- Insert an SD card (up to 32GB)
- Set the date and time in SETUP mode
- Perform a sensing angle and distance test
- Ensure the camera is switched to ON for operation
Show more Show less
Specs in practice
- PIR Trigger Time
- The time it takes for the camera to start recording after detecting motion (< 0.6 seconds).
- Waterproof Rating
- IP65 rating indicates protection against dust and water jets.
- Max SD Capacity
- The camera supports SD cards up to 32GB.
Images and diagrams
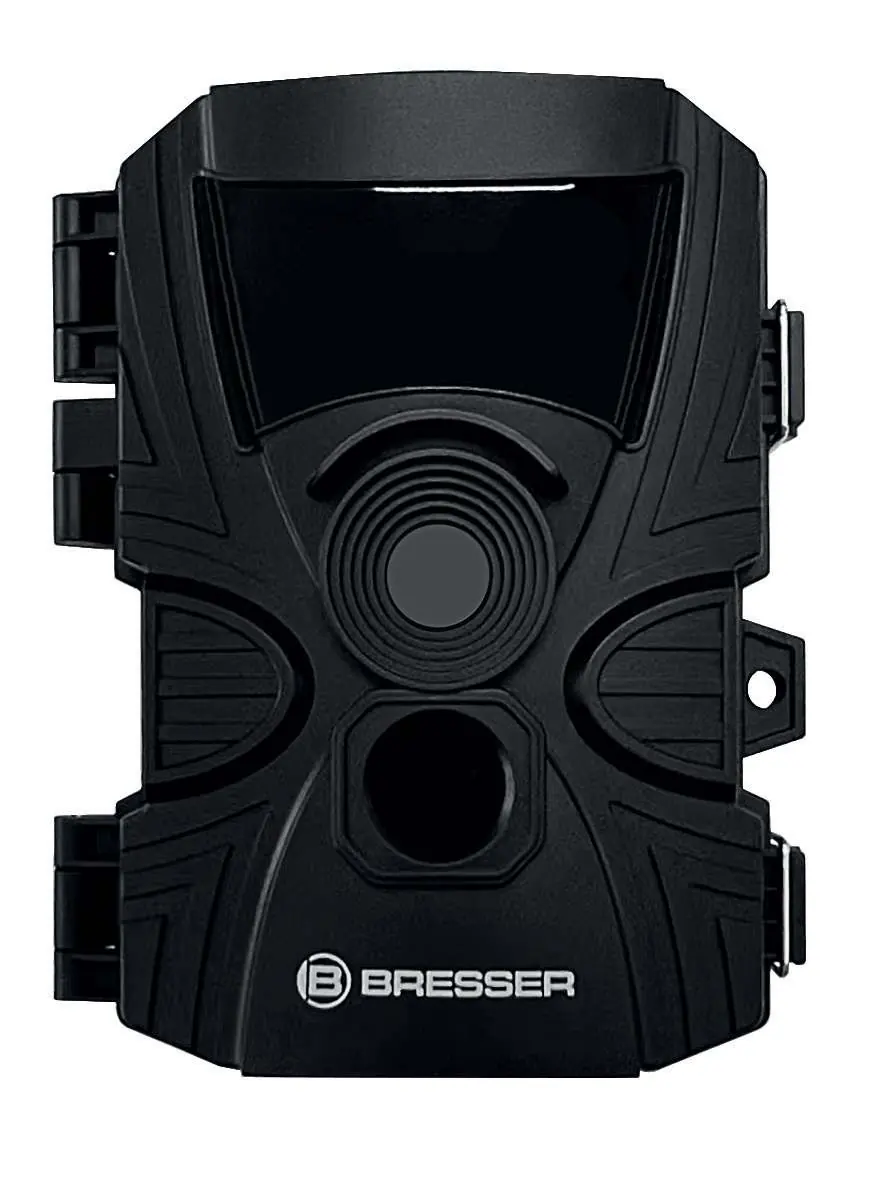
- Front view: Shows Infrared LED, Lens, and PIR Sensor.
- Control panel: Shows LCD screen, navigation buttons, and power switch.
- Rear view: Shows battery compartment.
Model compatibility
- Requires 8 AA Alkaline batteries (not included).
- Requires SD/TF card up to 32GB (not included).

Manual page author
David Miller
Documentation analyst