Furniture / Bathroom Furniture
User Manual for Casainc 10060-CAB Vanity and LED Mirror
Quick guide for installing and operating the Casainc 10060-CAB bathroom vanity and LED mirror. Includes installation steps, wiring diagrams, and touch switch operation.
Table of contents
Manual images
Click an image to enlargeQuick guide from the manual
This document provides installation and operating instructions for the Casainc 10060-CAB bathroom vanity and associated LED mirror. Please inspect all items upon receipt against the packing list. Professional installation is recommended for both the vanity and the electrical components of the mirror.
Vanity Installation
Before installation, ensure you have the necessary tools: tape measure, pencil, drill, glue gun, screwdriver, adjustable wrench, and level. Protect all surfaces from sharp objects, high heat, and direct sunlight.


- Packing List: Includes main cabinet, mirror, basin, and top.
- Drawer Adjustment: The manual provides specific steps for attaching and detaching drawer sliders, as well as adjusting hinges for height, lateral, and depth alignment.
- Assembly: Follow the numbered steps for measuring, drilling, installing the mirror, gluing the basin, and installing the top.
LED Mirror Safety
Warning: Risk of fire and electric shock. All fittings must be installed in accordance with current IEE wiring regulations. Consult a qualified electrician if in doubt.
- Switch off the electrical supply at the main circuit board before installation and maintenance.
- Suitable for indoor use only. Keep away from curtains and fabrics.
- Never cover the mirror.
- Regularly check the cord, transformer, and all parts for damage.
- Do not disassemble the product; the LED light source is non-changeable.
LED Mirror Operation
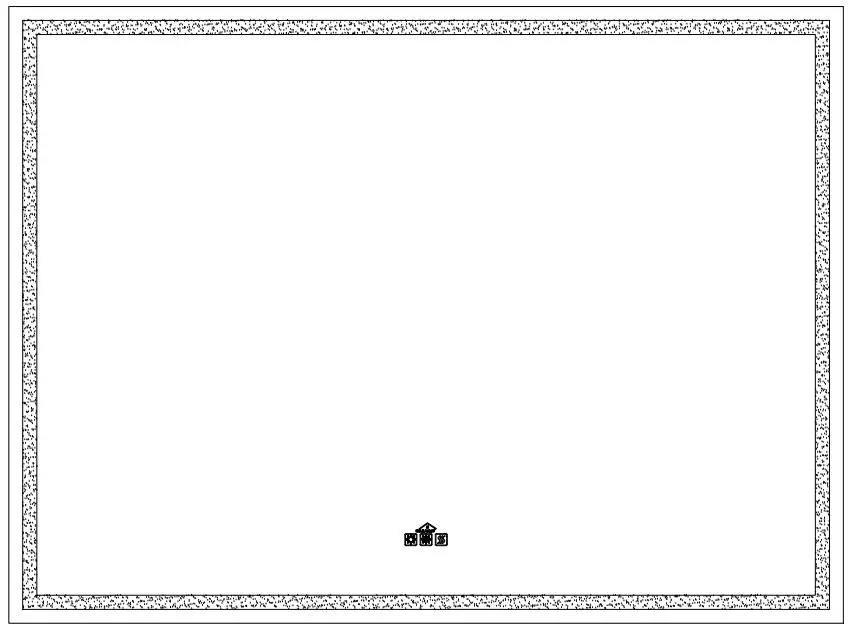
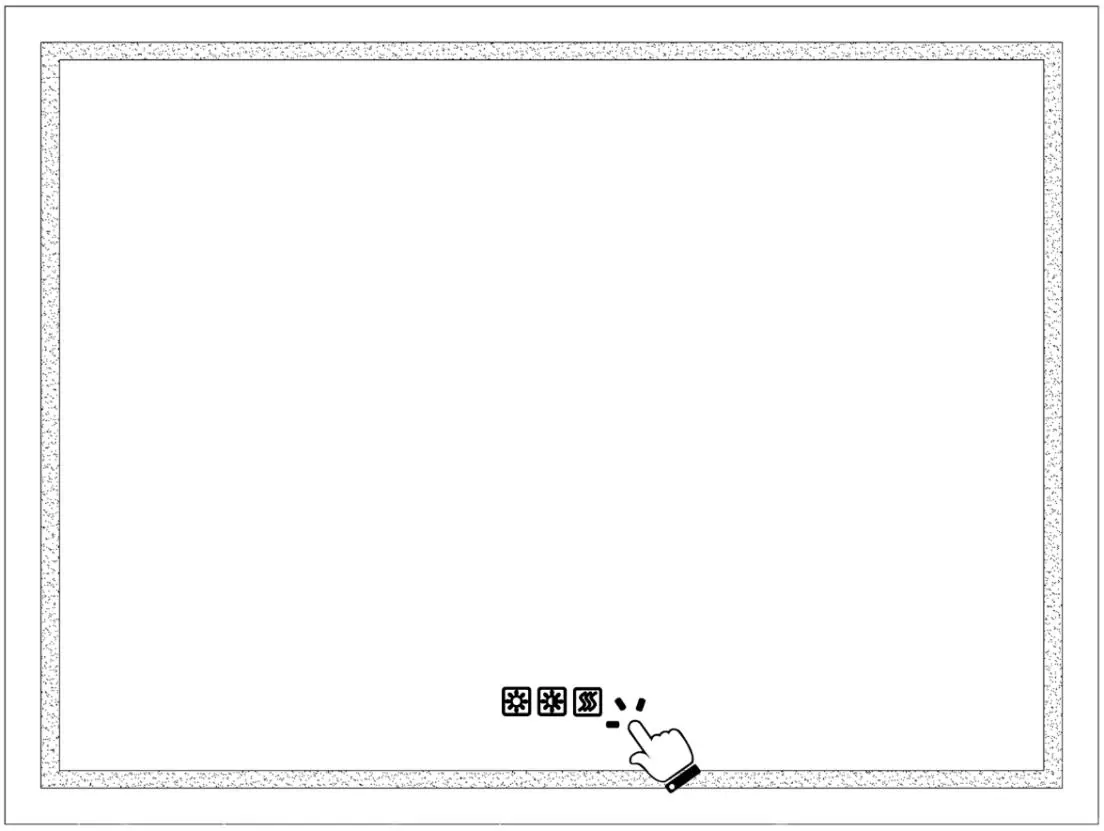
The mirror features a touch switch system with three buttons:
- Button 1 (Light): Short press to turn on/off. Long press (3-5 seconds) to activate the dimmer function (brightness cycles from strong to weak and vice versa).
- Button 2 (Color Temperature): Gently press to cycle through color temperatures: Neutral (3000K+6400K), Cool White (6400K), and Warm Yellow (3000K).
- Button 3 (Anti-fog): Short press to turn the anti-fog function on or off.
Power Source FAQ
The mirror supports two connection scenarios:
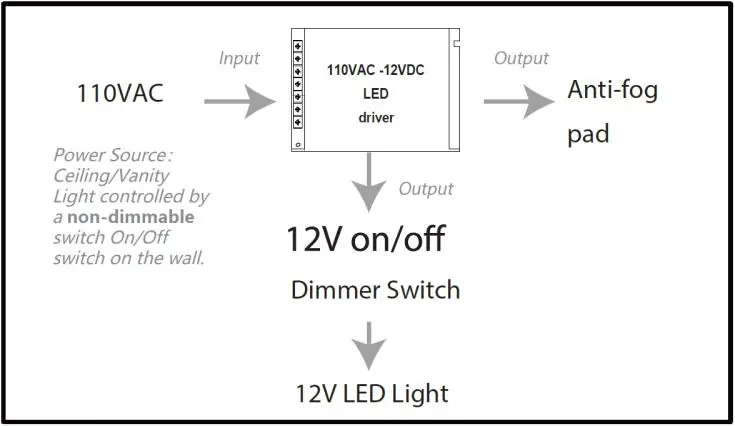
- Direct Wired: The most common method. The LED light and anti-fog pad are controlled by the built-in touch switch. The LED light is dimmable.
- Wall Switch: The mirror is bridged to the wall switch. The wall switch must be ON to power the mirror, and the touch switch is then used to control the light and anti-fog pad.
- Important: Do not use a wall dimmer switch. This is not accepted and will damage the LED driver.
Practical help
Common problems
Mirror does not turn on
Ensure the wall switch is in the ON position if using the wall switch connection method.
Wall dimmer switch compatibility
Do not use a wall dimmer switch; it will damage the LED driver. Use a standard non-dimmable wall switch.
Anti-fog function not working
Ensure the mirror is powered on and the anti-fog button (Button 3) has been pressed.
Before use
- Check packing list for all items (Main cabinet, Mirror, Basin, Top).
- Protect surfaces from sharp objects and high heat.
- Ensure no hidden pipes or cables in the wall before drilling.
- Switch off electrical supply at the main circuit board before installation.
- Wear suitable eye protection when drilling.
Specs in practice
- Color Temperature
- 3000K (Warm Yellow), 6400K (Cool White), or Mixed (Neutral).
- Input Voltage
- 110VAC.
Images and diagrams
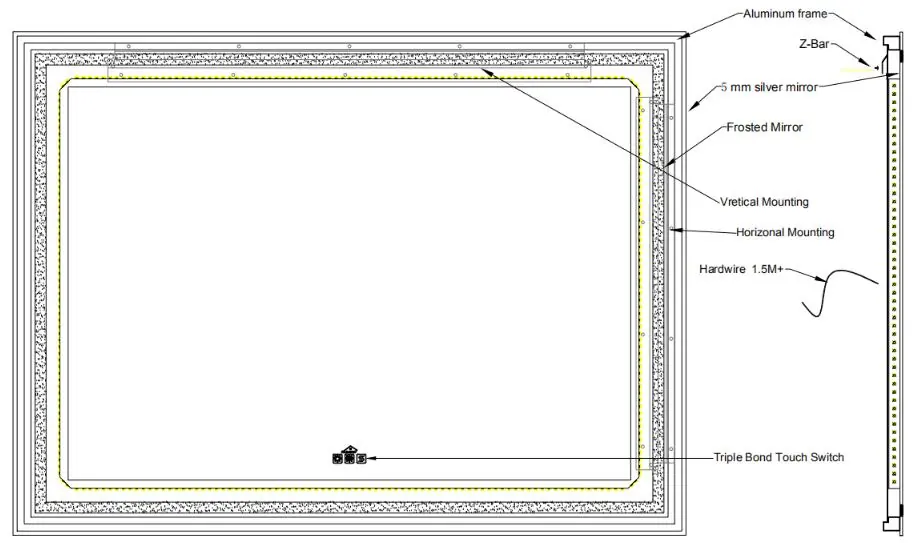
- Wiring: Shows connection to 110VAC power source.
- Hinge Adjustment: Shows how to adjust height, lateral position, and depth of cabinet doors.
- Drawer Slider: Shows mounting and dismounting procedures.
Model compatibility
- Not compatible with wall dimmer switches.
- Suitable for indoor use only.

Manual page author
David Miller
Documentation analyst
Organizes user manual content into clear summaries, with attention to model details, product context, and everyday usability.