Electronics / Cameras
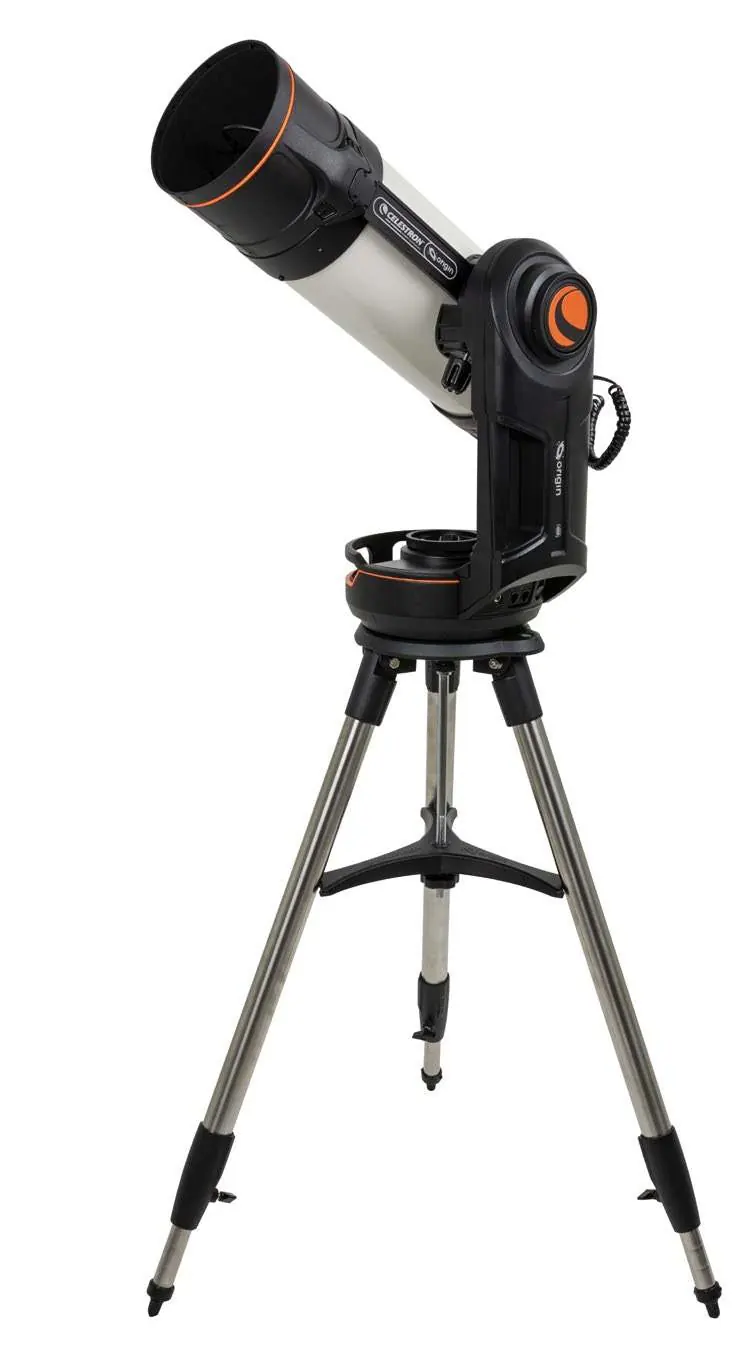
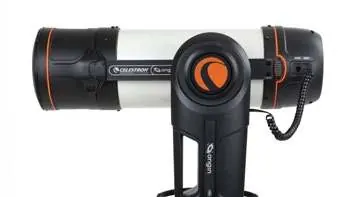
Celestron Origin Intelligent Home Observatory User Guide
Quick setup and operation guide for the Celestron Origin Intelligent Home Observatory, including tripod assembly, mount attachment, tube balancing, camera installation, and app connectivity.
Table of contents
Manual images
Jump to the sectionQuick guide from the manual
This document provides essential instructions for setting up and using the Celestron Origin Intelligent Home Observatory. Before starting, ensure you have an AC outlet for charging, a compatible mobile device (iOS 16+ or Android 12+), and the Celestron Origin app installed.
Safety Warnings
- Solar Warning: Never point the telescope directly at the Sun without an approved solar filter to avoid permanent damage to the camera or optics.
- Supervision: Never leave the unit unsupervised, especially when children are present.
Charging Origin
The built-in lithium battery typically ships with a 25% charge. It is recommended to fully charge the unit before first use.
- Slide the appropriate wall plug into the AC adapter until it snaps into place.
- Connect the adapter to an AC wall outlet.
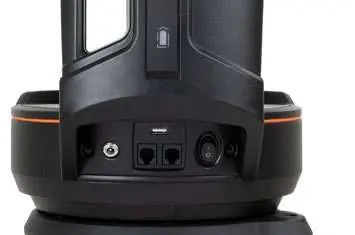
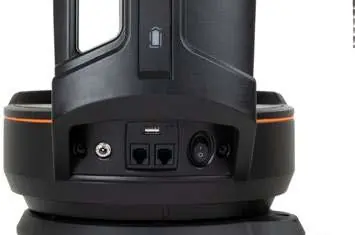
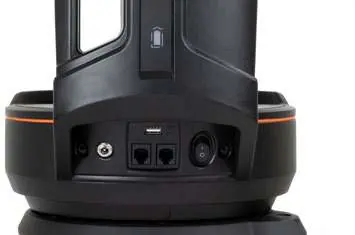
- Plug the other end into the 12V DC power port at the base of the fork arm. The battery light will pulse while charging and remain steady when complete.
Setting Up the Tripod
- Spread the tripod legs and stand it upright.
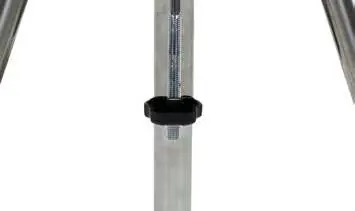
- Remove the support nut and washer from the central column.
- Place the leg brace over the central column so each arm supports a leg.
- Thread the nut and washer back onto the column and tighten firmly.
- Adjust leg height by loosening the lock knobs, then retighten.
- Confirm the tripod is level using the built-in bubble level.
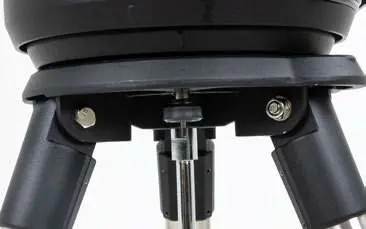
Attaching the Mount to the Tripod
- Position the fork arm mount over the center post on the tripod head.
- Rotate the mount until the three mounting sockets align and click into place.
- Thread the three captive mounting bolts from underneath the tripod head into the bottom of the telescope base.
Attaching the Origin Tube to the Mount
- Unlock the altitude clutch by loosening the black lock knob.
- Rotate the altitude axis until the quick-release knob faces downward, then retighten the clutch lock knob.
- Loosen the quick-release knob to make room for the dovetail.
- Slide the tube into the quick-release slot (fork arm should be on the left).
- Secure the tube by tightening the quick-release knob.
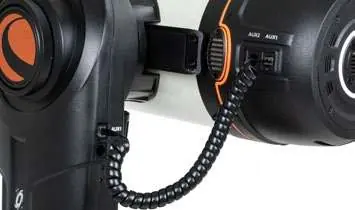
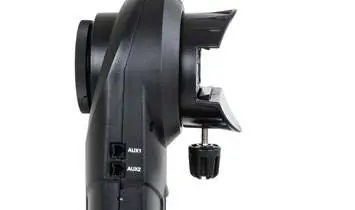
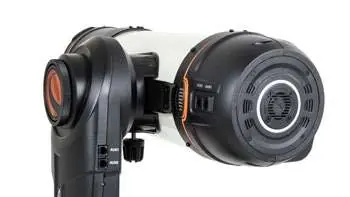
- Plug the AUX cable from the tube port to the AUX port on the mount.
Balancing the Origin Tube Assembly
- Loosen the altitude clutch knob and rotate the tube until it is parallel to the ground.
- Support the tube's weight and gently loosen the quick-release knob to allow the tube to slide on the dovetail bar.
- Slide the tube forward or backward until balanced, then tighten the quick-release knob.
Plugging in the Origin Camera
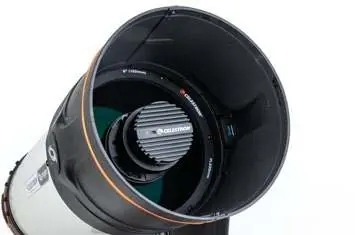
- Rotate the main lens cap counterclockwise to unlock and remove it.
- Remove the foam camera support from inside the lens shade.
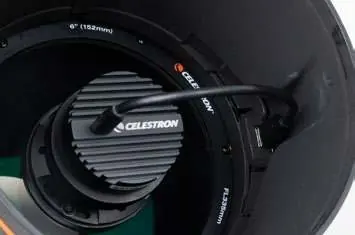
- Plug the USB camera cable into the port on the back of the camera and the other end into the USB port on the inside edge of the lens shade.
Using Origin
- Find a location with clear access to the sky.
- Turn on the unit using the switch at the base of the fork arm.
- Connect your mobile device to the Origin-XXX WiFi signal.
- Enter the temporary password 12345555 (or use the app setup screens to bypass).
- Launch the Origin App and follow on-screen instructions.
Manufacturer information
Celestron
Practical help
Common problems
Telescope tube slides suddenly when clutch is loosened.
Always support the tube from underneath when loosening the altitude clutch knob to prevent sudden movement.
WiFi connection requires a password.
The temporary password is 12345555. You can change this to a personal password in the Settings menu.
Mount does not sit flat on the tripod.
Ensure the three mounting sockets are properly aligned and clicked into place before tightening the mounting bolts.
Before use
- Charge the unit fully using the provided AC adapter.
- Ensure your mobile device meets the minimum OS requirements (iOS 16+ or Android 12+).
- Download the Celestron Origin app.
- Verify the tripod is level using the bubble level.
- Remove the foam camera support from the lens shade.
Specs in practice
- 12V DC Power Input
- Port used for charging the internal lithium battery.
- Altitude/Azimuth Clutch Knobs
- Controls used to lock or release the telescope's movement axes.
Images and diagrams
- The fork arm mount must be positioned with the arm on the left side of the optical tube.
- The tripod leg brace must be secured firmly against the tripod legs to ensure stability.
- The USB camera cable connects the camera to the port located on the inside edge of the lens shade.
Model compatibility
- The AC adapter is international and compatible with US, UK, EU, and AU outlets.
- The product is designed for users 14 years of age and older.

Manual page author
Emily Carter
User documentation editor
Prepares concise manual descriptions and highlights the most useful setup, operation, and maintenance information for readers.