Furniture / Home Furnishing
User Manual for Celestron Travel Scope 60
Quick guide for the Celestron Travel Scope 60 (22002-DS). Learn how to assemble the tripod, attach the telescope tube, align the finderscope, and use accessories like the Barlow lens and Moon filter.
Quick answers from the manual
Quick answer
- The Celestron Travel Scope 60 is a portable telescope. Assembly involves setting up the tripod, attaching the optical tube, and installing the diagonal and eyepiece. Always align the finderscope before use. p. 2, 3, 4
Key actions
- Align the finderscope p. 4
- Attach telescope tube p. 3
First start
- Set up tripod p. 2
- Remove lens cap p. 5
Show 2 more answers Show less
Problems and fixes
Blurry image
Turn focus knob; remove lens cap; avoid window glass/heat waves.
p. 4, 5Where to find it in the PDF
- Assembly p. 2, 3
- Aligning the finderscope p. 4
- Focusing and accessories p. 5
Table of contents
Manual images
Click an image to enlargeQuick guide from the manual
The Celestron Travel Scope 60 is designed for both land-based and celestial observations. Before using the telescope, ensure you have removed the front lens cap. Solar Warning: Never look directly at the Sun with the naked eye or through the telescope without a proper solar filter, as this can cause permanent eye damage. The telescope is intended for users 14 years of age and older.
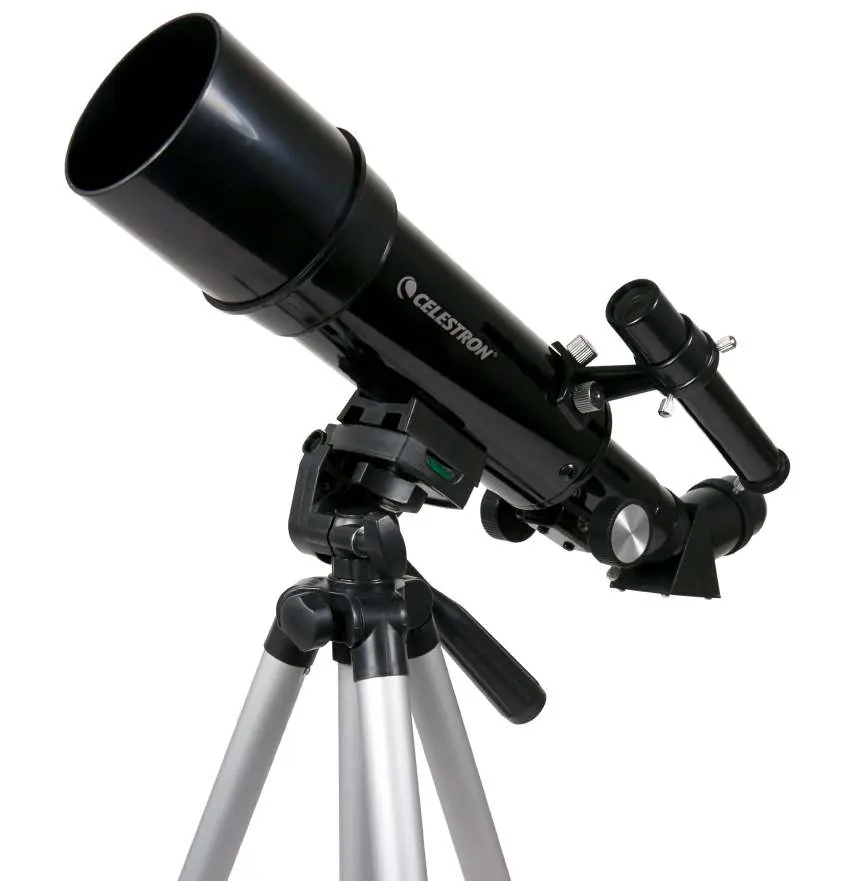
What's in the box
Verify that all parts are present before assembly:
- Telescope tube
- Tripod
- Finderscope
- Erect image diagonal
- 10mm and 20mm eyepieces
- 3x Barlow lens
- 1.25" Moon filter
- Travel backpack
Assembly
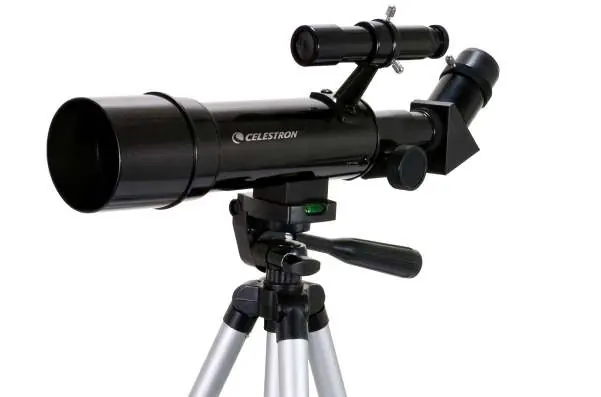
Setting up the tripod
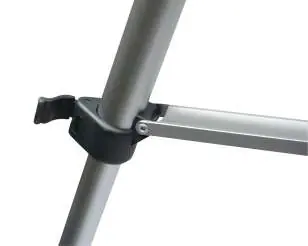
- Stand the tripod upright and pull the legs outward until fully extended.
- Adjust the height by unlocking the leg clamps, pulling the legs to the desired length, and closing the clamps.
- For further height adjustment, turn the central column locking knob counterclockwise, pull up the head of the tripod, and tighten the knob.
Attaching the telescope tube
- Remove the protective paper from the optical tube.
- Loosen the top right knob on the tripod to tilt the platform up 90 degrees, then tighten it.
- Align the mounting bracket on the bottom of the telescope tube with the tripod platform.
- Use the 1/4" x 20 screw located under the center of the tripod platform to secure the tube. Thread it clockwise until tight.
- Loosen the platform knob to lower the telescope to the level position and tighten securely.
Operation
Moving the telescope
The telescope uses two controls for movement:
- Altitude (up-and-down): Controlled by the pan handle.
- Azimuth (side-to-side): Controlled by the azimuth locking knob.
Loosen these knobs to move the telescope and tighten them to lock the position.
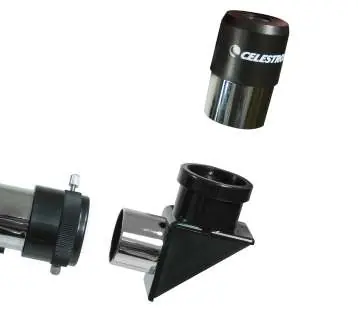
Installing the diagonal and eyepiece
- Remove the cap from the rear of the telescope tube.
- Insert the diagonal into the rear opening and tighten the two thumbscrews.
- Insert the eyepiece into the diagonal and tighten the thumbscrew. Ensure the screw does not protrude into the diagonal.
Aligning the finderscope
Alignment is best performed during the day using a distant object (at least 1/4 mile away).
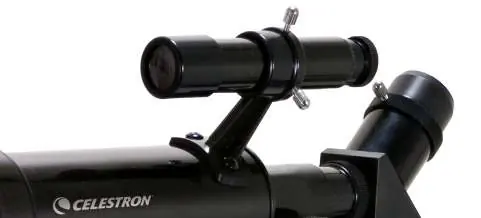
- Center a target in the telescope's 20mm eyepiece.
- Look through the finderscope.
- Use the three finger knobs on the finderscope bracket to adjust the finder until the crosshair is centered on the same object as the telescope.
Focusing and accessories
To focus, turn the focus knob near the rear of the telescope. If you wear glasses, you may want to remove them, though those with astigmatism should keep them on.
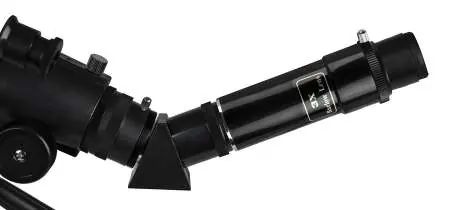
- 3x Barlow Lens: Place between the diagonal and the eyepiece to triple the magnification.
- Moon Filter: Thread directly onto the chrome barrel of the eyepiece.
General observing hints
For the best image quality, avoid observing through window glass, as it is optically imperfect. Also, avoid looking across heat-producing surfaces like asphalt or rooftops, as heat waves will distort the image.
Manufacturer information
Celestron
Practical help
Common problems
Blurry image
Turn the focus knob near the rear of the telescope. Ensure the front lens cap is removed.
Double image or poor focus
Avoid observing through window glass or over heat-producing objects like asphalt parking lots.
Finderscope not pointing at target
Align the finderscope during the day using a distant object (at least 1/4 mile away) and the three adjustment screws on the bracket.
Before use
- Remove protective paper from the optical tube
- Remove the front lens cap
- Ensure tripod legs are fully extended and locked
- Check that all knobs are tightened after adjustment
- Set up indoors first to familiarize yourself with the procedure
Show more Show less
Specs in practice
- 3x Barlow Lens
- An accessory that triples the magnifying power of the eyepiece.
- Altitude/Azimuth
- Altitude refers to up-and-down motion; Azimuth refers to side-to-side motion.
Images and diagrams
- Tripod setup: Pull legs outward and use clamps to adjust height.
- Tube attachment: Use the 1/4 x 20 screw under the tripod platform.
- Finderscope alignment: Use the three finger knobs on the bracket to move the finder.
Model compatibility
- Designed for ages 14 and older.
- Bonus software requirements: Windows 7+ or Mac OS X 10.4+.

Manual page author
Emily Carter
User documentation editor