Mobile / Smartphones
User Manual for Celestron AZ 102 Telescope
Comprehensive user guide for the Celestron AZ 102 Telescope (Model 22159-DS). Includes assembly instructions, mount adjustment, StarPointer alignment, smartphone adapter installation, and Bluetooth remote setup.
Quick answers from the manual
Quick answer
- This manual provides assembly, alignment, and operation instructions for the Celestron AZ 102 Telescope (22159-DS), including smartphone adapter and Bluetooth remote usage. p. 1, 2, 3, 4
Key actions
- Align the StarPointer finderscope p. 6
- Install the smartphone adapter p. 7
First start
- Assemble the tripod and mount p. 3
- Attach the telescope tube p. 4
Show 3 more answers Show less
Problems and fixes
StarPointer not working
Check the battery (CR2032) and ensure the plastic tab is removed.
p. 5Technical specifications
| Parameter | Value | Meaning | Pages |
|---|---|---|---|
| Battery Type | CR2032 | 3V lithium battery for StarPointer and Bluetooth remote | p. 5, 7 |
Where to find it in the PDF
- Parts List p. 2
- Assembly p. 3, 4
- Smartphone Adapter p. 7
Table of contents
Manual images
Click an image to enlargeQuick guide from the manual
This manual provides instructions for the Celestron AZ 102 Telescope (Model 22159-DS). Key procedures include assembling the tripod and mount, attaching the telescope tube, aligning the StarPointer finderscope, and using the included smartphone adapter and Bluetooth remote. Solar Warning: Never look directly at the Sun with the telescope without a proper solar filter, as this can cause permanent eye damage.
Parts List
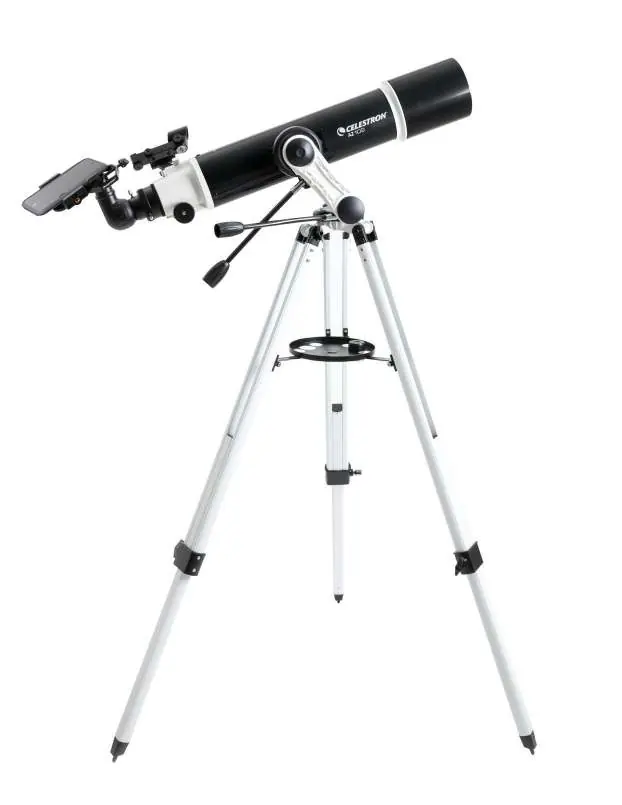
Before beginning, verify all parts are present:
- Telescope Tube
- StarPointer Finderscope
- Smartphone Adapter
- Bluetooth Remote Shutter Trigger
- Eyepiece (10mm and 20mm)
- Erect Image Diagonal
- Slow Motion Knobs
- Tripod
- Omni AZ Mount
- Hex-key Wrench
- Accessory Tray
Assembling Your Telescope
The Mount and Tripod
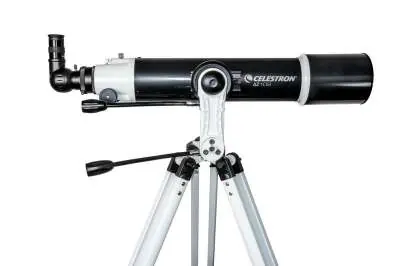
- Remove the tripod and mount from the box.
- Loosen the hand knobs at the bottom of each leg to extend the inner section to the desired length, then tighten.
- Stand the tripod upright and pull the legs apart until the center brace snaps into place.
- Attach the accessory tray to the center brace by rotating it clockwise.
- Ensure leg hinge bolts are secure.
Adjusting the Angle of the Mount Arm
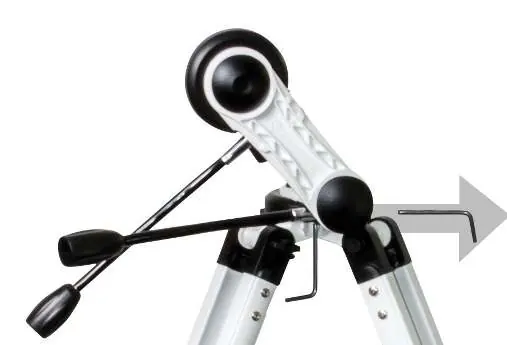
The mount is set up for astronomical use (upward movement). For terrestrial observation (pointing below the horizon), you may need to adjust the arm angle:
- Unthread the round cover on the bottom of the vertical arm.
- Use a 4mm hex-key wrench to remove the three screws under the cover.
- Rotate the mount arm to point straight up and re-thread the screws.
- Tighten the screws and replace the cover.
Attaching Components
- Slow Motion Knobs: Locate the hex key in the front of the mount. Place the knob over the D-shaped gear shaft, push inward, and tighten the setscrews.
- Telescope Tube: Slide the dovetail bar on the side of the tube into the clamp at the top of the mount and tighten the hand knob.
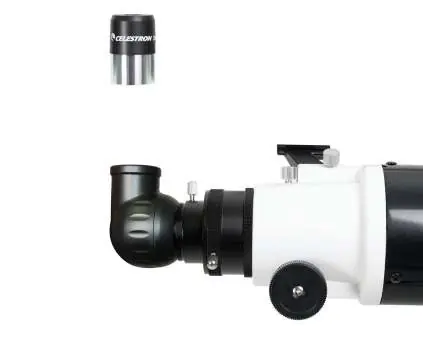
- Star Diagonal: Remove caps, loosen setscrews on the focuser, insert the diagonal, and secure it.
- Eyepiece: Insert the 20mm eyepiece into the star diagonal and tighten the setscrews.
Aligning the StarPointer Finderscope
Alignment is easiest during the day:
- Find a distant object (at least a quarter mile away) and center it in the 20mm eyepiece.
- Turn on the StarPointer finderscope.
- Look through the finderscope window and use the two adjustment knobs (side and underneath) to move the red dot until it is centered on the same object seen in the eyepiece.
Installing the Smartphone Adapter
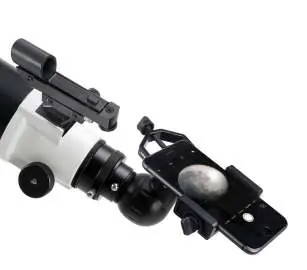
- Open the eyepiece clamp and secure it around the body of the eyepiece.
- Open the phone clamp and secure your phone inside.
- Open your camera app (ensure flash is off).
- Loosen the knob on the bottom of the adapter to slide and rotate the phone clamp until the camera is looking through the eyepiece. Tighten to secure.
- Use the telescope's focuser to adjust the image sharpness.
Using the Bluetooth Remote
- Pairing: Press and hold the button on the remote for 5 seconds until the blue light blinks. Pair with "GBshutter" in your phone's Bluetooth settings.
- Operation: Open your camera app and press the button to trigger the shutter. In video mode, press once to start and again to stop recording.
Battery Access
- StarPointer: Located under the front end. Use a Phillips head screwdriver to open the cover. Uses a 3V CR2032 battery (positive terminal facing outward).
- Bluetooth Remote: Press inward and slide the back cover downward to access the CR2032 battery.
Manufacturer information
Celestron
Practical help
Common problems
Image is blurry
Turn the focusing knobs slowly until the image comes into sharp focus.
StarPointer not aligned
Align the red dot with the object centered in the 20mm eyepiece during the day using the adjustment knobs.
Mount movement limited
Adjust the angle of the mount arm if you need to point the scope well below the horizon.
Before use
- Remove the clear plastic tab from the StarPointer battery compartment.
- Ensure the tripod legs are extended and secured.
- Install the 20mm eyepiece for initial alignment.
- Remove the main dust cover.
Show more Show less
Images and diagrams
- The parts list diagram identifies the telescope tube, mount, tripod, and accessories.
- The mount adjustment section shows how to remove the cover and screws to change the arm angle.
- The smartphone adapter installation shows how to clamp the adapter to the eyepiece.
Model compatibility
- Smartphone adapter fits most smartphones.
- Bluetooth remote pairs as 'GBshutter'.

Manual page author
Michael Turner
Technical manual editor