HVAC / Ventilation Systems
DucoGrille NightVent 20EX Installation Manual
Comprehensive installation guide for the DucoGrille NightVent 20EX ventilation unit. Includes sizing, mounting instructions, RC2 burglar-proof installation, and positioning requirements.
Quick answers from the manual
Quick answer
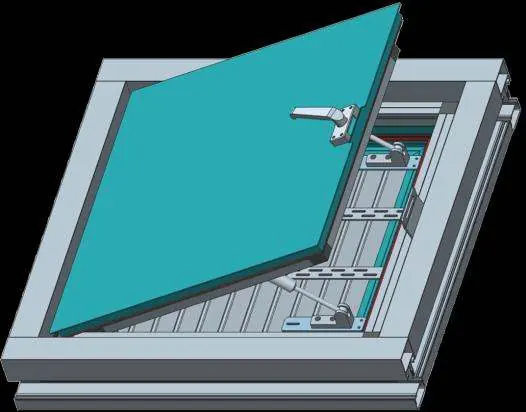
- The DucoGrille NightVent 20EX is a ventilation unit designed to be fitted as a glass substitute in window or façade sections. Installation requires careful positioning of glazing blocks and adherence to specific dimension tables for opening angles. p. 1, 2
Key actions
- Install glazing blocks p. 6
- Verify RC2 requirements p. 7
Problems and fixes
Shutter does not open properly
Check if the unit is placed too far inside the channel; ensure glazing blocks are positioned accurately.
p. 6Show 2 more answers Show less
Technical specifications
| Parameter | Value | Meaning | Pages |
|---|---|---|---|
| Glass thickness | 24-48 mm | Available options | p. 3 |
Where to find it in the PDF
- Installation p. 5, 6
- RC2 Installation p. 7, 8, 9
Table of contents
Manual images
Click an image to enlargeQuick guide from the manual
The DucoGrille NightVent 20EX is a ventilation unit designed to be fitted as a glass substitute in window or façade sections (PVC, aluminum, or wood). This manual provides essential instructions for sizing, installation, and security requirements.
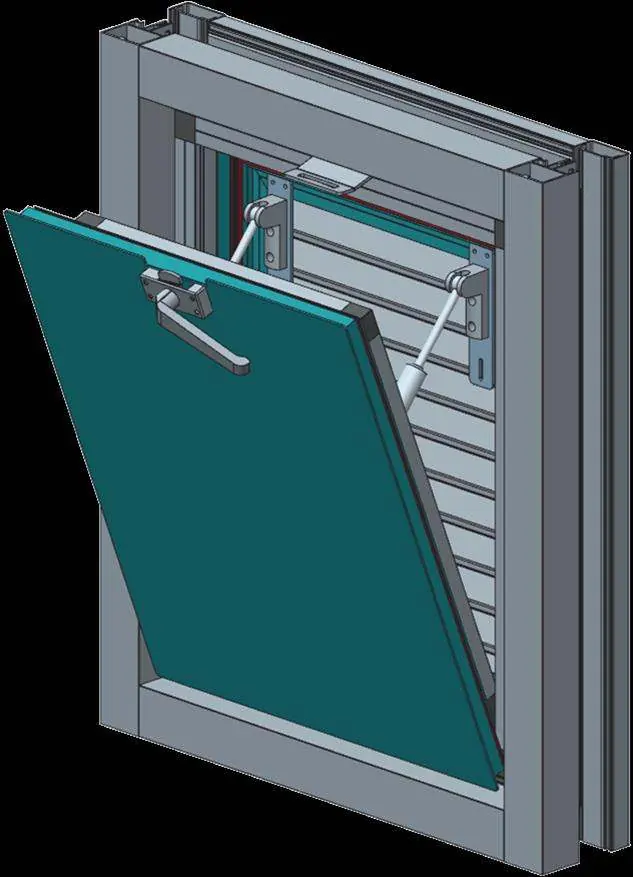
Principle
The unit is mounted in the rebate of the window or façade profile, following the principle of dry sealing profiles. It is designed to replace glass, and installation is best performed after mounting the windows in the shell.
Width and height
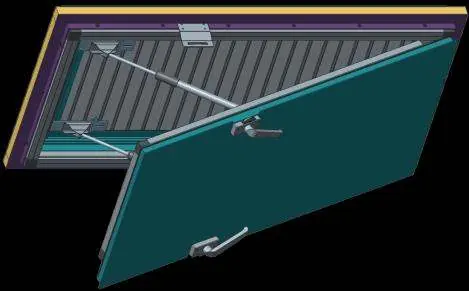
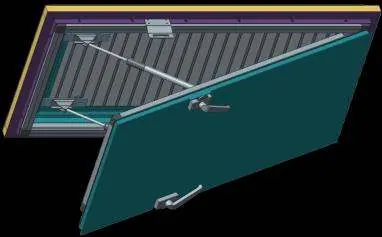
Dimensions are chosen based on the table provided in the manual. Note that the number of levers depends on the dimensions: if the width or height exceeds 1 meter, the unit will be equipped with two levers. The unit is available for glass thicknesses of 24, 28, 32, 36, 40, 44, and 48 mm.
Installation
Key points for installation:
- Ensure corners are tightly sealed.
- Joints should exert a pressure between 0.5 and 1.5kN per meter.
- Use a flat wooden or plastic spatula to push the snap frame or joint into place.
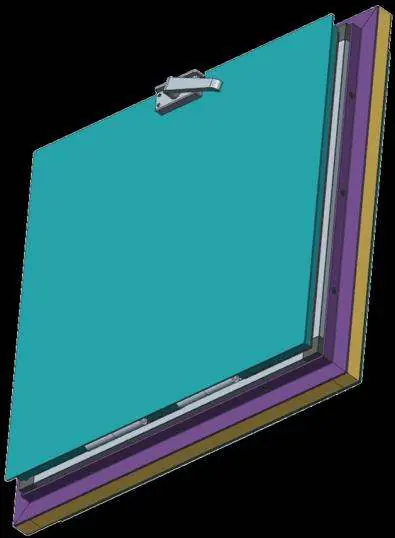
- The unit is not flat; it is stepped on the inside and outside.
- A 1m² unit weighs 38 kg (43 kg if the RC2 option is selected).
Glazing blocks: It is critical that glazing blocks (support blocks, adjusting blocks, and spacers) are positioned accurately. Ensure the unit sits approximately 15mm inside the channel. If placed too far inside, the shutter may not open correctly. Support blocks must be wider than the glass thickness and spaced no more than 500mm apart.
RC2 burglar-proof installation
For RC2 compliance, the curtain wall or window profile must also be at least Class 2 burglar-resistant. When mounting, use long screws to secure through the chambers of the curtain wall profile. Use sturdy SS A2 screws with a minimum diameter of 6.3mm and inox washers M6 type DIN 440R. For window profiles, use reinforcement profiles as prescribed by the manufacturer, with at least 3 attachments on each side using 4.2x16 DIN 7982 screws.
Positioning
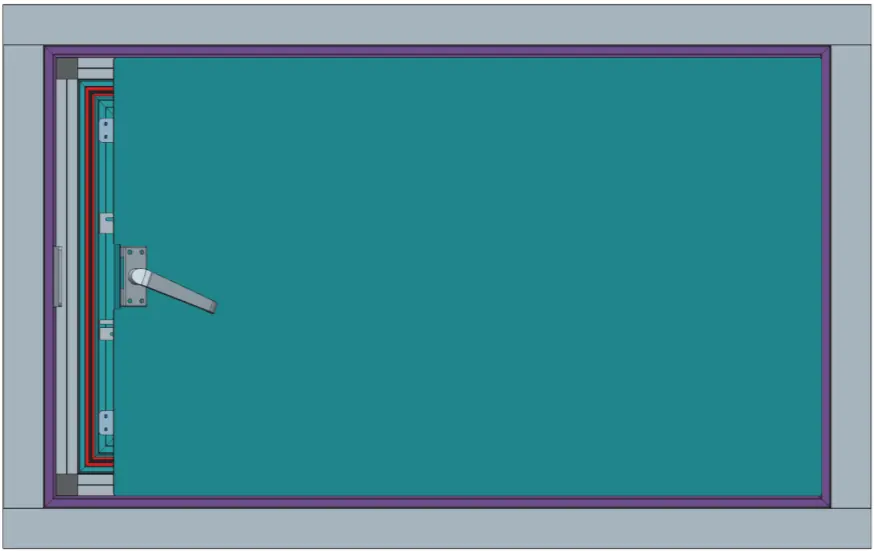
Ensure the area inside the unit is clear to allow the shutter to rotate. Remove all obstructions and inform the end-user of the positioning of interior elements. Be aware of the height of the levers, as they may become unreachable if the unit is placed too high.
Ventilation
Caution: When using a window or façade section with a very large profile depth, air supply may be greatly reduced. Take this into account when calculating the required ventilation surface area.
Manufacturer information
Duco Ventilation & Sun Control NV
Practical help
Common problems
Reduced air supply
Ensure profile depth is not too large; check ventilation surface area calculations.
Shutter obstruction
Ensure the area inside the unit is clear to allow the shutter to rotate freely.
Before use
- Verify window/façade section type (PVC/ALU/wood).
- Check required dimensions against the opening angle table.
- Ensure glazing blocks are positioned accurately.
- Confirm if RC2 burglar-proof installation is required.
Show more Show less
Specs in practice
- Glass thickness
- Available in 24, 28, 32, 36, 40, 44, 48 mm.
- Opening angle
- Determined by width, height, and hinge side (see table on page 4).
Images and diagrams
- The manual includes detailed cross-section drawings for standard and RC2 installations.
- Positioning diagrams show the 'free zone' required for shutter rotation.
Model compatibility
- Can be fitted to any window section (PVC/ALU/wood) or façade section as a glass substitute.
- RC2 installation requires the window/curtain wall profile to be at least Class 2 burglar-resistant.

Manual page author
Michael Turner
Technical manual editor