Electronics / Monitors
User Manual for ELEGOO Saturn 4 Ultra 16K 3D Printer
Comprehensive user guide for the ELEGOO Saturn 4 Ultra 16K UV photocuring 3D printer. This manual covers setup, software configuration, printing procedures, network management, and essential maintenance.
Quick answers from the manual
Quick answer
- The ELEGOO Saturn 4 Ultra 16K is a UV photocuring 3D printer. This manual provides instructions for setup, software configuration using Chitu Box, test printing, network management, and maintenance. p. 1, 7, 8
Key actions
- Setup and Test Print p. 8
- Software Configuration p. 9, 10
- Maintenance p. 14
First start
- Insert build platform, add resin, perform self-check, and print. p. 8
Show 4 more answers Show less
Problems and fixes
Printing failure
Clean excess cured resin in the resin tank and change the resin.
p. 3, 14Maintenance and reset
- Lubricate Z-axis lead screw every 2-3 months. p. 14
Technical specifications
| Parameter | Value | Meaning | Pages |
|---|---|---|---|
| XY Resolution | 19*24um (11520*5120) | Print detail level | p. 7 |
| Power Requirements | 100-240V 50/60 Hz 24V 6A | Electrical input | p. 7 |
Where to find it in the PDF
- Packing List p. 4
- Printer Introduction p. 5, 6
- Tech Specs p. 7
Table of contents
Manual images
Click an image to enlargeQuick Guide from the Manual
The ELEGOO Saturn 4 Ultra 16K is a high-precision UV photocuring 3D printer. Before operating, ensure the device is placed in a dry, indoor environment away from direct sunlight and dust. Always wear a mask and gloves when handling photopolymer resin to avoid skin contact. The printer performs a self-check before printing; do not touch the machine during this process.
Packing List
Ensure all items are present upon unboxing:
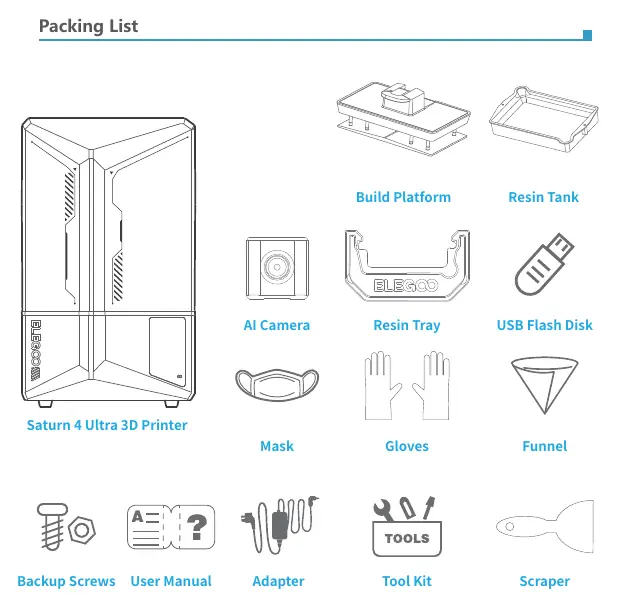
- Saturn 4 Ultra 3D Printer
- Build Platform
- Resin Tank
- AI Camera
- Resin Tray
- USB Flash Disk
- Mask and Gloves
- Funnel
- Backup Screws
- User Manual
- Power Adapter
- Tool Kit
- Scraper
Printer Introduction
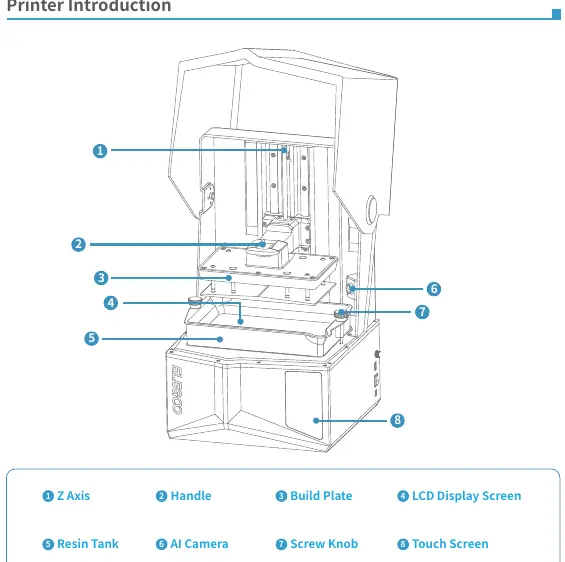
The printer features a Z-axis, build plate, resin tank, and touch screen. The rear of the unit contains the power switch, DC socket, USB interface, and extension port. The anti-UV cover protects the printing area from external light.
Technical Specifications
Key specifications include:
- System: EL3D-4.0
- Operation: 4.0-inch Capacitive Touch Screen
- Slicer Software: Chitu Box
- Connectivity: USB Interface & WiFi
- XY Resolution: 19*24um (11520*5120)
- Power Requirements: 100-240V 50/60 Hz 24V 6A
Test Printing
To perform a test print:
- Insert the build platform into the connecting block and press down the handle to secure it.
- Slowly add resin to the tank (ensure the level is between 1/3 volume and the MAX line).
- Cover the printer with the anti-UV cover.
- Select the sliced test model on the touch screen to begin printing.
- After printing, wait for resin to stop dripping, remove the build plate, and use the scraper to detach the model.
Software Installation and Setup
The printer uses Chitu Box software:
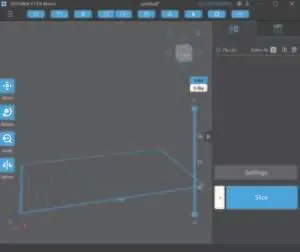
- Installation: Download the software from the included USB drive or the official Chitu Box website.
- Configuration: In 'Parameter Settings', select 'ELEGOO Saturn 4 Ultra' as your default printer.
- Resin Settings: You can input resin density (default 1.1g/ml) and cost to calculate printing expenses.
- Parameters: Recommended layer height is 0.05mm. Adjust exposure times and transition layers as needed based on your specific resin.
Network Management Center
To enable remote control:
- Connect the printer to WiFi.
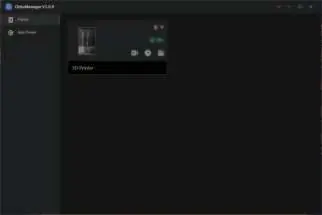
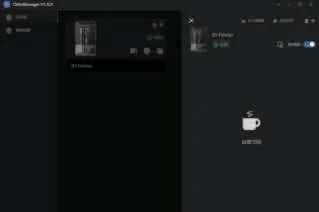
- Open Chitu Box and click the icon in the upper right corner to enter the 'Network Management Center'.
- Download and install 'Chitu Manager' if prompted.
- Click 'Add Device' to associate your printer (ensure both computer and printer are on the same LAN).
- You can now observe printing in real-time via the camera and control time-lapse functions.
Machine Maintenance
- Resin Tank: Do not use sharp tools to scrape the tank. Clean it thoroughly before changing resin colors.
- Build Plate: Clean with paper towels or alcohol before and after printing.
- Z-Axis: If friction noise occurs, apply lubricant to the lead screw every 2-3 months.
- Screen: The LCD screen has a service life of approximately 2000+ hours. Replace if exposure issues occur.
- Storage: If not using the printer for more than 48 hours, pour remaining resin back into the bottle and seal it.
Practical help
Common problems
Printing fails
Clean excess cured resin in the resin tank and change the resin.
Release film is damaged
If the film is whitened, scratched, or lacks elasticity, replace it immediately to ensure print success.
Z-axis friction noise
Apply lubricant grease to the lead screw.
Screen exposure issues
If print quality is affected or the screen reaches its service life (approx 2000+ hours), replace the screen.
Before use
- Confirm equipment is intact and accessories are complete.
- Place printer in a dry, indoor environment.
- Wear mask and gloves when handling resin.
- Ensure resin tank is filled between 1/3 and MAX line.
- Check that the build platform is securely locked.
- Ensure the printer is connected to power.
Show more Show less
Specs in practice
- XY Resolution
- Determines the level of detail in prints (19*24um).
- Layer Thickness
- Adjustable range of 0.01-0.2mm for print precision.
- Power Requirements
- Requires 100-240V 50/60 Hz 24V 6A input.
Model compatibility
- Slicer Software: Chitu Box.
- Cleaning: Use 95% or higher ethyl/isopropyl alcohol (unless using water-washable resin).
- Connectivity: Supports USB and WiFi.

Manual page author
David Miller
Documentation analyst