Garden / Lawn Care
Quick Start Guide for Greenworks GPW 1501/GPW 1602 Pressure Washer
A comprehensive quick start guide for the Greenworks GPW 1501 and GPW 1602 pressure washers. Includes assembly instructions, detergent bottle installation, spray tip usage, and essential setup procedures to ensure safe and effective...
Table of contents
Manual images
Click an image to enlargeQuick guide from the manual
This document provides essential setup and operation instructions for the Greenworks GPW 1501 and GPW 1602 pressure washers. Important: This guide is not a substitute for the full operator's manual. Always read the full manual before using the product to reduce the risk of injury or death.
Assembly
Follow these steps to assemble your pressure washer:
- Handgrip: Align the handgrip with the slots on top of the pressure washer. Push until it locks, then secure with screws using a Phillips screwdriver (not included).
- Wand: Insert the male end (A) of the wand into the female bayonet outlet (B) firmly. Push and turn clockwise until the tabs lock to ensure a leak-free connection.
- High-Pressure Hose: Connect the high-pressure hose to the pressure washer gun assembly by turning the fitting clockwise. Ensure it is fully tightened.
- Spray Tips: Pull back the quick-connect collar, push the spray tip into place, and push the collar forward to secure.
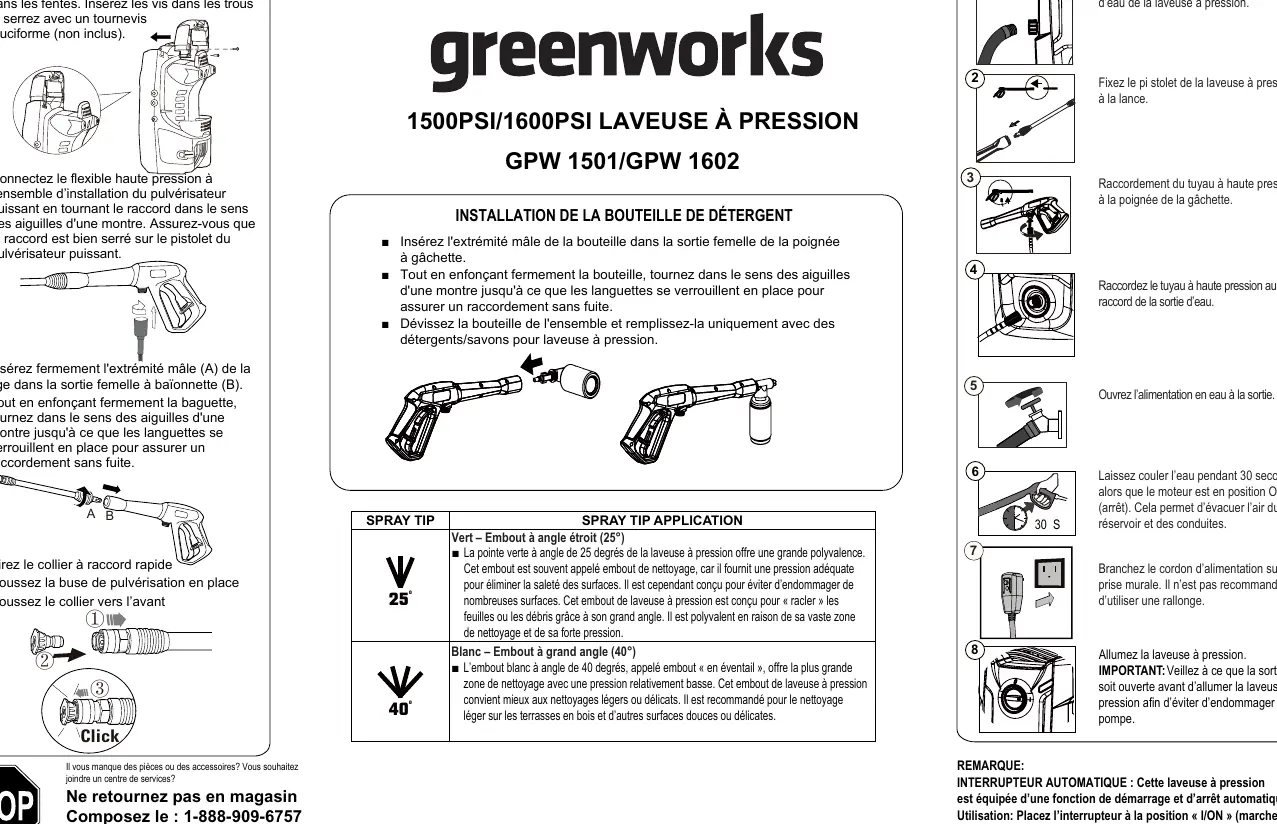
Installing Detergent Bottle
To use the detergent bottle:
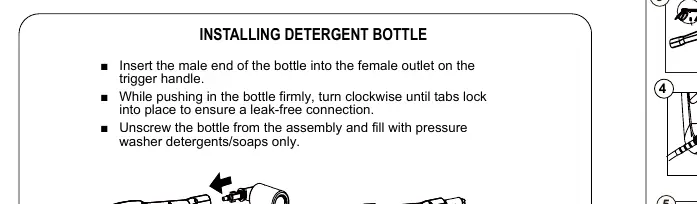
- Insert the male end of the bottle into the female outlet on the trigger handle.
- Push the bottle firmly and turn clockwise until the tabs lock into place.
- To remove, unscrew the bottle from the assembly. Use only pressure washer detergents or soaps.
Spray Tip Applications
The unit includes two spray tips for different cleaning tasks:
- Green (25° - Narrow fan tip): Known as the "washing tip." Provides high versatility and adequate pressure to remove dirt from most surfaces without causing damage. Ideal for sweeping foliage or debris.
- White (40° - Wide fan tip): Known as the "fan" tip. Creates the widest cleaning area with relatively low pressure. Best used for light or delicate cleaning applications, such as wood decks.
Setup and Operation
Follow this sequence for every use:
- Connect the garden hose to the pressure washer water intake.
- Assemble the pressure washer gun to the spray wand.
- Insert the high-pressure hose into the trigger handle.
- Insert the high-pressure hose into the pressure washer unit.
- Turn on the water at the outlet.
- Run the water hose for 30 seconds with the motor in the OFF position to drain air from the tank and lines.
- Connect the power cord to a wall outlet (extension cords are not recommended).
- Turn on the pressure washer.
Important: Ensure the water outlet is ON before turning the power ON to avoid damaging the pump.
Auto On/Off Feature
This pressure washer is equipped with an Auto Start/Stop feature. To operate, turn the power switch to the On (I) position. The pump will pressurize and shut down immediately. The unit will turn on when the trigger is depressed and will shut off/enter standby mode when the trigger is released.
Manufacturer information
Greenworks
Practical help
Common problems
Pump damage
Ensure the water outlet is turned ON before turning the power switch ON.
Air in the system
Run the water hose for 30 seconds with the motor in the OFF position before starting the unit to bleed air from the tank and lines.
Leakage at connections
Ensure all fittings (wand, hose, detergent bottle) are tightened clockwise until the tabs lock into place.
Before use
- Connect garden hose to water intake.
- Assemble pressure washer gun to spray wand.
- Insert high-pressure hose into trigger handle and pressure washer unit.
- Run water for 30 seconds with motor OFF to bleed air.
- Ensure water supply is turned ON.
- Connect power cord to wall outlet.
Specs in practice
- Green Tip (25°)
- Versatile washing tip for removing dirt from surfaces without damage.
- White Tip (40°)
- Wide fan tip for light or delicate cleaning, such as wood decks.
Images and diagrams
- Assembly steps show the correct orientation for the handgrip, wand, and hose connections.
- The detergent bottle installation requires a clockwise turn to lock the tabs.
- The setup sequence (1-8) illustrates the necessary order of operations to prevent pump damage.
Model compatibility
- Extension cords are not recommended.
- Use only pressure washer detergents/soaps in the detergent bottle.

Manual page author
David Miller
Documentation analyst
Organizes user manual content into clear summaries, with attention to model details, product context, and everyday usability.