Lighting / Outdoor Landscape
User Manual for Harbor Breeze LED Path Light 10951-15-1BZ
Quick guide for the Harbor Breeze LED Path Light 10951-15-1BZ. Includes assembly instructions, battery requirements, maintenance tips, and troubleshooting steps for optimal performance.
Table of contents
Manual images
Click an image to enlargeQuick Guide from the Manual
This LED path light is designed for outdoor use. To ensure optimal performance, place the unit in an area with full, direct sunlight. Before first use, ensure the battery pull tab is removed. If the light does not turn on, ensure it is not placed near other nighttime light sources, as this may prevent the automatic sensor from activating.
Package Contents
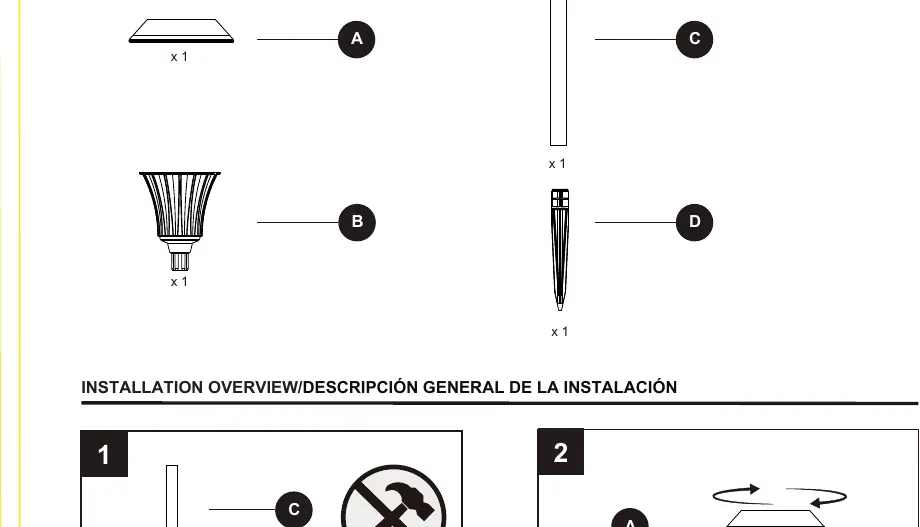
- Solar light fixture
- Ground stake
Assembly
No tools are required for assembly. The estimated assembly time is 3-5 minutes.
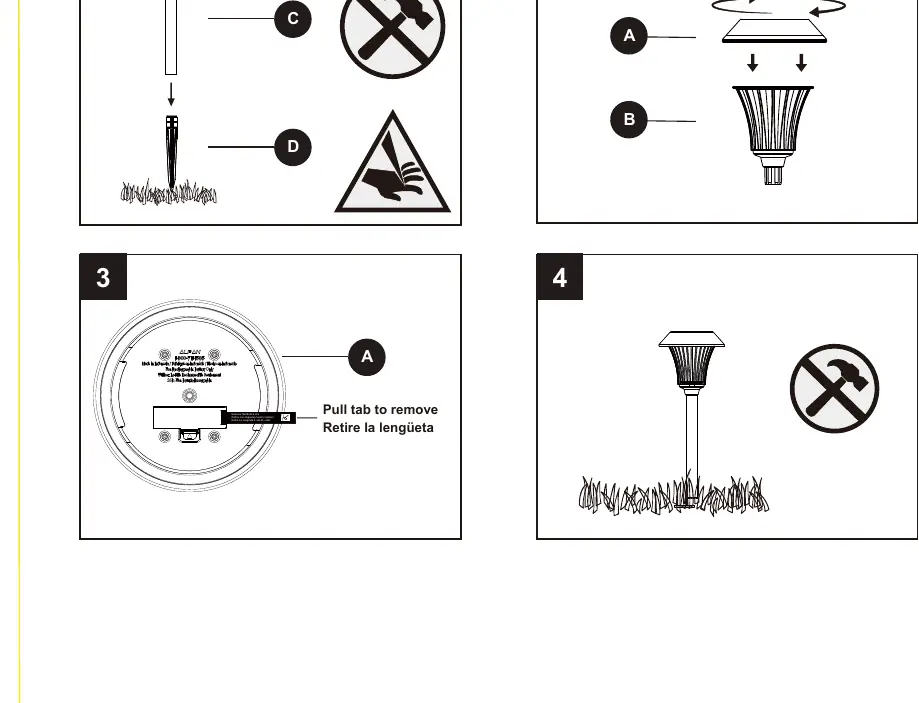
- Assemble the ground stake and the solar light fixture.
- Ensure the battery pull tab is removed from the battery compartment before use.
- Insert the stake into the ground at the desired location.
Choosing the Right Location
Select a location that receives full, direct sunlight. Shady areas will prevent the battery from charging fully, which reduces the operating time at night. Avoid placing the light near other nighttime light sources, such as street or porch lights, as these may keep the light from turning on automatically.
Battery Information
Important: Use only 14500 600mAh lithium-ion (Li-ion) rechargeable batteries. Do not use alkaline, carbon-zinc, or Ni-Cd batteries. Do not mix battery types. Ensure batteries are installed with the correct polarity (+ and -). If the light will not be used for an extended period, remove the batteries.
Care & Maintenance
- Clean the solar panel regularly with a damp cloth. Do not use chemicals or abrasives.
- Keep the solar panel free of snow, dirt, and debris to allow the battery to charge properly.
- When relocating the light, handle the ground stake with care as it has a pointed edge.
Troubleshooting
- Light stops working: The battery may not be adequately charged. Place the unit in direct sunlight for three sunny days. If the battery is weak or old, replace it.
- Light only operates for a short duration: The light may be in a shaded area. Move it to a sunnier location.
- Light does not turn on: Ensure the solar top housing is not under any direct light source during testing, as the light is designed to turn on only when it is dark outside.
Practical help
Common problems
Light stops working after a period of time
The battery may not be charged. Place the unit in direct sunlight for three sunny days. If the issue persists, the battery may need replacement.
Light only operates for a short duration at night
The light is likely in a shaded area. Move the unit to a location with more direct sunlight.
Light does not turn on at night
Ensure the solar panel is not exposed to other nighttime light sources (like street lights), which can prevent the automatic sensor from activating.
Before use
- Verify all parts are present.
- Remove the battery pull tab from the solar top housing.
- Place the unit in direct sunlight for three days to fully charge the battery.
- Ensure the installation location is not shaded.
Specs in practice
- Battery Type
- 14500 600mAh Lithium-ion (Li-ion) rechargeable battery.
- Assembly Time
- 3-5 minutes, no tools required.
Images and diagrams
- The installation diagram illustrates connecting the solar light housing to the ground stake.
- The battery compartment is located within the solar top housing.
Model compatibility
- Do not use alkaline, carbon-zinc, or Ni-Cd batteries.
- Only use 14500 600mAh Li-ion rechargeable batteries.

Manual page author
David Miller
Documentation analyst
Organizes user manual content into clear summaries, with attention to model details, product context, and everyday usability.