Electronics / RFID Barcode Scanners
User Manual for Honeywell Voyager 1602g Wireless Area-Imaging Pocket Scanner
Comprehensive user guide for the Honeywell Voyager 1602g wireless pocket scanner. Learn how to pair via Bluetooth, configure interface settings, manage battery, and troubleshoot common issues.
Table of contents
Manual images
Click an image to enlargeQuick guide from the manual
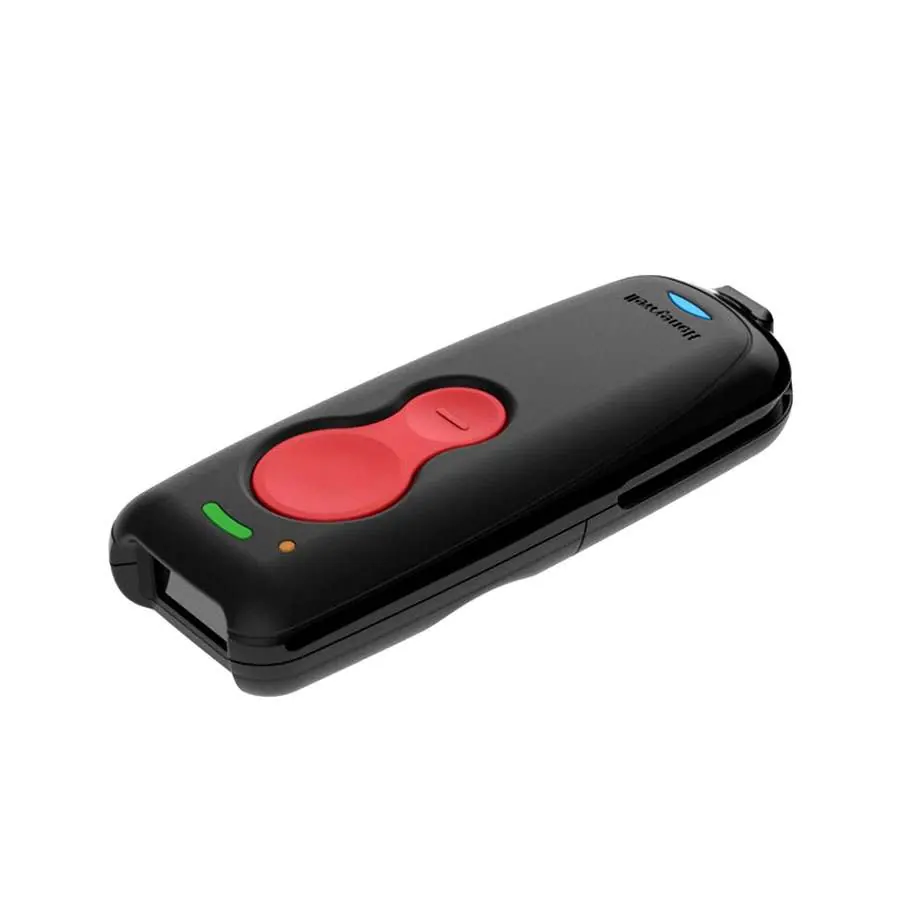
The Honeywell Voyager 1602g is a wireless area-imaging pocket scanner. Before first use, ensure the battery is fully charged for at least 4 hours. The scanner can be charged via a power supply or a PC USB port. To begin scanning, pair the device with your host (PC, laptop, tablet, or Apple device) using the appropriate Bluetooth connection barcode found in the manual. For advanced configuration, use the programming barcodes provided in the guide.
Getting started
Upon unpacking, check for shipping damage and ensure all items match your order. The scanner's battery must be fully charged before initial use. Charging can be done using a power supply or by connecting the mini-USB cable to a computer. Note that charging via a PC USB port will take longer than using an electrical outlet.
Pairing with Bluetooth devices
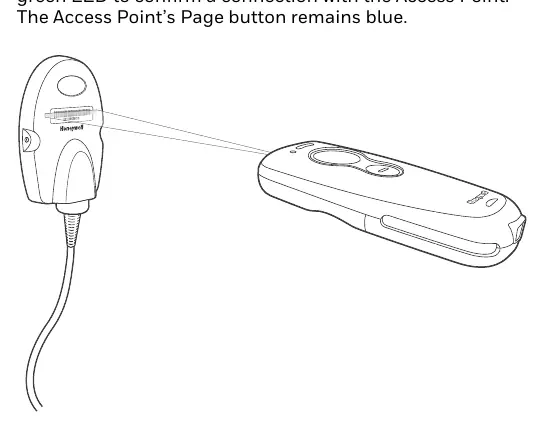
The scanner supports pairing with various Bluetooth-enabled devices. Scan the appropriate 'Bluetooth Connect' barcode to establish one-way communication. Set your host device to search for Bluetooth devices and select the scanner name. If the device does not pair automatically, a PIN may be displayed; scan the 'Bluetooth PIN Code' barcode, followed by the numeric barcodes for the PIN, and finally the 'Save' barcode.
Programming the interface
The scanner is factory-programmed for common settings. If you need to change the keyboard layout or interface (e.g., USB Keyboard, Keyboard Wedge, RS232), scan the corresponding programming barcodes. If using an Access Point, specific interface barcodes are provided to set up the connection correctly.
Wireless system operation
The scanner uses adaptive frequency hopping Bluetooth radio. If the scanner goes out of range, it can be configured to automatically attempt to relink. Batch mode allows the scanner to store barcode data when out of range, which can then be transmitted when the scanner is back in range. You can configure batch mode settings, such as storage type (Flash or RAM) and output order.
Input/Output settings
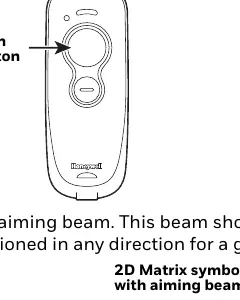
The programmable button on the scanner can be configured to perform various actions, such as toggling a virtual keyboard, displaying battery charge status, or entering flashlight mode. You can also customize beeper and LED indicators for good reads and errors.
Data editing and formatting
You can build custom message strings by adding prefixes and suffixes to scanned data. The Data Format Editor allows you to insert, replace, or discard characters in the output string. These settings are useful for tailoring the scanner's output to specific application requirements.
Maintenance and troubleshooting
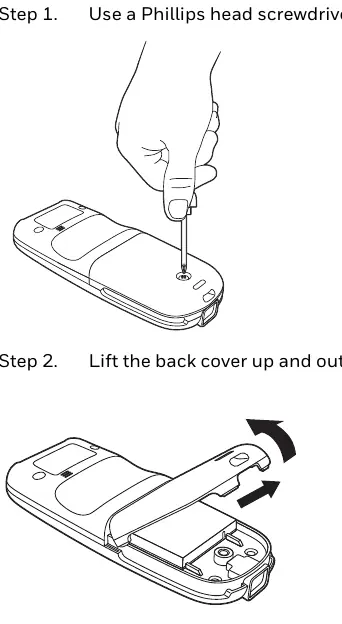
Keep the scanner window clean using a soft cloth dampened with water or a mild detergent solution. Do not use solvents or abrasive materials. If the battery needs replacement, remove the back cover with a Phillips screwdriver, replace the battery, and secure the cover. If you encounter issues, ensure the battery is charged, check that the symbology is enabled, and verify the scanner is properly paired with the host.
Manufacturer information
Honeywell International Inc.
Practical help
Common problems
Scanner not reading symbols
Ensure the symbology is enabled, check that the symbol is not damaged or obscured, and verify the scanner is within range.
Barcode displayed but not entered into application
Program a suffix (such as CR or Tab) to automatically enter the data after scanning.
Communication error tone
Check if the scanner is out of range or if the Bluetooth connection has been lost.
Before use
- Charge the battery for at least 4 hours before first use.
- Check for shipping damage.
- Ensure the scanner is paired with the host device.
- Verify the correct interface (USB, Bluetooth, etc.) is programmed.
- Enable necessary barcode symbologies.
Specs in practice
- Environmental Sealing
- IP52 rating.
Images and diagrams
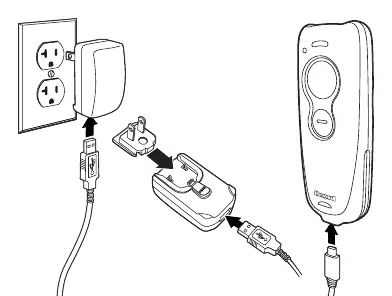
- Charging with Power Supply: Connect mini-USB to scanner, assemble wall plug, connect to outlet.
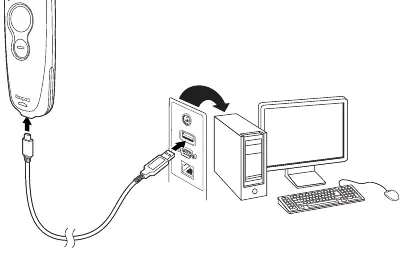
- Charging with PC: Connect mini-USB to scanner and USB port of computer.
- Battery Replacement: Remove back cover with Phillips screwdriver, lift out battery, replace, secure cover.
Model compatibility
- Compatible with Honeywell Access Point (AP01-010BT or AP01-100BT).
- PDF and 2D barcodes only readable by model 1602g2D.

Manual page author
Michael Turner
Technical manual editor
Reviews PDF manuals for structure, safety notes, and practical product details so readers can find the right information quickly.