Home Appliances / Refrigerators
User Manual for Hoover Washing Machine DXOA 149TLB3B-80
Quick guide for the Hoover Washing Machine DXOA 149TLB3B-80. Learn about installation, One Touch NFC features, program selection, maintenance, and troubleshooting.
Table of contents
Manual images
Click an image to enlargeQuick guide from the manual
This washing machine is designed for household use. Before first use, ensure all transport screws are removed. The machine features an automatic load sensing system (Kg Mode) that adjusts water, time, and energy consumption based on the laundry weight. For smart features, the machine includes One Touch technology compatible with Android smartphones via NFC.
Installation
Proper installation is critical for the machine's longevity and performance.
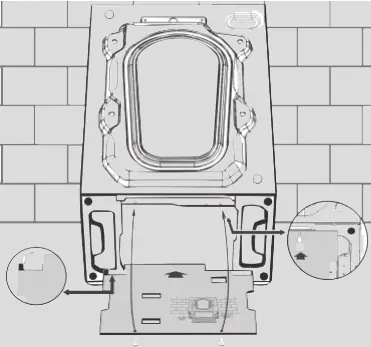
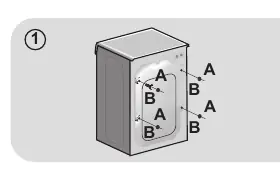
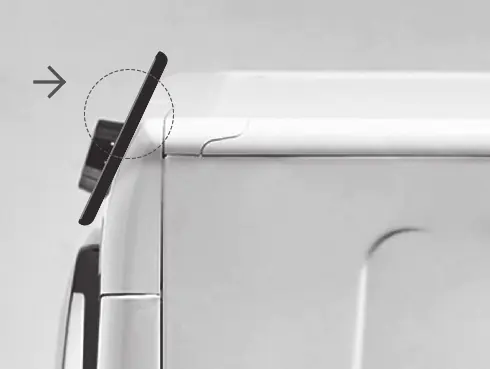
- Transport Screws: You must remove the 2 or 4 transportation screws (A) on the back and remove the flat washers, rubber bungs, and plastic spacer tubes (B) before use. Cover the holes with the provided plastic caps.
- Leveling: Level the appliance using the adjustable feet. Turn the nut clockwise to release, adjust the foot height, and lock the nut against the machine base.
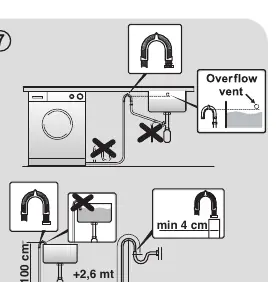
- Water Connection: Connect the water hose to the supply tap using only the supplied hose. Ensure the drain hose is inserted into a drain pipe between 50 cm and 85 cm high.
Controls and Programs
The control panel allows you to select programs and adjust settings.
- Program Selector: Turn to select the desired program. Set to OFF to switch off the machine.
- Start/Pause: Press to start or pause a cycle.
- Options: Includes buttons for Delay Start, Rapid/Stain Level, Temperature Selection, and Spin Speed.
- Key Lock: Press Temperature Selection and Spin Speed buttons simultaneously for 3 seconds to lock the controls.
One Touch Technology
This machine supports interaction via the Hoover Wizard App on Android smartphones with NFC.
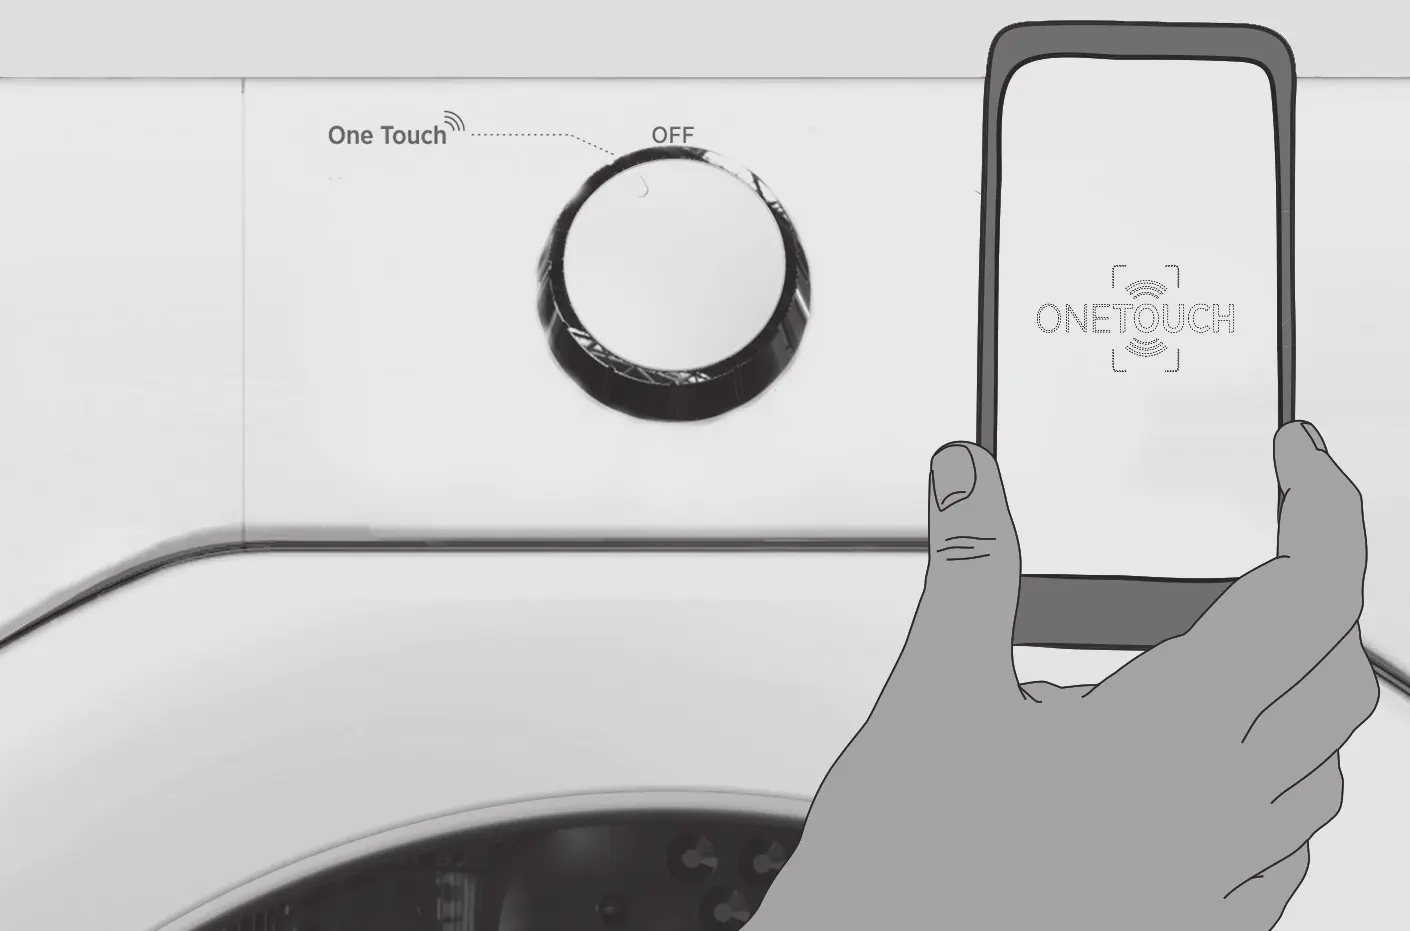
- Enable NFC on your smartphone.
- Turn the machine knob to the One Touch position.
- Open the App and follow instructions, keeping your phone against the One Touch logo on the dashboard.
- This feature allows for voice coaching, program downloads, and machine health checks.
Maintenance and Cleaning
- Drawer: Clean the detergent drawer regularly with running water to prevent residue buildup.
- Filter: The pump filter traps large residue like buttons or coins. Place an absorbent cloth underneath, turn the filter counter-clockwise to remove, clean it, and replace it by turning clockwise.
- Storage: If storing in an unheated room, drain all water from the tubes and unplug the machine.
Troubleshooting
If the machine displays an error (E2, E3, E4, E7), consult the troubleshooting section. Common issues like water leaks or spinning problems are often resolved by checking hose connections, leveling the machine, or ensuring the load is balanced.
Manufacturer information
Hoover
Practical help
Common problems
Machine does not start
Check if it is plugged in, the door is closed, and the start button has been pressed.
Water leak
Check hose connections at the tap and fill valve; ensure the front filter is closed correctly.
Machine does not spin
The load may be unbalanced; remove, untangle, and reload. Also, check if 'no spin' is selected or if there is excessive foam.
E2 Error (Water supply)
Ensure the water tap is open and the supply hose is not kinked or trapped.
E3 Error (Drainage)
Ensure the filter is not clogged and the drain hose is not kinked or blocked.
Before use
- Remove all transport screws (2 or 4) from the rear of the machine.
- Level the machine using the adjustable feet.
- Connect the water hose to the tap (do not reuse old hoses).
- Ensure the drain hose is positioned between 50 cm and 85 cm above the floor.
- Plug the machine into an earthed electrical socket.
Show more Show less
Specs in practice
- Water pressure
- Must be between 0.05 MPa and 0.8 MPa.
Images and diagrams
- Transport screws removal: Shows the location of screws (A) and spacers (B) on the back of the machine.
- Hydraulic connections: Illustrates correct water inlet and drain hose height requirements.
- Detergent drawer: Shows compartments for prewash (1), additives (softener), and main wash (2).
- Filter cleaning: Shows how to access the pump filter at the bottom front of the machine.
Model compatibility
- One Touch features are only available on Android smartphones with NFC.
- Use only liquid detergents for automatic dosing if the model supports it.
- Do not use converters, multiple sockets, or extension cords.

Manual page author
Emily Carter
User documentation editor