Furniture / Wall Art
IKEA BJÖRKSTA Canvas Assembly and Installation Guide
Assembly and installation guide for the IKEA BJÖRKSTA canvas. Includes instructions for frame assembly, canvas attachment, and wall mounting, along with important notes on wall materials and product care.
Table of contents
Manual images
Click an image to enlargeImportant information
Before starting, please note that wall materials vary, so screws for fixing to the wall are not included. Please consult your local specialized dealer for advice on suitable screw systems for your specific wall type.
The canvas may have a distinctive smell when first unpacked. This is completely natural, as all new materials have their own particular smell that gradually disappears over time.
Tools required
To assemble and install your BJÖRKSTA canvas, you will need the following tools:
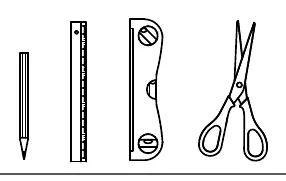
- Pencil
- Ruler
- Spirit level
- Scissors
Assembly instructions
The assembly process involves building the frame and attaching the canvas.
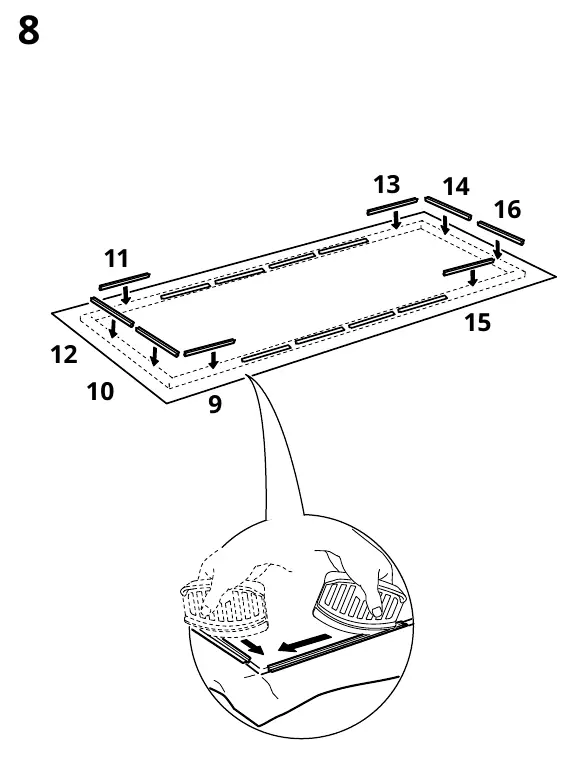
Frame assembly
Assemble the frame components on a clean, flat surface to avoid damage. Ensure all parts are connected securely.
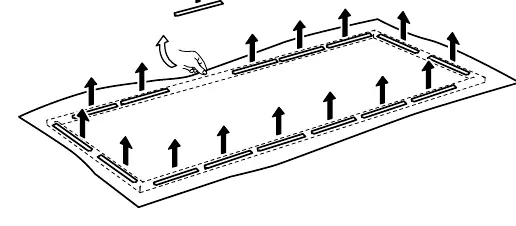
Attaching the canvas
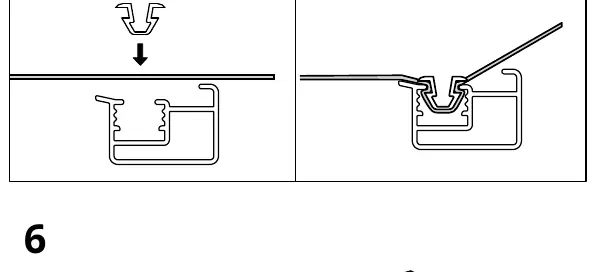
Place the canvas over the assembled frame. Secure the canvas to the frame using the provided clips. Ensure the canvas is taut and properly aligned with the frame edges. Use scissors to trim any excess material if necessary during the process.
Wall mounting
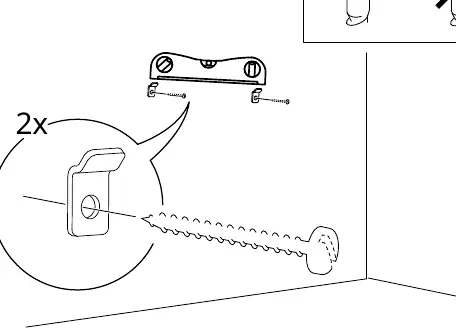
Once assembled, mark the position on the wall using a pencil and spirit level. Install the appropriate wall anchors and screws based on your wall material, then hang the frame securely.
Manufacturer information
IKEA
Practical help
Common problems
Canvas has a strong smell after unpacking
This is normal for new materials and will disappear over time.
No screws included in the package
Wall materials vary; purchase screws and anchors suitable for your specific wall type from a local hardware store.
Before use
- Identify your wall material type (drywall, concrete, wood, etc.)
- Purchase appropriate screws and wall anchors
- Gather required tools: pencil, ruler, spirit level, scissors
- Clear a clean, flat workspace on the floor for assembly
Show more Show less
Images and diagrams
- The manual provides visual steps for frame assembly, including how to snap the frame pieces together.
- Specific diagrams illustrate how to attach the canvas to the frame using the provided clips.
- Wall mounting diagrams show the correct placement of screws and the hanging mechanism.
Model compatibility
- Wall mounting hardware is not included due to the variety of wall materials.

Manual page author
Michael Turner
Technical manual editor