Automotive / RV Caravan Accessories
Installation Manual for Solera 2000X Series Awning
Comprehensive installation guide for the Solera 2000X Series Awning. Includes step-by-step instructions for rail mounting, fabric securing, optional LED light installation, and electrical wiring diagrams.
Quick answers from the manual
Quick answer
- The Solera 2000X Series Awning requires 2-3 people for installation. It features an internal 6A auto-reset breaker and should be wired to a 15A circuit breaker using 14 AWG wire. p. 2, 9
Key actions
- Mount the awning rail level and parallel to the floor line. p. 4
- Secure the fabric to the rail using the provided #6 x 1/2" screws. p. 7
First start
- Connect wiring to the switch and test operation. p. 9
Show 4 more answers Show less
Problems and fixes
Awning runs in reverse
Reverse the wires.
p. 9Maintenance and reset
- Internal breaker reset p. 9
Technical specifications
| Parameter | Value | Meaning | Pages |
|---|---|---|---|
| Power Source | 12V DC | Required voltage for operation. | p. 8, 9 |
| Circuit Breaker | 15A | Recommended circuit breaker size. | p. 9 |
Where to find it in the PDF
- Awning Rail Installation p. 3, 4
- Wiring Diagram p. 9
Table of contents
Manual images
Click an image to enlargeQuick guide from the manual
The Solera 2000X Series Awning installation requires 2-3 people. Before starting, ensure you have the necessary tools, including a cordless drill, rivet gun, silicone sealant, and wire cutters. The awning rail must be measured and installed level and parallel to the floor line. The system operates on 12V DC power and requires a 15A circuit breaker.
Awning Rail Installation
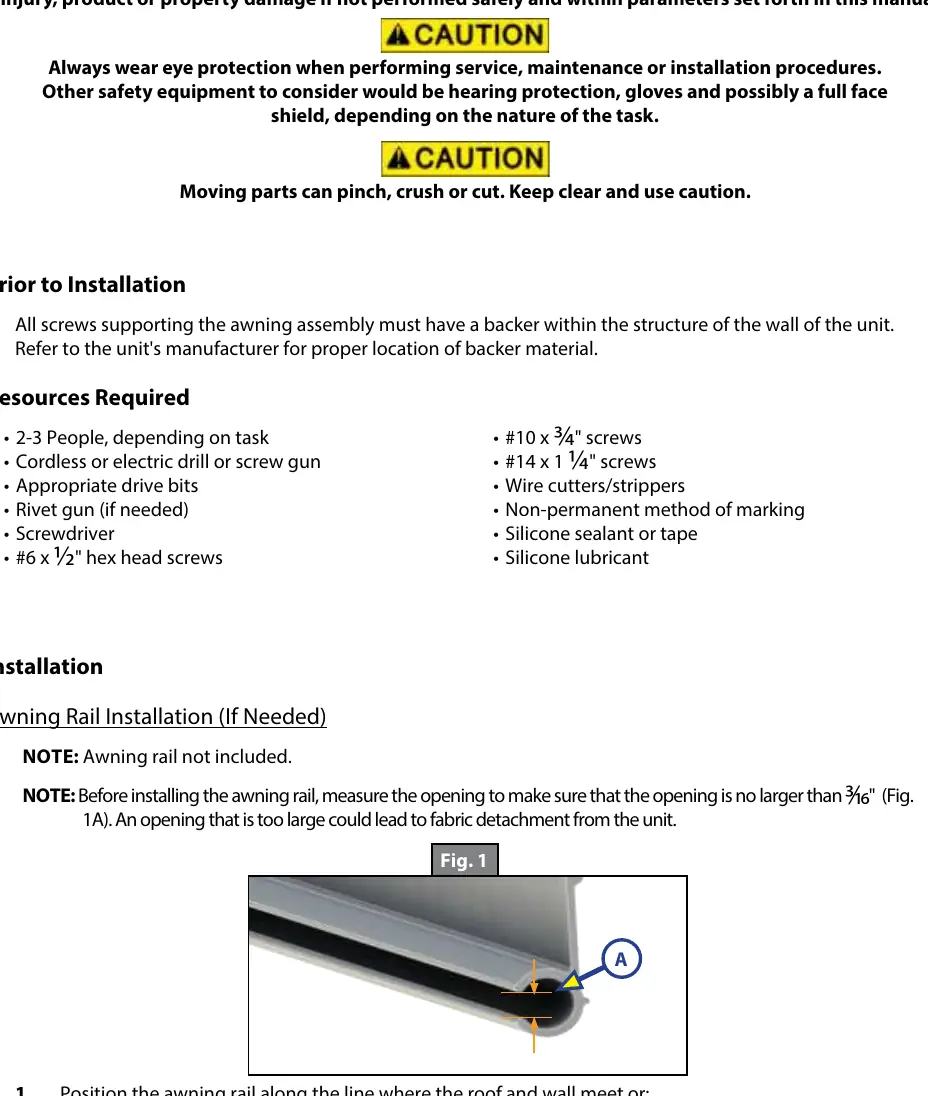
The awning rail is not included. Before installation, measure the opening to ensure it is no larger than 3/16". An opening that is too large may cause the fabric to detach.
- Position the rail along the line where the roof and wall meet.
- For pitched awnings, maintain a minimum of 6" above doors or windows.
- For flat awnings, maintain a minimum of 4" above doors or windows.
- Seal the back of the rail with silicone sealant or tape before securing with #10 x 3/4" screws.
Awning Installation
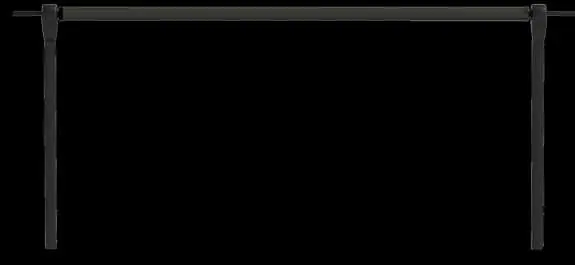
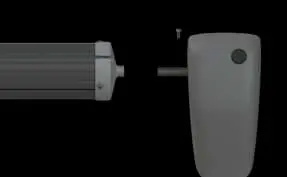
Mark the centerlines of the support arm assemblies on the awning rail, ensuring they do not interfere with lights or vents. Use a non-permanent marker to draw a perpendicular line from the rail to the floor line. Mount the support arm assembly against the bottom of the awning rail using #14 x 1 1/4" screws.
Securing the Fabric
Choose one of two options to secure the fabric to the awning rail:
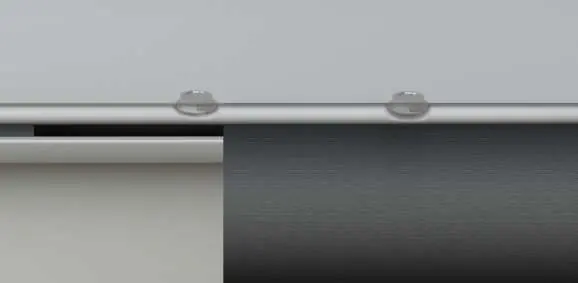
- Option 1: Secure the fabric no more than 1" inside the edge using an OEM supplied #6 x 1/2" hex head screw through the fabric, rail, and polycord.
- Option 2: Secure the fabric no more than 1/4" outside the edge using an OEM supplied #6 x 1/2" hex head screw through the rail and polycord only. Ensure the polycord extends past the fabric by more than 1/4".
Solera Serenity LED Lights Installation
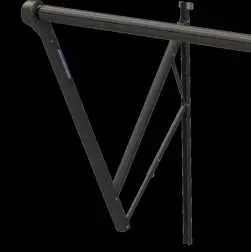
If equipped, the LED lights come pre-installed on support arms. Connect the LED wires on the idler arm to the wire welded into the awning fabric. Connect the other end of the fabric wire to the drive arm LED wire and the power source. A 3 amp fuse must be installed in-line to protect the LED wiring.
Awning Wiring
The awning motor includes an internal 6A auto-reset breaker. Lippert recommends wiring the awning into a 15A circuit breaker using 14 AWG wire or higher to ensure a minimum of 11.5V. If the awning runs in reverse, simply reverse the wires at the switch.
Maintenance
Seal all fastener locations and wire penetrations with silicone sealant to prevent water intrusion.
Practical help
Common problems
Awning fails to close properly
Ensure the support arm assembly is mounted tight to the underside of the awning rail.
Fabric detachment from the unit
Check that the awning rail opening is not larger than 3/16".
Awning runs in reverse
Reverse the wires connected to the switch.
Internal breaker trips
The internal 6A auto-reset breaker will reset in approximately 30 seconds.
Before use
- 2-3 people available for installation
- Cordless or electric drill/screw gun
- Silicone sealant or tape
- Wire cutters/strippers
- Eye protection
- Non-permanent marking tool
Show more Show less
Specs in practice
- 15A Circuit Breaker
- Recommended circuit protection for the awning power source.
- 6A Auto Reset Breaker
- Internal motor protection; resets automatically in ~30 seconds if tripped.
Images and diagrams
- Fig 1: Awning rail measurement requirements
- Fig 9: Fabric securing options (Option 1 vs Option 2)
- Fig 12: Wiring diagram for 12V DC power and switch
Model compatibility
- Requires 12V DC power source.
- LED lights require a 3 amp in-line fuse.
- Awning rail is not included with the kit.

Manual page author
David Miller
Documentation analyst