Garden / Outdoor Cooking
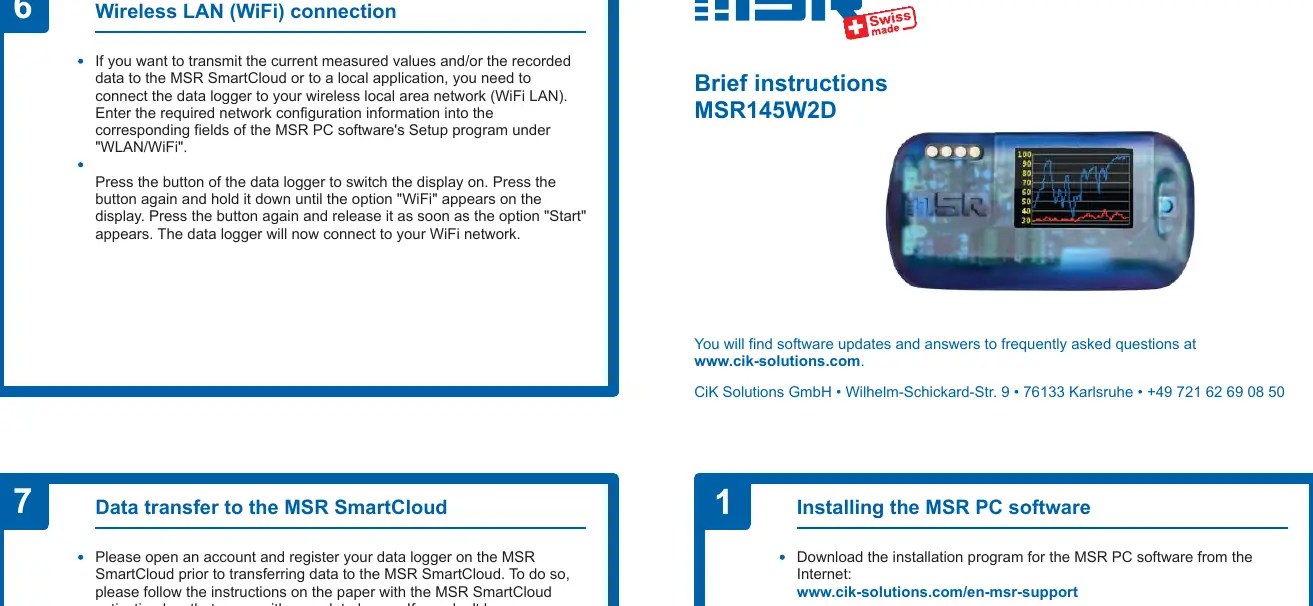
User Manual for MSR 145W2D Wireless Data Logger
Quick guide for the MSR 145W2D wireless data logger. Learn how to install the PC software, charge the battery, configure WiFi, start recordings, and transfer data to your PC or MSR SmartCloud.
Table of contents
Manual images
Click an image to enlargeQuick Guide for MSR 145W2D
This guide provides essential instructions for operating the MSR 145W2D data logger. Key operations include installing the MSR PC software, managing battery charging, configuring WiFi, and transferring data to a PC or the MSR SmartCloud.
Installing the MSR PC Software
The MSR PC software is required for configuration and data analysis. Download the installation program from the official website at www.cik-solutions.com/en-msr-support. Launch the installer and follow the on-screen instructions to complete the setup on your PC.
PC Connection and Battery Charging
Connect the data logger to your PC using the supplied USB cable. The orange LED indicates that the battery is charging. When the LED flashes every two seconds, the battery is fully charged.
Important: To prevent damage and extend battery life, do not allow the battery to fully discharge. It is recommended to fully charge the battery before storing the device for long periods. If the battery does not appear fully charged after the first attempt, unplug and reconnect the USB cable to restart the charging process.
Starting Data Recording
- Connect the device to your PC and launch the MSR PC software.
- In the Setup program, navigate to the Sensors area to set the time interval for each sensor (e.g., 1s for one measurement per second).
- Select Start immediately.
- Click Write basic settings to transfer the configuration to the data logger.
- Click Start to begin recording. The blue LED will flash every 5 seconds.
- Disconnect the USB cable.
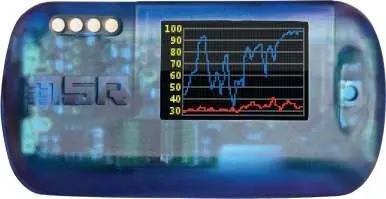
OLED Display Operation
Press the blue button on the data logger to activate the display. You can cycle through the following views by pressing the button:
- List: Shows current measured values.
- Graph 1: Displays measured values in diagram form.
- Graph 2: Displays the second diagram of measured values.
You can configure which displays are available under the Display menu in the setup program. To access options, keep pressing the button while the display is active; options will appear in the bottom left-hand corner. Release the button to select an option. The first option is Step (to change display) and the last is Cancel.
Transferring Data to a PC
- Connect the data logger to your PC via USB and launch the MSR PC software.
- Double-click Reader in the program selection window.
- Confirm that you want to end the current measuring process.
- Select the measuring process you wish to transfer (labeled Record) and click OK.
- The Viewer program will automatically open, allowing you to view, analyze, and export the data.
Wireless LAN (WiFi) Connection
To transmit data to the MSR SmartCloud or a local application via WiFi:
- Enter your network configuration details into the WLAN/WiFi section of the MSR PC software's Setup program.
- Switch on the data logger display using the blue button.
- Press and hold the button until WiFi appears on the display.
- Press the button again and release it as soon as Start appears. The device will connect to your WiFi network.
Data Transfer to MSR SmartCloud
Before transferring data to the cloud, you must register an account and register your data logger on the MSR SmartCloud. Follow the instructions provided with the MSR SmartCloud activation key included with your device. If you do not have an activation key, contact MSR customer support.
Official resources from the manual
Practical help
Common problems
Battery not fully charged
Unplug the USB cable and plug it in again to restart the charging process.
Data logger not connecting to WiFi
Ensure the network configuration information is entered correctly in the MSR PC software's Setup program under WLAN/WiFi.
Cannot transfer data to PC
Ensure you have ended the measuring process before attempting to read out the data.
Before use
- Download and install the MSR PC software from the official website.
- Charge the battery fully using the supplied USB cable.
- Register an account on MSR SmartCloud if using cloud features.
- Configure sensor time intervals in the Setup program.
Specs in practice
- OLED Display
- Shows current measurements, graphs, and configuration options.
Model compatibility
- Requires MSR PC software for configuration and data analysis.
- WiFi functionality requires initial configuration via PC software.

Manual page author
David Miller
Documentation analyst
Organizes user manual content into clear summaries, with attention to model details, product context, and everyday usability.