Lighting / Outdoor Lighting
User Manual for Philips Hue Nyro Outdoor Wall Light
Quick start guide and installation instructions for the Philips Hue Nyro outdoor wall light. Learn how to mount, wire, and set up your smart outdoor lighting.
Quick answers from the manual
Quick answer
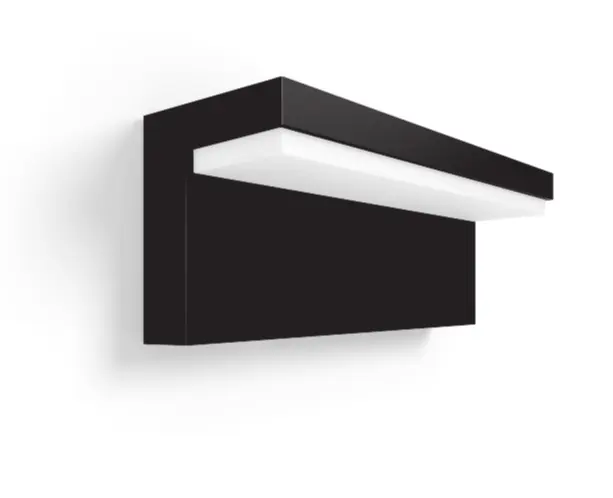
- The Philips Hue Nyro is an outdoor wall light that requires hardwired installation. It is Zigbee-certified and controlled via the Philips Hue app. p. 1, 2
Key actions
- Turn off power at the circuit breaker before installation. p. 3
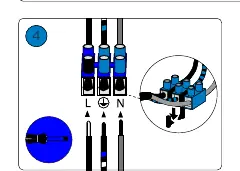
- Connect wires to the terminal block (L, Ground, N). p. 4
First start
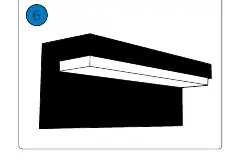
- After physical installation, turn the power back on at the circuit breaker to begin setup. p. 5
Where to find it in the PDF
- Installation Steps p. 3, 4, 5
Table of contents
Manual images
Click an image to enlargeQuick Guide
This document provides installation instructions for the Philips Hue Nyro outdoor wall light. This is a hardwired electrical device that requires basic installation knowledge. Ensure you have the necessary tools before beginning the installation process.
Installation Requirements
Before starting, ensure you have the following tools available:
- Drill
- Screwdriver (Phillips and Flathead)
- Wire cutter
- Pencil (for marking)
Installation Steps
Follow these steps to install your Philips Hue Nyro light:
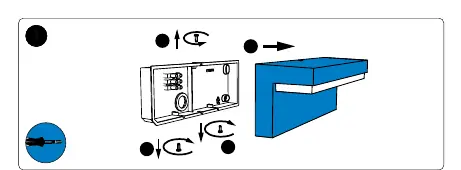
- Power Off: Turn off the power supply at the circuit breaker before beginning any electrical work.
- Mounting: Mark the drilling holes on the wall using the base of the fixture. Drill the holes and secure the mounting base to the wall.
- Wiring: Connect the electrical wires to the terminal block. Ensure the Live (L), Ground, and Neutral (N) wires are connected to the corresponding terminals.
- Assembly: Attach the light fixture to the mounted base and secure it with the provided screws.
- Power On: Once the fixture is securely mounted and wired, turn the power back on at the circuit breaker.
Safety and Maintenance
- IP44 Rating: The device is rated IP44, meaning it is protected against solid objects over 1mm and splashing water from any direction.
- Zigbee Connectivity: This product is Zigbee certified and requires a Philips Hue Bridge or compatible Zigbee hub for smart features.
- Maintenance: Keep the exterior clean. Do not use abrasive cleaners.
Manufacturer information
Philips
Practical help
Common problems
Light does not turn on after installation
Verify that the main power supply is switched on at the circuit breaker and that all wire connections are secure.
Cannot connect to the Hue app
Ensure the light is within range of your Hue Bridge or Zigbee network and that the Bridge is powered on.
Before use
- Ensure power is turned off at the circuit breaker
- Verify you have a drill, screwdriver, and wire cutter
- Check that the mounting surface is suitable for the fixture
- Confirm you have a Zigbee-compatible hub for smart control
Images and diagrams
- The manual uses visual icons to indicate required tools (drill, screwdriver, wire cutter) and safety warnings (circuit breaker).
- Wiring diagrams clearly show the connection points for Live (L), Neutral (N), and Ground wires.
Model compatibility
- Requires a Philips Hue Bridge or compatible Zigbee hub for full smart functionality.

Manual page author
Emily Carter
User documentation editor
Prepares concise manual descriptions and highlights the most useful setup, operation, and maintenance information for readers.