Home Appliances / Refrigerators
User Manual for PKM KG 220.4A++ Freezer-Fridge
Quick guide for the PKM KG 220.4A++ Freezer-Fridge. Includes installation, operation, maintenance, troubleshooting, and technical specifications.
Quick answers from the manual
Quick answer
- The PKM KG 220.4A++ is a freezer-fridge. After installation, wait 4-6 hours before connecting to the power supply. The thermostat ranges from 0 (off) to 7 (coldest). p. 11, 30
Key actions
- Wait 4-6 hours after transport before connecting p. 11, 30
- Defrosting p. 15, 34
First start
- Wait 4-6 hours after transport before connecting to the mains. p. 11, 30
Show 3 more answers Show less
Problems and fixes
Appliance does not work
Check power connection, fuse, and socket.
p. 16, 35
Compressor runs too long
Check door seals and frequency of opening.
p. 16, 35Technical specifications
| Parameter | Value | Meaning | Pages |
|---|---|---|---|
| Voltage | 220-240V AC/50Hz | Power supply requirements | p. 19, 38 |
| Refrigerant | R600a | Cooling agent | p. 19, 38 |
Where to find it in the PDF
- Installation p. 8, 27
- Operation p. 11, 30
- Technical Data p. 19, 38
Table of contents
Manual images
Click an image to enlargeQuick guide from the manual
Before using your PKM KG 220.4A++ Freezer-Fridge for the first time, it is essential to wait 4-6 hours after transport before connecting it to the power supply. This allows the oil to flow back into the compressor. Ensure the appliance is installed on a level, dry, and solid floor with proper ventilation.
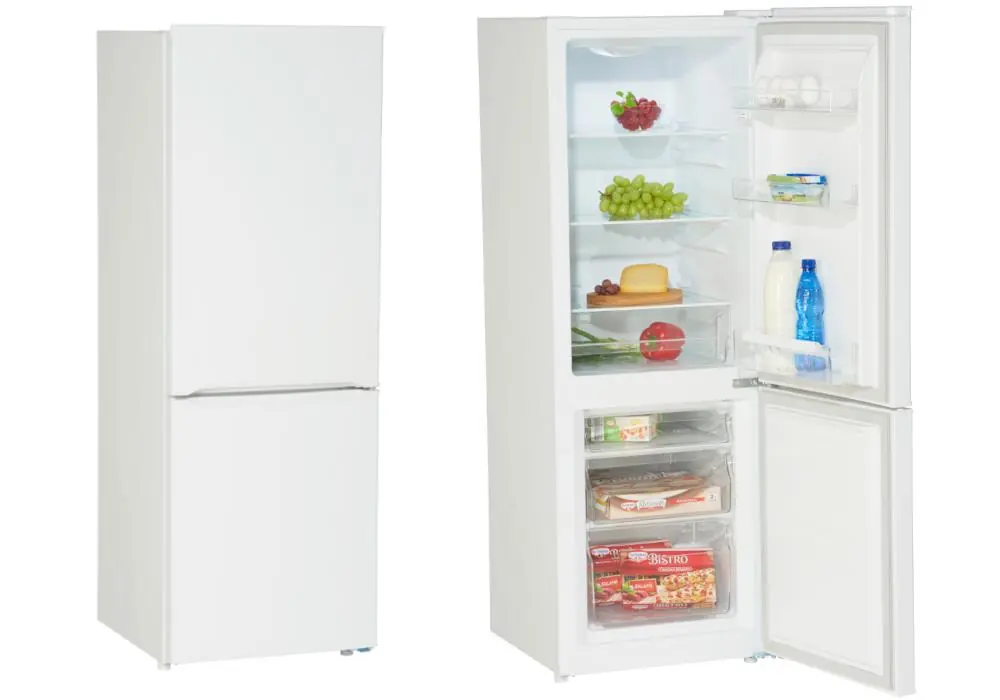
Installation
Proper installation is critical for the appliance's performance and longevity.
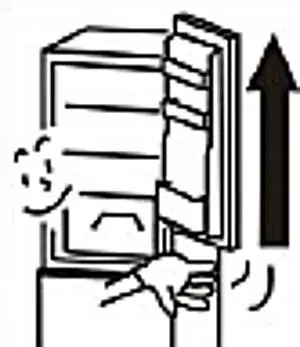
- Ventilation: Maintain minimum distances: 20mm at the back, 15mm at the sides, and 30mm at the top.
- Leveling: Use the adjustable feet to ensure the appliance is level, which helps the doors and seals close properly.
- Hinge Reversal: The door hinge can be changed. This process should be performed by at least two people. Always unplug the appliance before starting.
Operation
The appliance features a thermostat to control the temperature.
- Settings: The thermostat ranges from 0 (OFF) to 7 (coldest). Setting 3/4 is recommended for daily use.
- Temperature Control: If the ambient temperature is very high, a colder setting may be needed. If ice forms excessively, adjust to a warmer setting.
- Food Storage: Do not overfill the appliance. Allow hot food to cool to room temperature before storing.
Cleaning and Maintenance
Regular maintenance ensures efficiency and hygiene.
- Defrosting: The cooling compartment defrosts automatically. The freezer compartment requires manual defrosting. Never use sharp objects to remove ice.
- Cleaning: Disconnect from the power supply before cleaning. Use a moist cloth with a mild, non-acidic detergent. Do not use abrasive cleaners or solvents.
- Condenser: Clean the condenser at the back of the appliance twice a year with a vacuum cleaner or soft brush to maintain efficiency.
Troubleshooting
If the appliance does not work, check the power connection, fuse, and socket. If the compressor runs too long, ensure the doors are closed properly and not opened too frequently. Unusual noises may indicate the appliance is not level or is touching a wall.
Safety
This appliance uses R600a refrigerant, which is flammable. Do not damage the cooling circuit. Keep the appliance away from fire and sparks. Do not store explosive materials inside.
Practical help
Common problems
Appliance does not work
Check if the plug is connected, check the fuse box, and verify the socket has power.
Compressor runs too long
Ensure doors are closed properly, avoid frequent opening, and remove any hot food.
Strong ice formation
Ensure the door is closed properly and check/clean the door seals.
Unusual noise
Ensure the appliance is level and not touching walls or other objects.
Before use
- Wait 4-6 hours after transport before connecting to the power supply
- Ensure proper ventilation (20mm back, 15mm sides, 30mm top)
- Clean the interior with a mild detergent
- Check that the power supply matches the technical data on the model plate
- Ensure the appliance is level
Show more Show less
Specs in practice
- Climatic class
- Determines the ambient temperature range for optimal operation (N/ST).
Images and diagrams
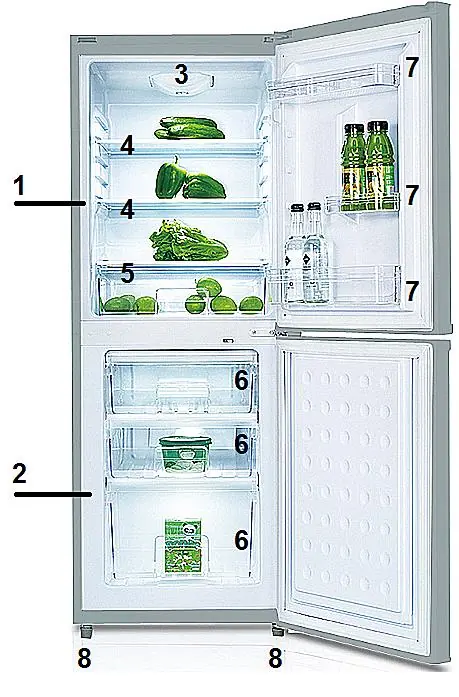
- Diagrams show component layout (1-8)
- Hinge reversal steps (1-7)
Model compatibility
- Not for commercial use
- Not for camping or public transport

Manual page author
David Miller
Documentation analyst