Lighting / Fixtures
Installation Instructions for Resistex Omega Ovale Lighting Fixture
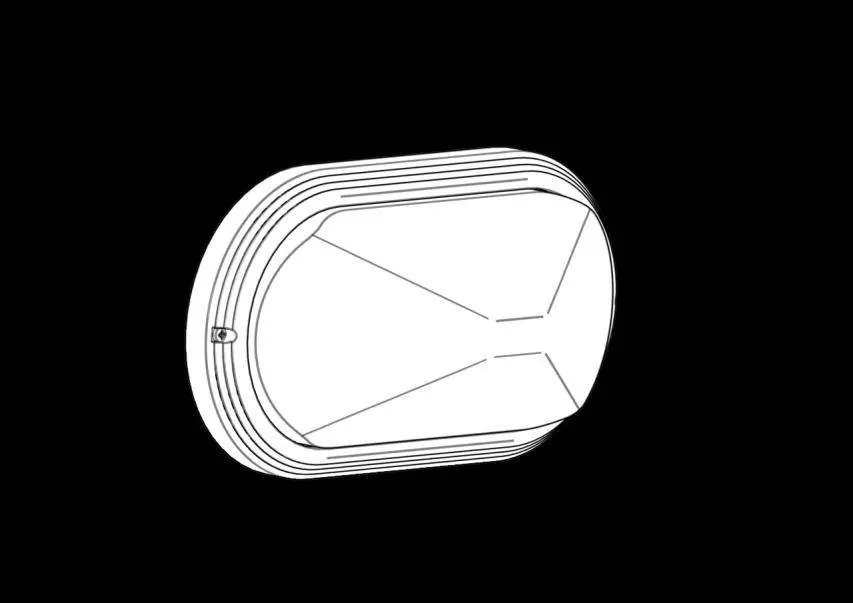
A comprehensive installation and safety guide for the Resistex Omega Ovale lighting fixture. Includes step-by-step mounting instructions, wiring diagrams, and maintenance guidelines.
Quick answers from the manual
Quick answer
- The Resistex Omega Ovale is a lighting fixture that requires professional installation. Always disconnect the power before starting any work. p. 1
Key actions
- Installation p. 2
First start
- Ensure power is off, mount the base, connect L/N wires, install bulb, and reassemble. p. 2
Maintenance and reset
- Do not use chemicals or abrasives to clean the fixture. p. 1
Technical specifications
| Parameter | Value | Meaning | Pages |
|---|---|---|---|
| Protection Class | Class II | Double insulation | p. 1 |
Where to find it in the PDF
- Safety and Maintenance p. 1
- Installation Steps p. 2
Table of contents
Manual images
Click an image to enlargeQuick guide from the manual
The Resistex Omega Ovale is a lighting fixture designed for professional installation. Before beginning, ensure the power supply is completely disconnected. The installation must be performed by a qualified professional in compliance with local electrical standards and regulations. Handle the fixture with care to avoid electrostatic discharge (ESD).
Safety Notes
- Power: Never work on the luminaire while it is connected to a power source.
- Installation: Must be performed by a professional installer.
- ESD: The product is sensitive to electrostatic discharges; handle with necessary precautions.
Maintenance
To maintain the fixture, do not use any chemical or abrasive cleaning products. Keep these instructions for future reference, such as for dismantling or maintenance tasks.
Installation
The installation process consists of 12 steps as outlined in the manual:
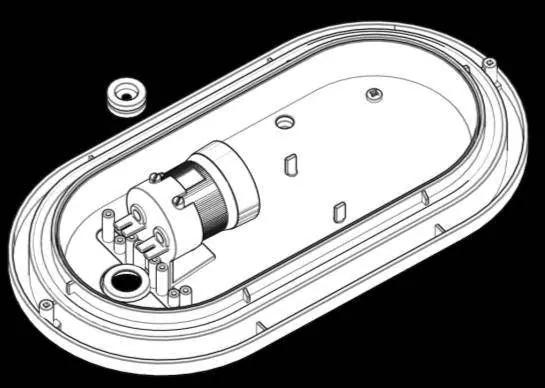
- Ensure the power is turned off.
- Remove the cover from the base.
- Prepare the base for mounting.
- Drill the necessary holes (marked as 6mm).
- Insert wall anchors and prepare for screw mounting.
- Secure the base to the mounting surface.
- Prepare the wiring.
- Connect the electrical wires (L and N terminals).
- Secure the internal components.
- Install the light bulb.
- Reattach the cover and secure it with screws.
- Turn the power back on.
Practical help
Common problems
Fixture does not light up
Verify that the power supply is active and that the electrical connections (L and N) are securely fastened.
Electrostatic discharge risk
Handle the internal components with care and follow ESD safety protocols during installation.
Before use
- Ensure the main power supply is switched off.
- Verify that a professional installer is available to perform the work.
- Check that you have the required tools (drill, screwdriver).
- Confirm the mounting surface is suitable for the fixture.
Images and diagrams
- The manual provides a 12-step visual guide detailing the disassembly, mounting, wiring, and reassembly of the fixture.
Model compatibility
- Installation must be performed by a professional installer.

Manual page author
David Miller
Documentation analyst
Organizes user manual content into clear summaries, with attention to model details, product context, and everyday usability.