Toys / RC Models & Drones
User Manual for Robbe SZD 54 Aerobatic Glider
Comprehensive user manual for the Robbe SZD 54 aerobatic glider. Includes assembly instructions, flight setup, ESC programming, and safety guidelines.
Quick answers from the manual
Quick answer
- The Robbe SZD 54 is a PNP aerobatic glider. This manual covers assembly, flight setup, ESC programming, and safety. p. 1, 4, 5, 15
Key actions
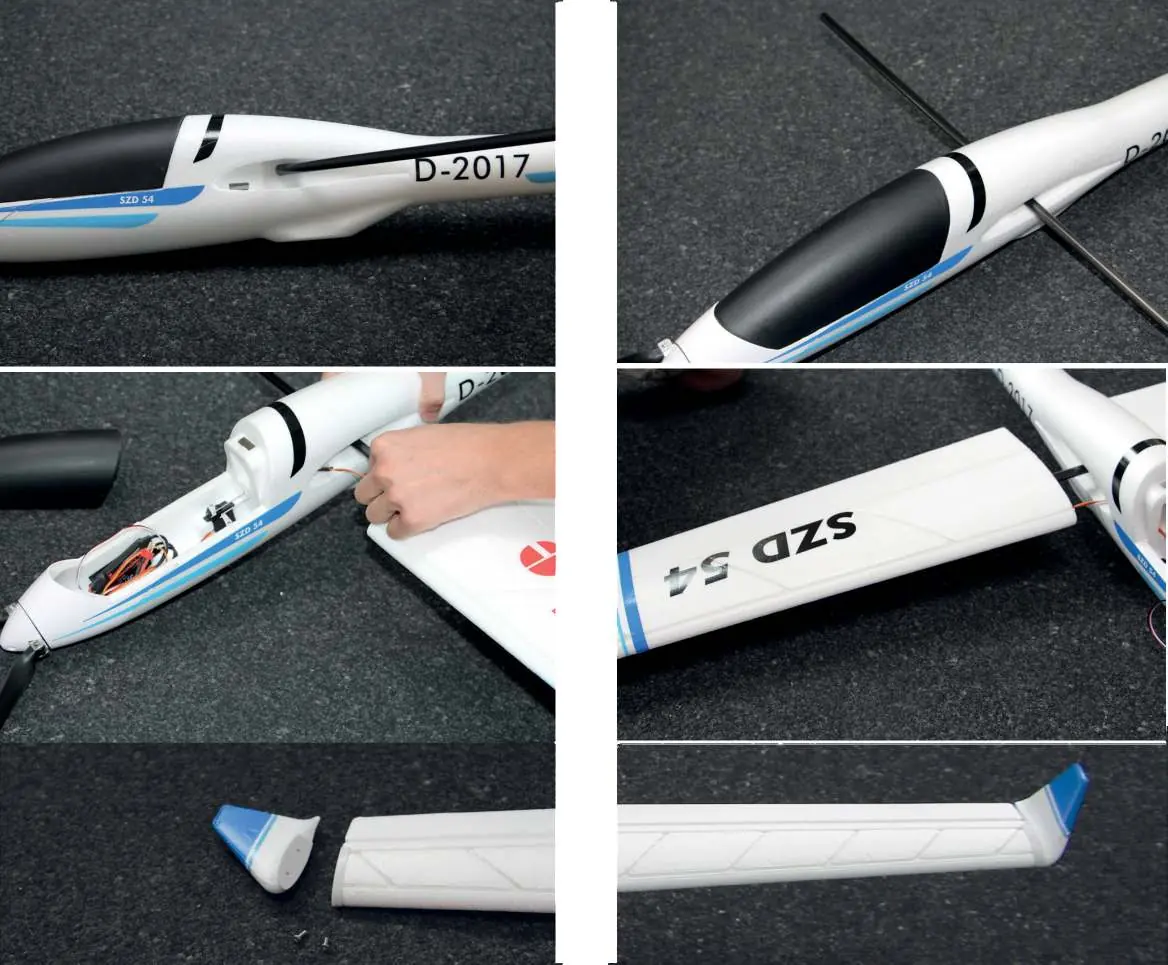
- Assemble the tailplane, rudder, and wings using the provided screws and CFK tube. p. 5, 6, 7, 16
- Calibrate the throttle range before the first flight. p. 11, 22
First start
- Ensure the CG is 60mm behind the leading edge and calibrate the throttle range. p. 9, 11, 20, 22
Problems and fixes
Motor does not start
Check battery connection, voltage, and throttle signal.
p. 11, 22
Motor rotates in wrong direction
Swap two motor-ESC wires.
p. 11, 22Maintenance and reset
- Factory reset can be performed via ESC programming (Point 7). p. 12, 23
Technical specifications
| Parameter | Value | Meaning | Pages |
|---|---|---|---|
| Span | 2120 mm | Wingspan | p. 4, 15 |
| Weight | 1150 g | Flying weight | p. 4, 15 |
Where to find it in the PDF
- Assembly p. 5, 6, 7, 16
- ESC Programming p. 10, 11, 12, 21
Table of contents
Manual images
Click an image to enlargeImportant Information
The Robbe SZD 54 is a modern, largely pre-assembled foam aerobatic glider. This manual provides essential instructions for assembly, flight preparation, and electronic speed controller (ESC) programming. Always ensure all mechanical and electrical connections are secure before every flight.
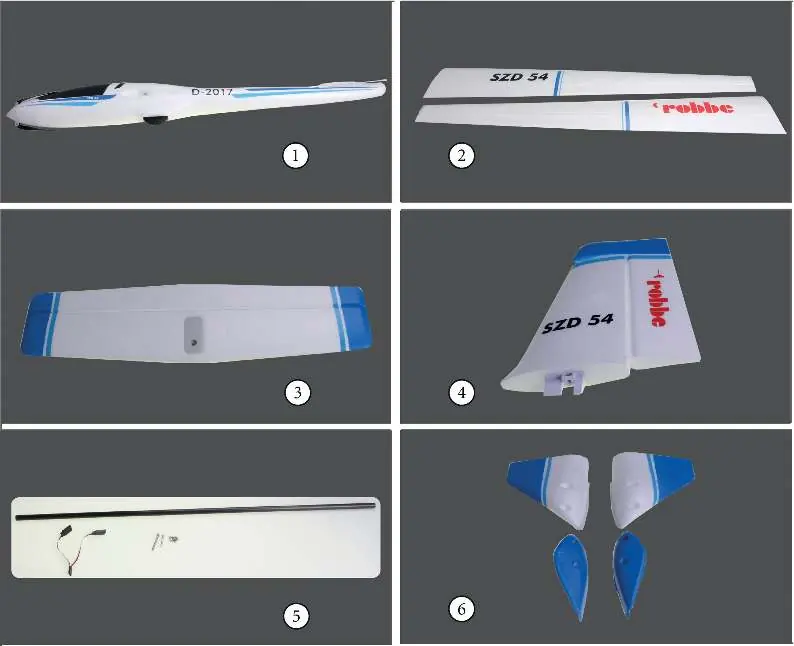
Box Content
The kit includes the fuselage, wingset, elevator, rudder, attachment parts (surface connectors, Y-cables, screws), and winglets.
Assembly Instructions
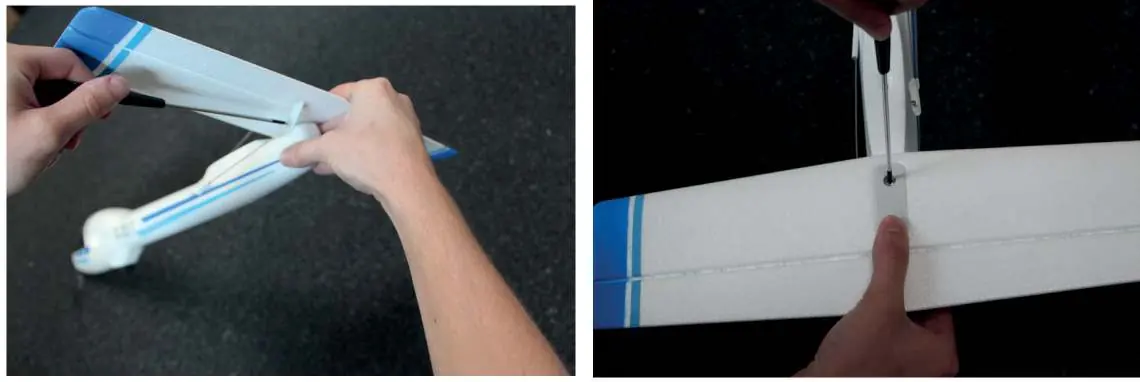
1. Tailplane Assembly
Position the tailplane at the end of the fuselage. Secure it using the provided M4x25 screw. Ensure it is firmly seated but do not overtighten.
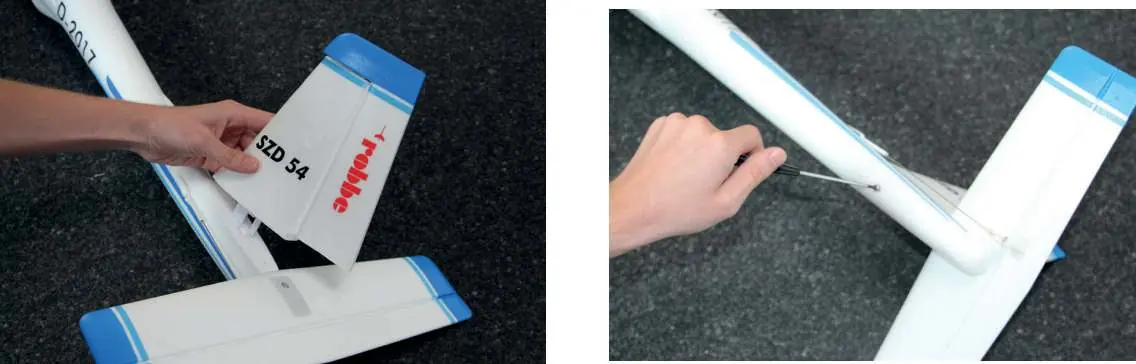
2. Rudder Assembly
Insert the rudder into the recess on the fuselage. Secure it using the M4x35 screw from below. Ensure a tight fit without damaging the screw connection.
3. Rudder Connections
Mount the clevis heads for the rudder and elevator into the 3rd hole of the rudder horn. Ensure the screw is tightened firmly so the linkage remains smooth.
4. Wing Assembly
Attach the two wing halves to the fuselage using the 10mm CFK tube. Thread the servo connection cable through the fuselage opening, ensuring it is not jammed. Secure the wings to the underside using the provided screws. Finally, attach the winglets to the wingtips using M3x10 screws.
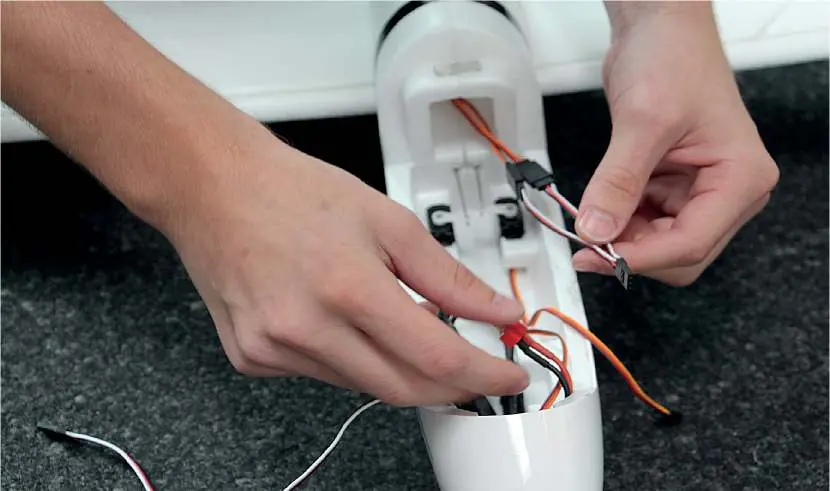
Electrical Connections
Connect all servos to the receiver according to your remote control system's sequence. If your system cannot handle two aileron servos, use the included V-cable. Connect the ESC to the receiver.
Flight Instructions
Center of Gravity (CG): For the first flight, the CG must be 60mm behind the leading edge (measured at the fuselage base). Adjust by moving the battery.

First Flight: Choose a day with minimal wind. Perform a functional test of the drive train and remote control. The start is usually against the wind. Avoid tight turns near the ground.
ESC Programming
The ESC can be programmed using the transmitter. Key settings include:
- Brake: Enabled/Disabled
- Battery Type: LiPo/NiMH
- Cut-Off Mode: Soft Cut-Off/Cut-Off
- Start Mode: Normal/Soft/Super-Soft
- Timing: Low/Medium/High
To enter programming mode, switch on the transmitter, set the throttle to full, and connect the battery. Follow the beep sequences to select and set parameters.
Troubleshooting
If the motor does not start, check the battery connection, battery voltage, and throttle signal. If the motor rotates in the wrong direction, swap any two of the three motor-to-ESC wires.
Practical help
Common problems
Motor does not work after switching on
Check battery connection, battery voltage, and ensure the throttle stick is in the lowest position.
Motor rotates in the wrong direction
Swap any two of the three connecting cables between the motor and the ESC.
ESC warning tones
Refer to the troubleshooting table in the manual; tones often indicate incorrect input voltage, irregular throttle signal, or programming mode.
Before use
- Check wing symmetry and tail unit alignment.
- Ensure all mechanical and electrical connections are secure.
- Calibrate the throttle range before the first flight.
- Verify the Center of Gravity (CG) is 60mm behind the leading edge.
- Check rudder deflection directions.
- Remove the propeller during adjustment work for safety.
Specs in practice
- Flying Weight
- Approx. 1150 g
Images and diagrams
- Assembly steps for tailplane, rudder, and wings.
- ESC programming tone sequences and menu navigation.
- Rudder linkage connection details.
Model compatibility
- Requires 3S LiPo battery (approx. 2200 mAh).
- Requires minimum 4-channel remote control system.

Manual page author
Emily Carter
User documentation editor
Prepares concise manual descriptions and highlights the most useful setup, operation, and maintenance information for readers.