Toys / RC Models & Drones
User Manual for DEERC 200E 1:10 Scale Brushless RC Car
Comprehensive user guide for the DEERC 200E 1:10 scale brushless RC car. Includes setup, battery charging, remote control pairing, assembly instructions, and troubleshooting tips.
Quick answers from the manual
Quick answer
- To pair the remote, turn on the car first, then turn on the remote control. The LED indicator will signal a successful connection. p. 1
Key actions
- Charge the battery fully before the first use. p. 1
- Adjust steering trim if the car drifts. p. 1
First start
- Install batteries in the remote, charge the car battery, and pair the devices. p. 1
Problems and fixes
Car not moving
Check battery connection and charge level.
p. 1Maintenance and reset
- Turn off the car and remove the battery after use. p. 1
Technical specifications
| Parameter | Value | Meaning | Pages |
|---|---|---|---|
| Dimensions | 400 x 280 x 170 mm | Physical size of the vehicle. | p. 1 |
| Weight | 2.5 kg | Total weight of the vehicle. | p. 1 |
Where to find it in the PDF
- User Manual p. 1
Table of contents
Manual images
Click an image to enlargeQuick guide from the manual
This manual provides instructions for the DEERC 200E 1:10 scale brushless RC car. Ensure you have all components, including the car, remote control, battery, and charger, before starting. Always charge the battery fully before the first use.
Remote control operation
The remote control operates on 2.4GHz. Key features include:
- Speed Switch: Adjusts the maximum speed of the vehicle.
- Steering Trim: Used to adjust the steering alignment if the car does not drive straight.
- Power Switch: Turns the remote on and off.
Pairing: Turn on the car, then turn on the remote control. The LED indicator will confirm the connection.
Assembly instructions
The vehicle requires minor assembly before use:
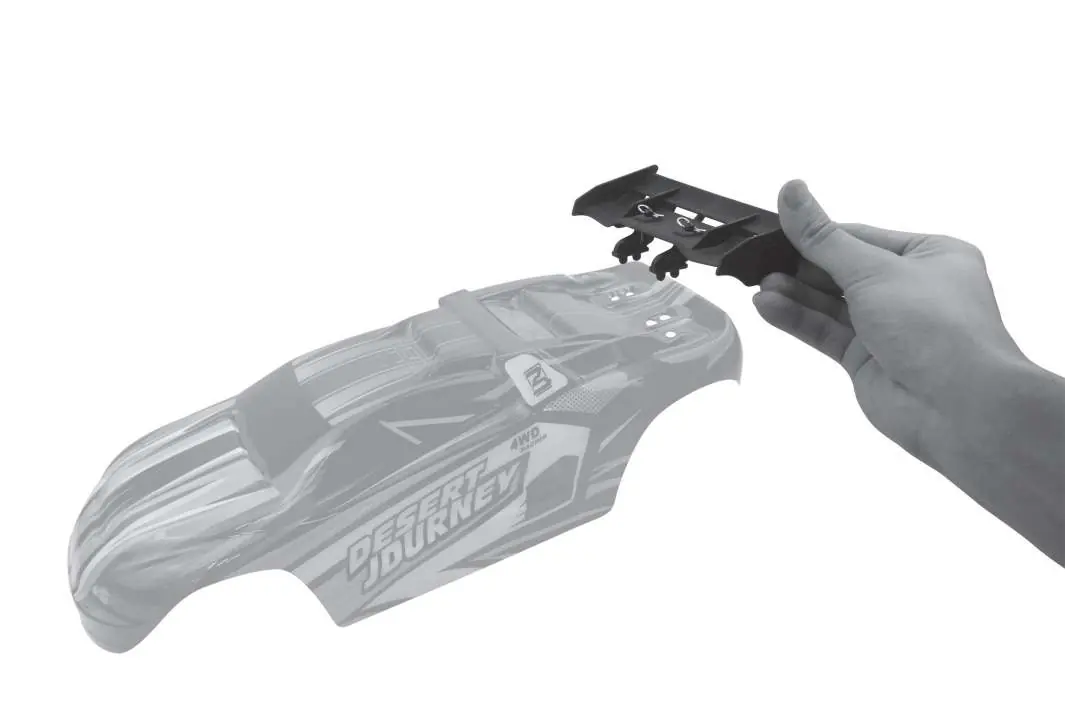
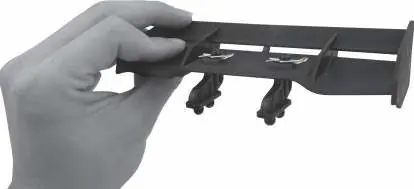
- Wing Installation: Attach the rear wing to the body shell using the provided clips.
- Body Shell: Secure the body shell to the chassis using the body clips. Ensure it is firmly attached before driving.
Troubleshooting
If you encounter issues, check the following:
- Car does not move: Ensure the battery is charged and properly connected. Check if the remote is paired.
- Steering issues: Use the steering trim dial on the remote to adjust the alignment.
- LED status: If the LED is flashing, the remote may need to be re-paired with the car.
Technical specifications
- Dimensions: 400 x 280 x 170 mm
- Weight: 2.5 kg
- Drive System: 4WD
- Battery: 7.4V Li-ion
Safety and maintenance
Always turn off the car and remove the battery after use. Store the battery in a cool, dry place. Do not expose the electronics to water or moisture. Regularly check for loose screws or damaged parts.
Practical help
Common problems
Car does not respond to remote
Ensure the battery is fully charged and the remote is paired correctly. Turn the car on first, then the remote.
Car does not drive straight
Adjust the 'Steering Trim' dial on the remote control until the wheels are aligned.
Battery life is short
Ensure the battery is fully charged before use. Avoid driving in extreme conditions that strain the motor.
Before use
- Charge the 7.4V battery fully.
- Install fresh batteries in the remote control.
- Attach the rear wing to the body shell.
- Secure the body shell with clips.
- Pair the remote control with the car.
Specs in practice
- Steering Trim
- Fine-tuning adjustment to ensure the car drives in a straight line.
Images and diagrams
- The manual includes diagrams for wing assembly and body shell mounting.
- Remote control layout shows the location of the speed switch and steering trim.
- Chassis diagram illustrates the internal component layout.
Model compatibility
- Designed for use with the included 7.4V Li-ion battery.

Manual page author
Michael Turner
Technical manual editor
Reviews PDF manuals for structure, safety notes, and practical product details so readers can find the right information quickly.