Electronics / Cables & Adapters
User Manual for Sealevel SeaLINK+232I USB to Serial Adapter
Quick guide for the Sealevel SeaLINK+232I USB to RS-232 Serial I/O Adapter. Includes installation steps for Windows and Linux, technical specifications, pin assignments, and troubleshooting tips.
Quick answers from the manual
Quick answer
- The SeaLINK+232I is an isolated USB to RS-232 serial adapter. You must install the Sealevel software driver before connecting the device to your computer's USB port. p. 3, 5
Key actions
- Install software before connecting hardware p. 5
- Perform loopback test to verify operation p. 11
First start
- Install SeaCOM software, then connect the adapter to a USB port. p. 5, 7
Show 3 more answers Show less
Problems and fixes
Device not recognized or not working
Check BIOS USB settings, verify driver installation, and use WinSSD utility for loopback testing.
p. 11Technical specifications
| Parameter | Value | Meaning | Pages |
|---|---|---|---|
| Power | +5 VDC, 100 mA | Power requirements | p. 10 |
| Operating Temperature | 0°C to 50°C | Operating range | p. 10 |
Where to find it in the PDF
- Installation p. 5, 6
- Specifications p. 10
Table of contents
Manual images
Click an image to enlargeQuick guide from the manual
The Sealevel SeaLINK+232I is an isolated USB to RS-232 serial adapter. Important: Do not connect the device to a USB port until the software has been fully installed. The device is hot-pluggable and does not require opening the computer case.
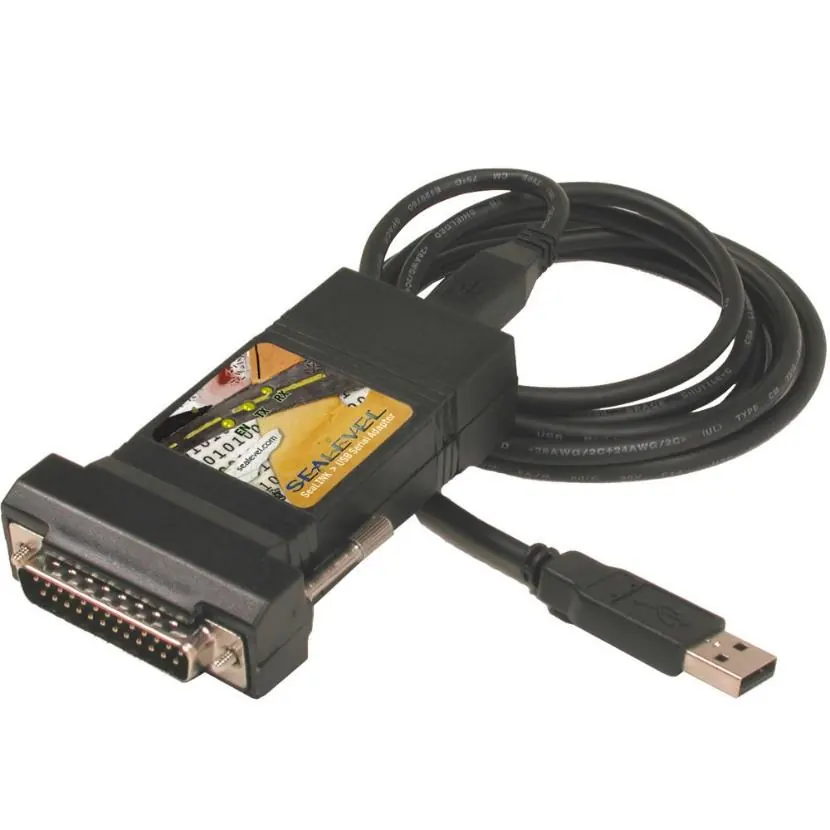
Installation
Windows Users:
- Locate and install the correct software from the Sealevel software driver database.
- Select part number #2103 for the adapter.
- Download and run the SeaCOM for Windows installer.
- Follow the on-screen prompts. If a publisher warning appears, click 'Yes' to proceed.
- Once software installation is complete, connect the adapter to an available USB port.
Linux Users:
- You must have root privileges to install software and drivers.
- Download SeaCOM for Linux from the Sealevel website.
- Use a utility like 7-Zip to extract the tar.gz file.
- Refer to the README and Serial-HOWTO files included in the download for specific implementation details.
Hardware Installation
The SeaLINK+232I is hot-pluggable. After software installation, connect the adapter to any Upstream Type A port on your PC or hub. The system will automatically detect the device. You can verify the installation in the Device Manager, where a new COM port will be assigned.
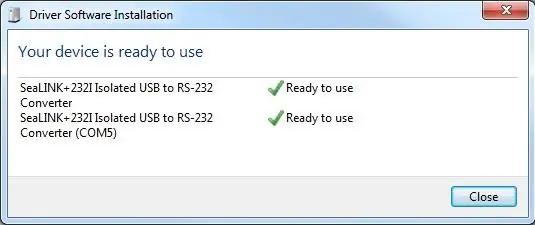
Technical Description
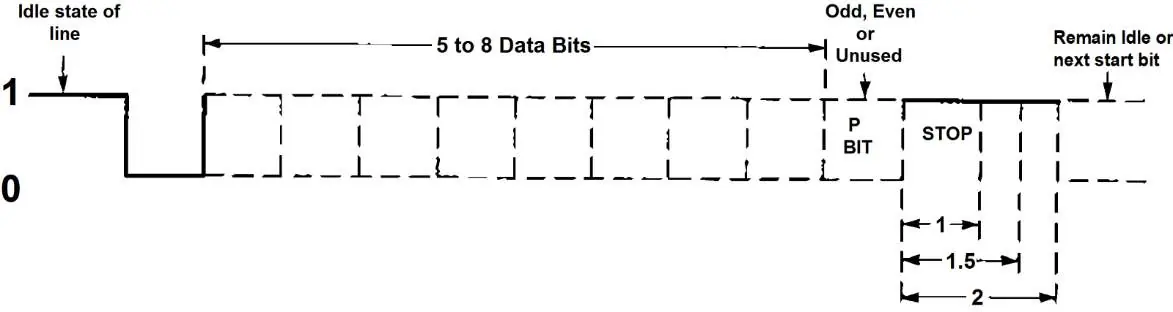
The adapter utilizes a USB UART with a 128-byte RX buffer and 256-byte TX buffer. It supports data rates up to 460.8K baud. The device is a DTE device and meets EIA/TIA/ANSI-232E specifications for DB-25 connectors.
Connector Pin Assignments (DB-25 Male)
- Pin 2: TD (Transmit Data) - Output
- Pin 3: RD (Receive Data) - Input
- Pin 4: RTS (Request To Send) - Output
- Pin 5: CTS (Clear To Send) - Input
- Pin 7: GND (Ground)
Troubleshooting
If the device is not functioning:
- Ensure USB support is enabled in the System BIOS.
- Verify that the Sealevel software is correctly installed.
- Use the WinSSD diagnostic utility to perform a loopback test.
- When in loopback mode, the TD and RD LEDs should flash, and echoed data should appear on the screen.
Specifications
- Operating Temperature: 0°C to 50°C (32°F to 122°F)
- Storage Temperature: -20°C to 70°C (-4°F to 158°F)
- Humidity: 10% to 90% R.H. (Non-Condensing)
- Power Consumption: +5 VDC, 100 mA
- Dimensions: 3.8" x 2.3" x 1.0" (9.66 cm x 5.84 cm x 2.54 cm)
Official resources from the manual
Practical help
Common problems
Device not working or not recognized
Check BIOS USB support, ensure Sealevel software is installed, and verify the COM port assignment in Device Manager.
Communication errors
Perform a loopback test using the WinSSD utility to verify TD/RD functionality.
Before use
- Verify all items are included: Adapter, USB cable CA179, DB25 to DB9 converter CA140.
- Do not connect the device to a USB port until software is fully installed.
- Ensure you have root privileges if installing on Linux.
- Check that USB support is enabled in your computer's BIOS.
Show more Show less
Specs in practice
- Operating Temperature
- 0°C to 50°C (32°F to 122°F)
- Power Consumption
- +5 VDC, 100 mA
Images and diagrams
- Figure 1: Cabling sample showing isolation barrier.
- Figure 2: Asynchronous communications bit diagram.
Model compatibility
- Compatible with Windows 7 or newer.
- Windows NT is not USB aware and does not support this device.
- Meets EIA/TIA/ANSI-232E DTE specifications.

Manual page author
David Miller
Documentation analyst