Computers / Storage
StarTech.com 2-Port Portable HDMI Video Splitter 4K 60Hz
Quick guide for the StarTech.com 2-Port Portable HDMI Video Splitter (HDMI-SPLITTER-4K60UP). Includes installation steps, component overview, and troubleshooting tips.
Quick answers from the manual
Quick answer
- To install the splitter, connect the integrated HDMI input cable to your source, connect HDMI cables from the splitter's output ports to your displays, and connect the included USB power cable to a wall outlet. p. 1
Key actions
- Connect HDMI input to source p. 1
- Connect HDMI outputs to displays p. 1
- Connect USB power p. 1
First start
- Power on displays first, then the source device. p. 1
Problems and fixes
Displays not detected
Press the Reset Button to force re-detection.
p. 1Maintenance and reset
- Use the Reset button to force re-detection of displays. p. 1
Technical specifications
| Parameter | Value | Meaning | Pages |
|---|---|---|---|
| Resolution | 4K 60Hz | Maximum supported video resolution and refresh rate. | p. 1 |
Where to find it in the PDF
- Quick-Start Guide and Installation p. 1
- Regulatory and Warranty p. 2
Table of contents
Manual images
Click an image to enlargeQuick guide from the manual
This guide provides instructions for setting up the StarTech.com 2-Port Portable HDMI Video Splitter. Ensure all devices are powered off before beginning the installation process. The device requires an HDMI source, two HDMI displays, and two HDMI cables (not included).
Product components

- HDMI Input Dongle Cable: Connects to the HDMI source device.
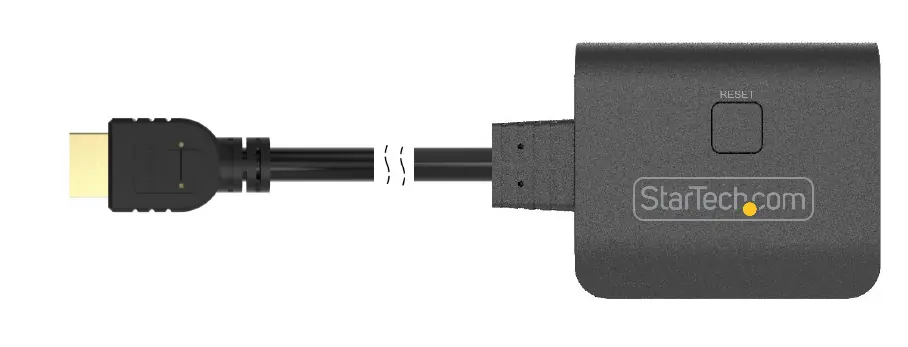
- Reset Button: Resets the splitter to force re-detection of connected displays.
- HDMI Output 1 & 2: Ports for connecting HDMI displays.
- Display Activity LEDs: Solid blue indicates a detected display connection.
- USB Micro-B Power Port: Connects to the included USB wall charger for power.
- Power LED: Solid blue indicates the device is receiving power.
Installation
- Connect the HDMI Input Dongle Cable on the splitter to the HDMI output port of your HDMI source device.
- Connect HDMI cables (not included) from each of the HDMI output ports on the splitter to the HDMI input ports on your displays. Note the port numbers assigned to each display.
- Power on each HDMI display, then power on your HDMI source device.
- Plug the included USB wall charger into a wall outlet.
- Connect the included USB Micro-B cable from the wall charger to the USB Micro-B power port on the rear of the splitter.
- The HDMI source device will now display an identical image on each attached display.
Troubleshooting and maintenance
If you encounter issues with display detection, use the Reset Button on the device. This action forces the splitter to re-detect the connected HDMI displays. Ensure the USB power cable is securely connected to both the wall charger and the splitter if the power LED does not light up.
Regulatory and warranty
This product complies with FCC Part 15 and Industry Canada standards. It is backed by a two-year warranty. For further details on warranty terms, visit www.startech.com/warranty.
Official resources from the manual
Practical help
Common problems
Displays not detected
Press the Reset Button on the splitter to force re-detection of the connected HDMI displays.
No power to the splitter
Ensure the USB Micro-B cable is securely connected to the USB wall charger and the splitter's power port.
Before use
- HDMI source device
- Two HDMI displays
- Two HDMI cables (not included)
- Included USB wall charger and cable
Images and diagrams
- The front view shows the two HDMI output ports and activity LEDs.
- The rear view shows the USB Micro-B power port and power LED.
- The top view shows the integrated HDMI input cable and the reset button.
Model compatibility
- Requires HDMI source and two HDMI displays.
- HDMI cables are not included and must be provided by the user.

Manual page author
Emily Carter
User documentation editor
Prepares concise manual descriptions and highlights the most useful setup, operation, and maintenance information for readers.