Garden / Lawn Mowers
User Manual for Texas XC160-102HC Lawn Tractor
Quick guide for the Texas XC160-102HC lawn tractor. Includes assembly instructions, safety warnings, operating procedures, maintenance schedules, and technical specifications.
Table of contents
Manual images
Click an image to enlargeQuick guide from the manual
This manual provides essential instructions for the safe and efficient operation of the Texas XC160-102HC lawn tractor. Always read the safety warnings before use. The operator is responsible for the safety of others and property. Do not operate on slopes steeper than 10° (18%).
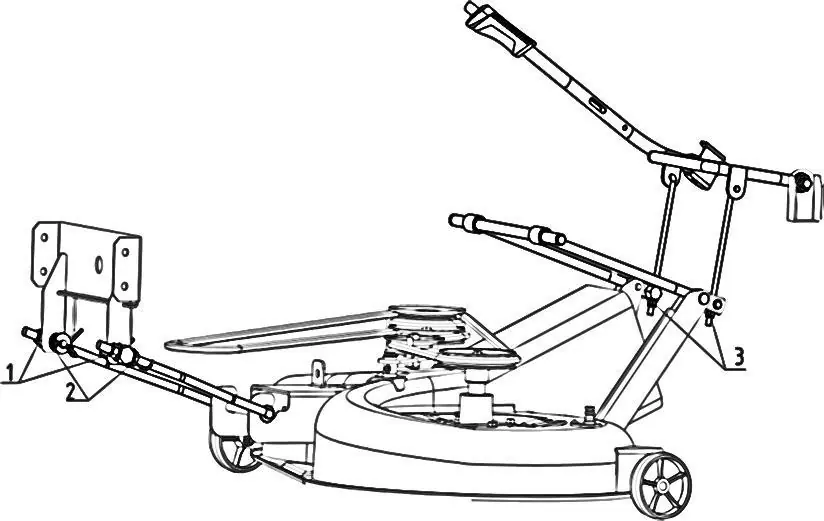
Unpacking and assembly
The machine is delivered without oil or fuel. Follow these steps for assembly:
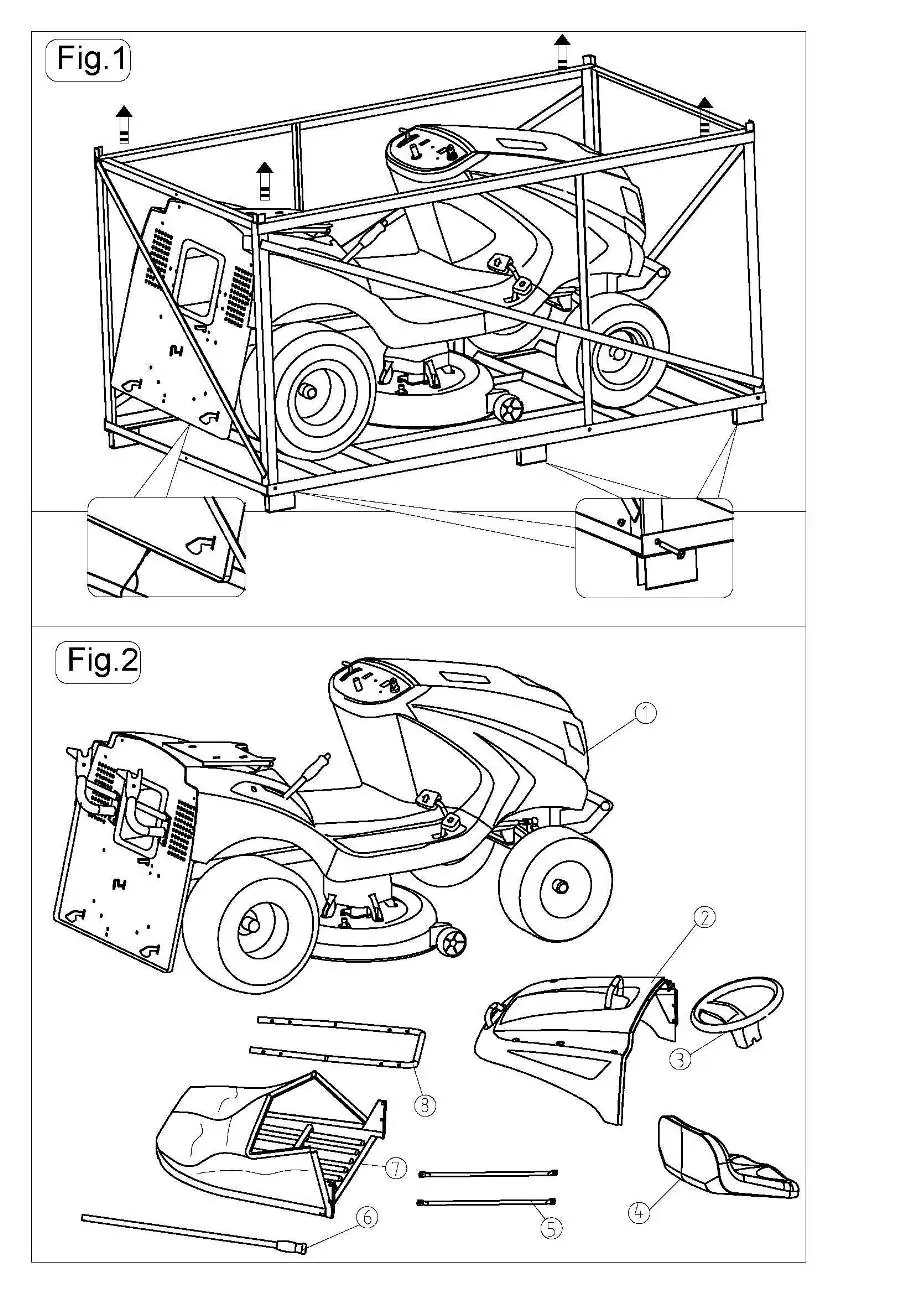
- Unpacking: Remove the 6 bolts at the bottom of the packaging frame to free the machine.
- Steering wheel: Mount on the shaft with spokes directed towards the seat.
- Seat: Mount on the plate using the provided screws.
- Battery: Connect the red wire to the positive (+) pole first, then the black wire to the negative (-) pole.
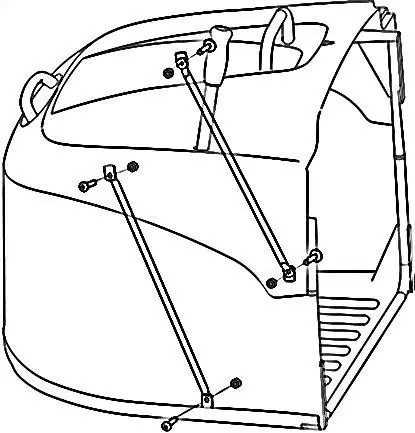
- Grass catcher: Assemble the frame and brackets as shown in the manual, then attach to the rear of the tractor.
Controls and instruments
- Throttle: Regulates engine RPM. Use 'CHOKE' for cold starts, 'SLOW' for idle, and 'FAST' for mowing.
- Blade engagement: Use the switch to engage (I) or disengage (O) the blades via the electromagnetic clutch.
- Ignition: Three positions: OFF, ON, and START.
- Parking brake: Press pedal A down, then press pedal B to lock. Press pedal A to release.
- Drive pedal: Controls forward (F) and reverse (R) speed.
- Transmission lever: Set to 'A' for driving/mowing, 'B' to disengage for manual movement.
Operation
Starting the engine: Open the fuel valve, disengage blades, apply parking brake, sit on the seat, set throttle to 'CHOKE' (cold) or between 'SLOW' and 'FAST' (warm), and turn the key to 'START'.
Mowing: Set throttle to 'FAST', raise the cutting deck, engage blades, and move forward slowly. Adjust speed and cutting height based on grass conditions.
Emptying the grass catcher: When the warning sounds, disengage blades, stop moving, and use the lever to tip the catcher.
Maintenance
Regular maintenance is crucial for machine longevity. Key tasks include:
- Blades: Check for sharpness and fastening every 25 hours. Replace every 100 hours.
- Belts: Check transmission and blade belts every 25 hours.
- Engine: Check oil level every 5 hours, change oil every 50 hours.
- Tire pressure: Front: 1.0 bar, Rear: 0.8 bar.
- Fuse: 15A fuse. If it blows, the machine stops and the dashboard light turns off.
Safety and warnings
- Slopes: Do not use on slopes steeper than 10° (18%). Mow up and down, never across.
- Towing: Maximum load is 200 kg.
- Cleaning: Never use high-pressure water hoses on the engine or electrical components.
Practical help
Common problems
Blades vibrate
Contact your dealer.
Blades tear grass and lawn turns yellow
Replace blades or contact your dealer.
Uneven cut
Align the cutting deck (see section 6.3.1).
Machine does not brake
Contact your dealer.
Forward movement is erratic
Contact your dealer.
Before use
- Check tire pressure (Front: 1.0 bar, Rear: 0.8 bar).
- Check engine oil level (between MIN and MAX).
- Ensure fuel tank is filled (max 7.5L).
- Check that all safety devices are functional.
- Ensure blades are sharp and in good condition.
- Ensure the parking brake is engaged before starting.
Specs in practice
- Cutting width
- 102 cm
- Cutting height
- 30-90 mm
- Fuel capacity
- 7.5 L
Images and diagrams
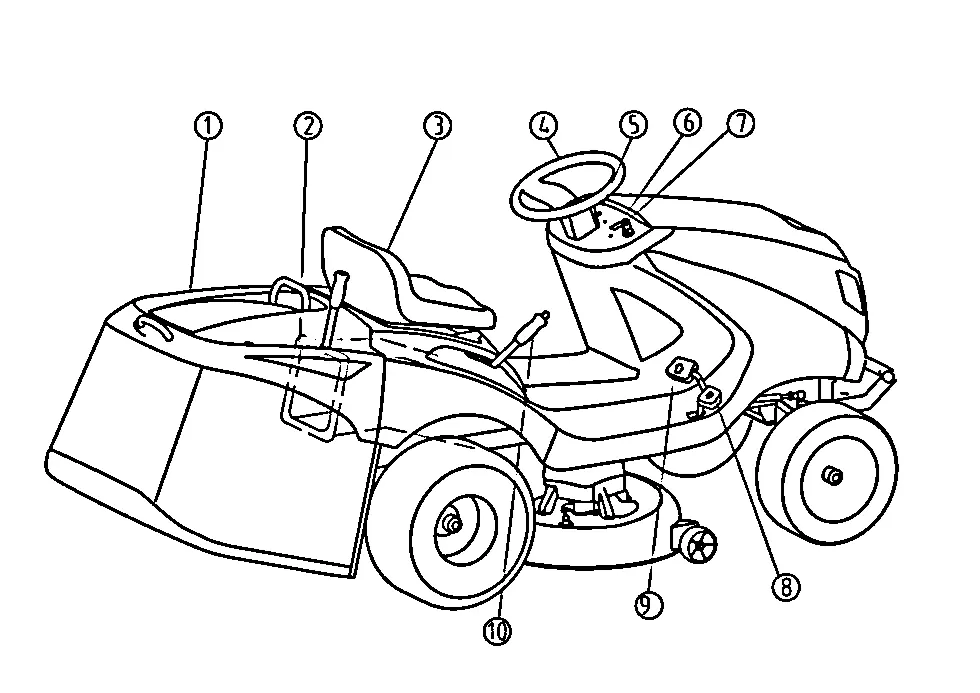
- Fig 4: Identification of main components.
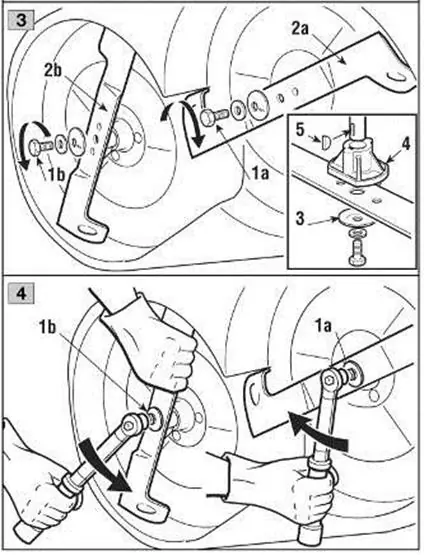
- Fig 5: Unpacking and assembly components.
- Fig 28: Cutting deck alignment adjustment.
- Fig 31: Blade dismantling and replacement procedure.
Model compatibility
- Do not use on slopes steeper than 10° (18%).
- Maximum towing load: 200 kg.
- Use only original spare parts for blades and belts.

Manual page author
Emily Carter
User documentation editor
Prepares concise manual descriptions and highlights the most useful setup, operation, and maintenance information for readers.