Electronics / Monitors
AcuRite 01036M Professional Weather Center Instruction Manual
Quick guide for the AcuRite 01036M Professional Weather Center, covering sensor installation, display setup, calibration, and troubleshooting.
Table of contents
Manual images
Jump to the sectionQuick guide from the manual
This document provides essential instructions for setting up and maintaining your AcuRite Professional Weather Center (models 01036 / 01092). Key steps include synchronizing the 5-in-1 sensor with the display, proper outdoor placement, and configuring settings like time, date, and measurement units. For technical assistance, visit www.AcuRite.com or call (844) 228-5465.
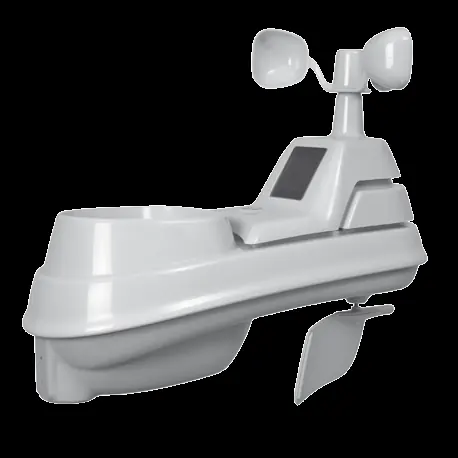
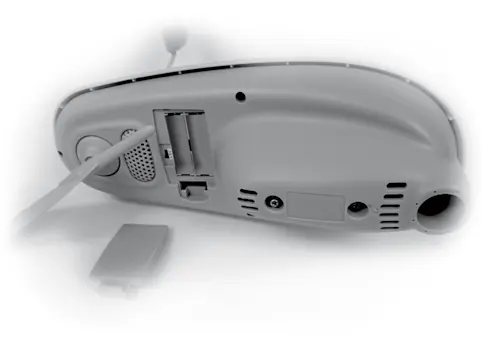
5-in-1 Sensor Setup
The sensor requires 4 AA batteries. Use lithium batteries for temperatures below -4°F (-20°C). Ensure the A-B-C switch inside the battery compartment matches the setting on the display unit. Before mounting, remove the plastic rain gauge stabilizer tab from the bottom of the sensor.
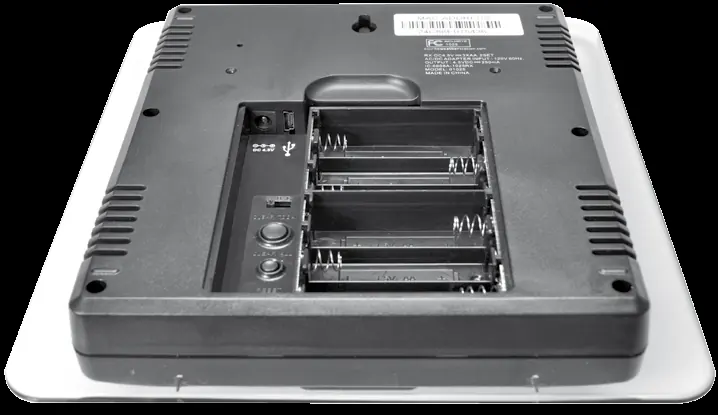


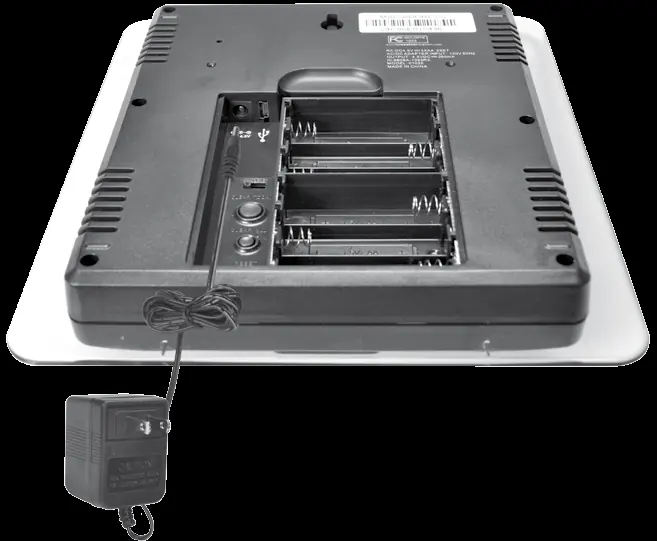
Display Setup
Plug the power adapter into an electrical outlet as the primary power source. You may install 6 AA batteries as a backup to preserve records during power outages. Note the 12-digit Device ID on the back of the unit, as it is required for online connectivity features.
Placement Guidelines
For maximum accuracy, place the display in a dry area away from heat sources. The 5-in-1 sensor should be mounted at least 5 feet (1.5 meters) off the ground in an open area, away from obstructions, heat sources, and sprinkler systems. The sensor and display must be within 330 feet (100 meters) of each other.
5-in-1 Sensor Installation
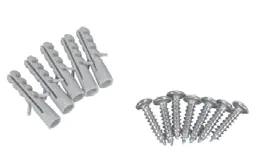
Mount the sensor using the included bracket on a wooden post or a 3/4-inch steel pipe. Ensure the solar cell faces South and the unit is perfectly level using the built-in bubble level. Secure the sensor to the mounting base using the provided screws.
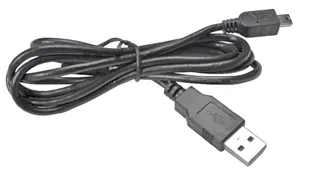
PC Connect
To use PC Connect, set the display to USB mode 3. Download the software from www.AcuRite.com/support/downloads. Connect the display to your PC using the provided USB cable to log data or stream to Weather Underground.
Calibration
Temperature, humidity, and rainfall readings can be calibrated on the display. To calibrate temperature or humidity, select the category and hold the ▲, ▼, and gear buttons simultaneously for 10-15 seconds. To calibrate the rain gauge, ensure the sensor is level and use a cup with a pinhole to drip 8oz of water into the gauge, adjusting the calibration screws if the reading does not match 1.06 inches.
Care & Maintenance
Clean the display with a soft, damp cloth. Keep the sensor free of debris and insects. If the wind vane or anemometer hesitates, use a small amount of spray lubricant or graphite powder.
Official resources from the manual
Manufacturer information
AcuRite
Practical help
Common problems
No outdoor sensor reception
Ensure units are within 330 ft (100 m), away from electronics, and that A-B-C switches match.
Inaccurate forecast
The unit requires 33 days of continuous operation to complete the Learning Mode calibration.
No rainfall data
Ensure the rain gauge stabilizer tab was removed and the funnel is clear of debris.
USB connectivity not working
Verify display is in USB mode 3, unplug/replug the cable, or reset the display.
Before use
- Remove protective film from the LCD screen.
- Set A-B-C switches on both sensor and display to the same letter.
- Install batteries in the sensor (4x AA).
- Remove the rain gauge stabilizer tab from the sensor.
- Plug in the display power adapter.
- Set time, date, and measurement units on the display.
Specs in practice
- Wireless Range
- 330 ft (100 m) maximum distance between sensor and display.
- Operating Frequency
- 433 MHz wireless transmission.
- Wind Speed Range
- 0 to 99 mph (0 to 159 kph).
Images and diagrams
- A-B-C Switch: Must match on both sensor and display for synchronization.
- Bubble Level: Used on the sensor to ensure accurate wind and rain measurement.
- Clear Today Button: Resets data recorded since 12:00 am.
- Reset Button: Performs a full factory reset of the display.
Model compatibility
- PC Connect requires Windows 7, 8, 8.1, or Mac OS X 10.9 or higher.
- High-speed internet is required for Weather Underground Rapid Fire updates.

Manual page author
Michael Turner
Technical manual editor
Reviews PDF manuals for structure, safety notes, and practical product details so readers can find the right information quickly.