Power / Wireless Chargers
User Manual for ANKO Metal Gate
Quick guide for the ANKO Metal Gate. Includes installation steps, safety warnings, extension usage, and operation instructions for the 73cm-102cm safety barrier.
Table of contents
Manual images
Click an image to enlargeQuick Guide
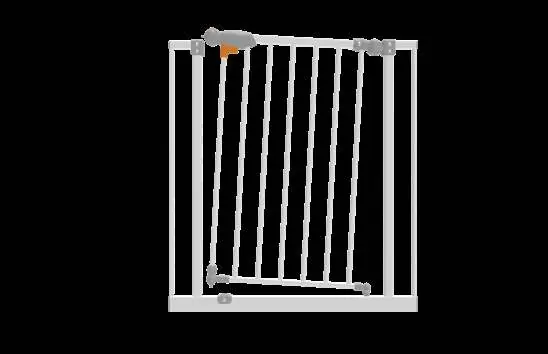
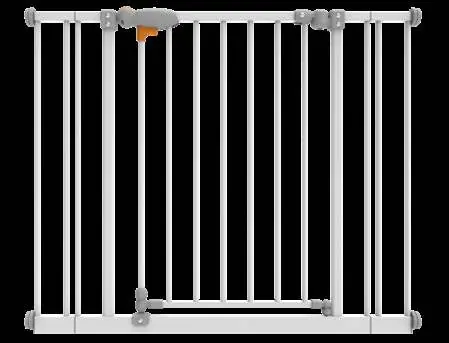
The ANKO Metal Gate is a pressure-mounted safety barrier designed for children aged 6 to 24 months or small to medium pets. It is intended for domestic use only and must be installed between rigid surfaces such as doorways, walls, or stair posts.
Safety Warnings
- Never use this product at the top of stairs to prevent falls.
- Never fit the barrier across windows.
- Never install on glass doors.
- Ensure the gate is installed on a horizontal, flat surface.
- Do not use if any components are damaged, missing, or disassembled.
- Always check that the gate is correctly closed and the locking mechanism is engaged.
- Never leave a child unattended when using this product.
Parts Included
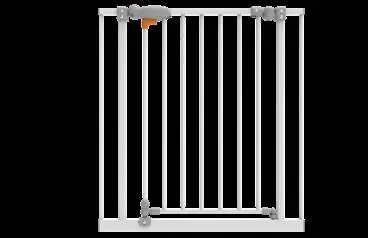
- 1 x Safety Gate
- 2 x 10cm Gate Extensions
- 4 x Adjuster Bolts
- 4 x Adjuster Screws
- 4 x Extension Pins
- 4 x Adhesive Pads
- 4 x Mounting Cups
- 4 x Screws
Installation
Before installation, measure the space to be enclosed to determine if extensions are required:
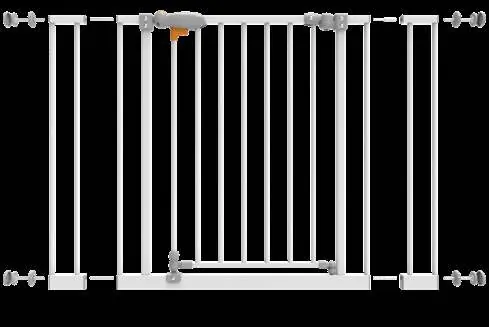
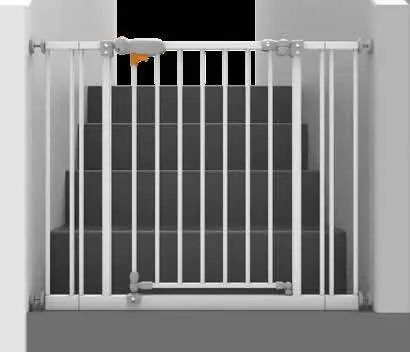
- No extensions: 73cm - 82cm
- 1x 10cm extension: 83cm - 92cm
- 2x 10cm extensions: 93cm - 102cm
Steps:
- Screw Adjuster Bolts and Screws together and place them into the mounting holes in each corner of the gate.
- Place the gate in the opening, ensuring the bottom rail is flat on the floor.
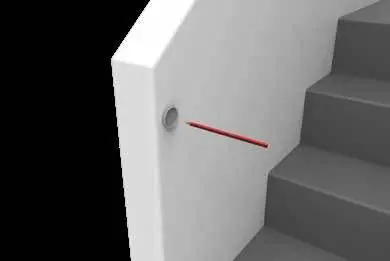
- Mark the position of each Mounting Cup on the wall or stair post.
- Stick the Mounting Cups in position using the Adhesive Pads. For added security, fix each cup to the wall using the provided screws and a Phillips head screwdriver.
- Align the gate with the Mounting Cups. Tighten the Adjuster Screws clockwise, starting with the bottom screws, then the top.
- Tighten equally until there is only a 1.5mm gap in the locking mechanism.
Note: Do not extend Adjuster Bolts more than 62mm.
Operation
To open the gate:
- Using one hand, place your thumb on the button and grip the gate with your fingers.
- Press the button with your thumb and squeeze the index finger.
- Open the gate in either direction.
Cleaning
Use a soft, damp cloth to wipe the gate. Dry thoroughly after cleaning. Do not use chemical or abrasive cleaners.
Manufacturer information
Anko
Practical help
Common problems
Gap at the door opening upon unpacking
This is normal for pressure-mounted gates and will disappear when the gate is installed correctly.
Gate feels loose or unstable
Regularly check the tension of all mounting bolts and adjust if required. Ensure the gate is fixed to a solid, secure surface.
Before use
- Measure the opening width to determine if extensions are needed.
- Ensure the mounting surface (wall, door frame, stair post) is rigid and flat.
- Verify that the gate is intended for children 6-24 months or pets.
- Check that all parts listed are present.
- Ensure you have a Phillips head screwdriver for permanent mounting.
Specs in practice
- Adjuster Bolt limit
- Do not extend the bolts more than 62mm.
- Locking mechanism gap
- Tighten until there is only a 1.5mm gap.
- Extension limit
- Only use one extension on each side of the gate.
Images and diagrams
- The gate uses a pressure-mounting system where the gap at the top locking mechanism is normal before installation.
- Mounting cups must be secured with screws into the wall for added security.
Model compatibility
- Fits openings from 73cm to 102cm depending on the number of extensions used.
- Must be fitted between rigid surfaces like plasterboard, timber, or hardwall.

Manual page author
Emily Carter
User documentation editor
Prepares concise manual descriptions and highlights the most useful setup, operation, and maintenance information for readers.