Lighting / Ceiling Fans
Instruction Manual for Artika Darren Hugger LED Ceiling Fan 23FAN-DAR-W2BL
Quick guide for the Artika Darren Hugger LED Ceiling Fan (23FAN-DAR-W2BL). Includes installation steps, remote control pairing, battery replacement, and safety warnings.
Quick answers from the manual
Quick answer
- The Artika Darren Hugger LED Ceiling Fan (23FAN-DAR-W2BL) is an indoor residential fan. It requires a fan-rated outlet box and must not be used with a dimmer switch. It is controlled via the included remote. p. 1, 5, 6
Key actions
- Pairing the remote control p. 16
- Installing the mounting bracket p. 7, 9
First start
- Turn off power at the breaker, install the mounting bracket, connect wires, attach the fan, and insert the battery into the remote. p. 4, 7, 11, 15
Show 4 more answers Show less
Problems and fixes
Remote pairing failure
Turn power off for 10 seconds, turn on, and press FAN ON/OFF and LIGHT ON/OFF buttons simultaneously within 10 seconds.
p. 16Maintenance and reset
- Mute/Unmute beeper: Press and hold both buttons until you hear the beeping sound. p. 16
Technical specifications
| Parameter | Value | Meaning | Pages |
|---|---|---|---|
| Fan Weight | 2.48 kg / 5.46 lb | Total weight of the fan unit. | p. 6 |
| Max Bracket Load | 15.9 kg / 35 lb | Maximum weight capacity of the mounting bracket. | p. 5, 6 |
| Battery | CR2032 (3V) | Compatible battery type for the remote. | p. 15, 18 |
Where to find it in the PDF
- Included Hardware p. 2
- Installation Steps p. 3, 7, 8, 9
- Remote Control Functions p. 16
Table of contents
Quick Guide
The Artika Darren Hugger LED Ceiling Fan (23FAN-DAR-W2BL) is designed for indoor residential use. Before installation, ensure your electrical outlet box is rated for fan support (up to 15.9 kg / 35 lb). Do not use this fan with a dimmer switch or solid-state speed control device.
Included Hardware
- Mounting bracket
- Wall anchors and screws
- Junction box screws
- Wire connectors
- Remote control
- L Bracket
Installation
Preparation: Ensure the main power is turned off at the breaker panel before starting. The fan must be mounted with the lowest parts at least 2.1 m (82.6 in) above the floor.
- Secure the mounting bracket to the junction box using the provided screws.
- If necessary, use the wall anchors for additional support.
- Ensure the mounting bracket is securely fastened and capable of supporting the fan's weight (2.48 kg / 5.46 lb).
Wiring
Connect the wires according to the following scheme:
- Ground wire (G): Connect to the house ground wire.
- White (N): Connect to the house neutral wire.
- Black (L): Connect to the house live wire.
After connecting, tuck the wires carefully into the outlet box, ensuring the grounded and ungrounded conductors are separated.
Remote Control
The remote control manages fan speed, light brightness, color temperature, and timer settings. To pair or unpair the remote:
- Turn the fixture power off for at least 10 seconds.
- Turn the fan on.
- Within 10 seconds of turning on the fan, press the FAN ON/OFF and LIGHT ON/OFF buttons simultaneously.
- You will hear 1 beep for successful pairing, or 2 beeps for unpairing.
Battery Replacement
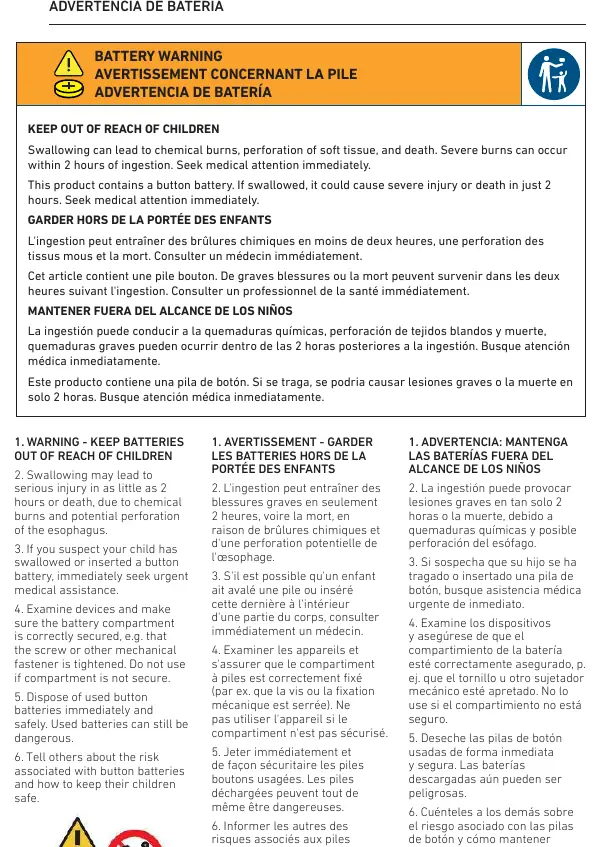
The remote uses a CR2032 3V battery. To replace it, slide the battery compartment open, remove the old battery, and insert a new one, ensuring correct polarity (+ and -). Keep batteries out of reach of children.
Safety Warnings
- Risk of electrical shock: Always turn off power at the breaker before installation or maintenance.
- Battery safety: This product contains a button battery. If swallowed, it can cause severe internal burns or death within 2 hours. Seek medical attention immediately if ingestion is suspected.
- Structural integrity: Do not bend blade brackets during installation or cleaning.
Warranty
Artika For Living Inc. offers a five-year limited warranty on manufacturing defects for residential use. The warranty is non-transferable and requires the original sales receipt. It does not cover improper installation, misuse, or normal wear and tear.
Manufacturer information
Artika
Practical help
Common problems
Fan does not turn on
Check if the power is on at the breaker. Ensure the remote is paired correctly.
Remote control not working
Check the battery (CR2032) and ensure it is installed with correct polarity. Re-pair the remote if necessary.
Fan wobbles or makes noise
Ensure the mounting bracket is securely tightened to the junction box and the fan is properly balanced.
Before use
- Ensure power is turned off at the breaker panel.
- Verify the outlet box is marked 'acceptable for fan support'.
- Check that the mounting height is at least 2.1 m (82.6 in) above the floor.
- Confirm no dimmer switch is connected to the fan.
- Ensure all screws are tightened before operation.
Show more Show less
Specs in practice
- Max Bracket Load
- 15.9 kg / 35 lb
- Battery Type
- CR2032 (3V)
Images and diagrams
- The wiring diagram illustrates connecting the ground, neutral (white), and live (black) wires using the provided wire connectors.
- The installation diagram shows the sequence of attaching the mounting bracket to the junction box.
Model compatibility
- Indoor use only.
- Residential use only.
- Do not use with solid-state speed control devices (dimmers).

Manual page author
Michael Turner
Technical manual editor