HVAC / Parking Heaters
Aussie Traveller 12V Touring Oven
A quick guide for the Aussie Traveller 12V Touring Oven. Covers installation, power connection, cooking tips, maintenance, and technical specifications for this portable 12V appliance.
Table of contents
Manual images
Click an image to enlargeQuick guide from the manual
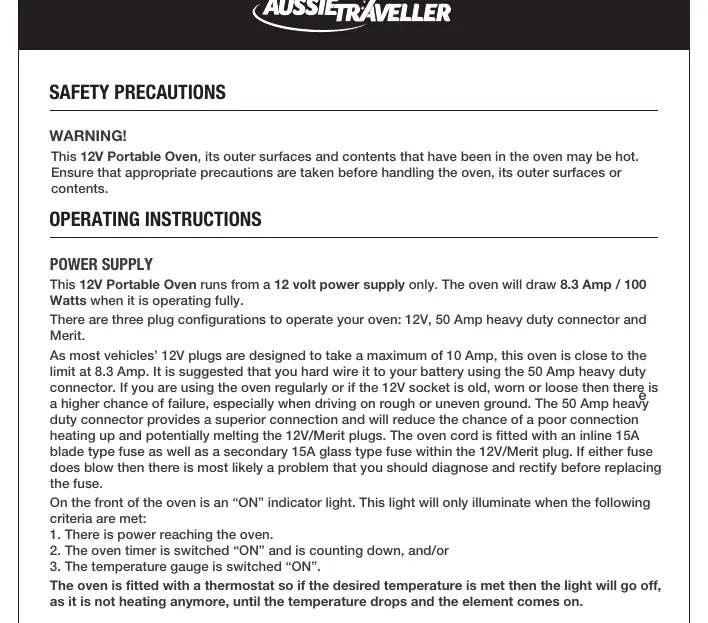
The Aussie Traveller 12V Touring Oven is designed for 12V DC power supply only. It draws 8.3 Amps (100 Watts) during operation. For optimal performance and safety, it is recommended to hardwire the unit to your battery using the 50 Amp heavy-duty connector, especially if using the oven regularly or if your 12V socket is worn. Always preheat the oven for 20-30 minutes before cooking, as it is not a fan-forced unit.
Product overview
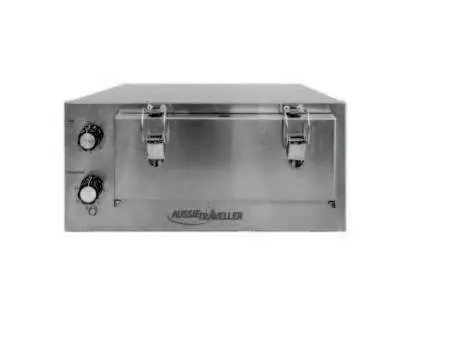
This portable oven features a stainless steel housing with an insulated body and door. It includes two removable mesh shelves and three plug configurations: 12V, 50 Amp heavy-duty connector, and Merit. The unit is protected by a 15A inline fuse.
Installation
The oven comes with two steel mounting brackets. There are slots on the top and bottom of the oven to secure it to a shelf or the roof of your vehicle. Insert the two prongs into the slots on the side of the oven and screw the brackets down. Periodically check the attachment to ensure it has not become loose.
Operating instructions
To operate the oven, ensure it is connected to a 12V power source. Set the temperature gauge to the desired level (up to 180°C) and turn the timer switch to the required cooking time. The "ON" indicator light will illuminate only when power is reaching the oven, the timer is switched on, and the temperature gauge is active. The thermostat will cycle the heating element on and off to maintain the set temperature.
Cooking tips
Since the oven is not fan-forced, cooking times will be longer than in a home oven. To achieve the best results:
- Preheat the oven for 20-30 minutes.
- Do not over-fill the oven, as this reduces airflow.
- Rotate food between shelves and on the shelves throughout the cooking time to avoid hot spots.
- Defrost frozen items before cooking if possible.
- If the oven rattles while driving, ensure the unit is cool, then gently pinch down the arms on the sides of the mesh shelves so they hold tightly onto the arms inside the oven.
Cleaning and maintenance
Always unplug the unit prior to cleaning. Do not immerse the unit in any liquid. Use a cloth, brush, or sponge with water and mild detergent to clean the interior and exterior. Do not use metal scouring pads.
Specifications
- Voltage: 12V DC
- Power Draw: 8.3 Amp / 100 Watts
- Temperature Range: 80 - 180°C
- Timer: 20 - 120 Minutes
- Fuse: 15A Blade Type
- Exterior Dimensions: 370 x 310 x 195mm
- Interior Dimensions: 267 x 250 x 100mm
- Weight: 6.40kg
Practical help
Common problems
Oven rattling while driving
When the oven and shelves are cool, gently pinch down the arms on the sides of the mesh shelves so they hold tightly onto the arms inside the oven.
Fuse blowing
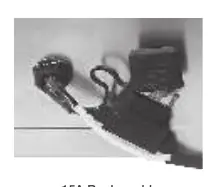
Check for poor connections or loose sockets. Hardwiring with a 50A Anderson connector is recommended to reduce the chance of poor connection heating up.
Indicator light does not turn on
Ensure power is reaching the oven, the timer is switched on, and the temperature gauge is switched on.
Before use
- Ensure a 12V DC power source is available.
- Choose the appropriate plug configuration (12V, 50A Anderson, or Merit).
- Secure the oven using the provided mounting brackets.
- Preheat the oven for 20-30 minutes before adding food.
Images and diagrams
- The oven features a stainless steel locking latch and insulated housing.
- Mounting brackets attach to slots on the top and bottom of the unit.
Model compatibility
- Not fan-forced; cooking times will differ from standard home ovens.
- Can be recessed as it does not require ventilation at the rear, sides, top, or bottom.

Manual page author
Michael Turner
Technical manual editor
Reviews PDF manuals for structure, safety notes, and practical product details so readers can find the right information quickly.