Home Appliances / Commercial Kitchen Equipment
Avantco 177CO32M Countertop Convection Oven User Manual
Quick user guide for the Avantco 177CO32M Countertop Convection Oven. Includes installation, operation, steam injection usage, cleaning, and troubleshooting steps.
Table of contents
Manual images
Click an image to enlargeQuick guide from the manual
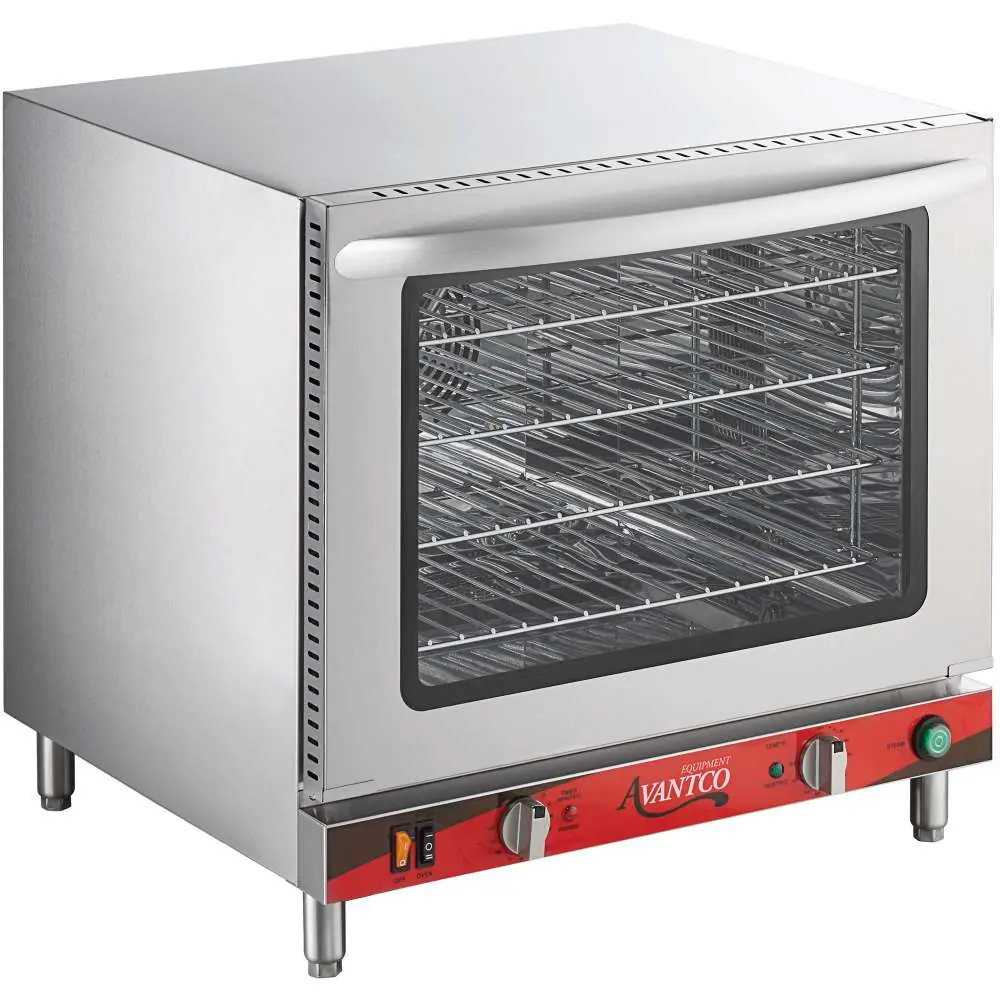
This manual provides instructions for the Avantco 177CO32M Countertop Convection Oven. Key operational requirements include proper electrical connection (208/240V, 60Hz, 6-20P plug), water connection for steam injection (3/4" inlet, 20-25psi), and maintaining 12" of clearance from surrounding walls.
Installation
The oven must be placed on a flat, level surface. Ensure 12" (30.4 cm) of clearance between the unit and any surrounding walls. The unit requires a 208/240V, 60Hz power supply using a 6-20P NEMA plug. For the steam injection feature, connect the 3/4" water inlet to a water source with 20-25psi pressure. A water filtration system is recommended.
Before first use
Wash the handle and roasting racks with soapy water (do not use abrasive agents). Wipe the interior walls with a damp cloth. Perform a burn-in process by closing the door, setting the temperature to maximum, and running the timer for 30 minutes. A slight odor is normal during this process.
Operation
To operate, set the temperature dial and the timer dial. The power and heating indicator lights will illuminate when the unit is heating. To use the steam injection feature, ensure the oven temperature is above 400°F and press the steam button for a maximum of 3 seconds at a time.
Cleaning and maintenance
Always unplug the unit and allow it to cool before cleaning. Use a damp cloth or sponge to wipe the interior. Do not soak the inside of the oven or wash it under running water to avoid damage.
Troubleshooting
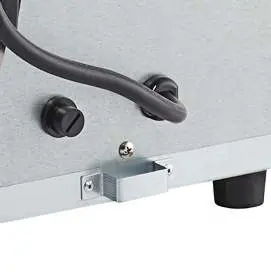
If the unit stops working or makes a loud pop, the safety reset switch may have tripped. This switch is located on the back of the oven, covered by a black plastic screw cap. Remove the cap and press the switch to reset.
Manufacturer information
Avantco Equipment
Practical help
Common problems
Oven does not heat
Check if the timer is set, the temperature knob is set, or if the reset switch on the back has tripped.
Food overcooked or burned
Ensure racks are not overloaded, the oven door is not opened unnecessarily, and airflow is not restricted.
Metallic sound
Do not dismantle; contact a service agent to examine the fan.
Before use
- Wash racks and handle with soapy water
- Wipe interior with damp cloth
- Perform 30-minute burn-in at max temperature
Specs in practice
- Power Supply
- 208/240V, 60Hz, 2100/2800W
- Water Connection
- 3/4 inch inlet, 20-25psi required
Images and diagrams
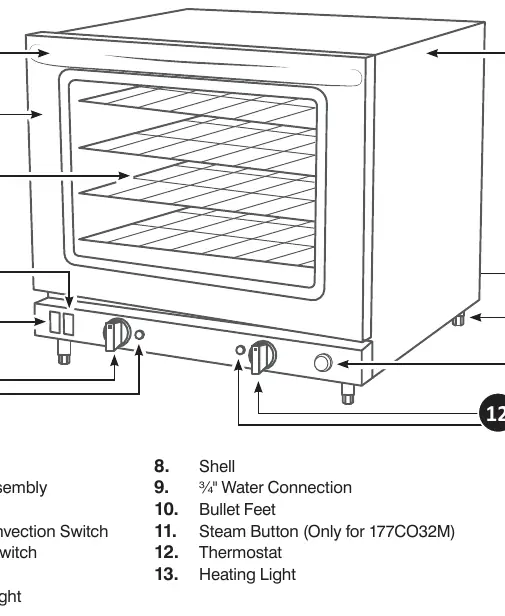
- Parts diagram identifies handle, door, tray, switches, water connection, and feet.
Model compatibility
- Requires 6-20P NEMA plug
- Not intended for high volume, high temperature requirements

Manual page author
David Miller
Documentation analyst
Organizes user manual content into clear summaries, with attention to model details, product context, and everyday usability.