Automotive / Suspension Kits
Installation Guide for BDS 1762FS 4" Radius Arm Suspension System
Official installation guide for the BDS 1762FS 4" Radius Arm Suspension System. Includes detailed steps for Dodge Ram 2500/3500 4WD, parts list, and safety guidelines.
Quick answers from the manual
Quick answer
- This document provides installation instructions for the BDS 1762FS 4" Radius Arm Suspension System on Dodge Ram 2500/3500 4WD trucks. p. 1
Key actions
- Measure ride height before installation p. 4
- Re-torque all fasteners after 500 miles p. 15
First start
- Park vehicle on clean flat and level surface p. 5
Problems and fixes
Steering wheel off-center
Adjust the steering wheel to center with the collar on the drag link.
p. 15Technical specifications
| Parameter | Value | Meaning | Pages |
|---|---|---|---|
| Upper bolt at axle | 258 ft-lbs | Torque specification | p. 8 |
| Lower cams | 258 ft-lbs | Torque specification | p. 8 |
Where to find it in the PDF
- Kit Contents p. 3
- Installation Instructions p. 5, 6, 7, 8
Table of contents
Manual images
Click an image to enlargeImportant Information
This document provides installation instructions for the BDS 1762FS 4" Radius Arm Suspension System designed for Dodge Ram 2500 (2014-2018) and 3500 (2013-2018) 4WD vehicles. Professional installation is recommended. Always measure ride height before and after installation to ensure proper setup.
Before You Start
Ensure you have the necessary tools, including a pitman arm puller, an 11/16" drill, and a welder. Verify all fasteners are torqued to specification and check for adequate clearance between all rotating, mobile, and heated members.
Pre-Installation
It is required that ride height measurements be taken before and after installation. Measure from the wheel axle center up to the fender lip of the wheel opening for all four wheels.


Installation Steps

- Radius Arm Installation: Remove factory radius arms and install the new BDS radius arms. Reattach factory hardware and adjust cams.
- Bump Stop Installation: Remove factory bump stops and install new replacement bump stops.
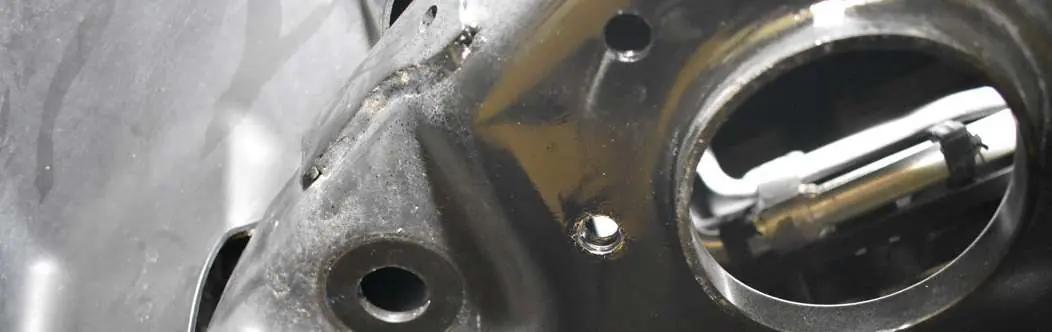
- Track Bar Bracket Installation: Install the track bar bracket using the factory hole and provided hardware.
- Coil Bucket Modification and Coil/Shock Install: Modify the coil bucket as required for gas models. Install new coils and shocks.
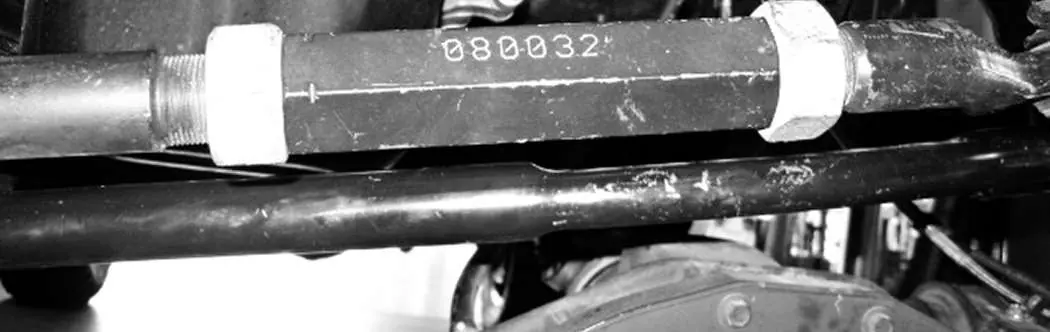
- Drag Link and Pitman Arm: Disassemble the drag link, trim the tab, and reassemble. Install the new pitman arm in the correct orientation.
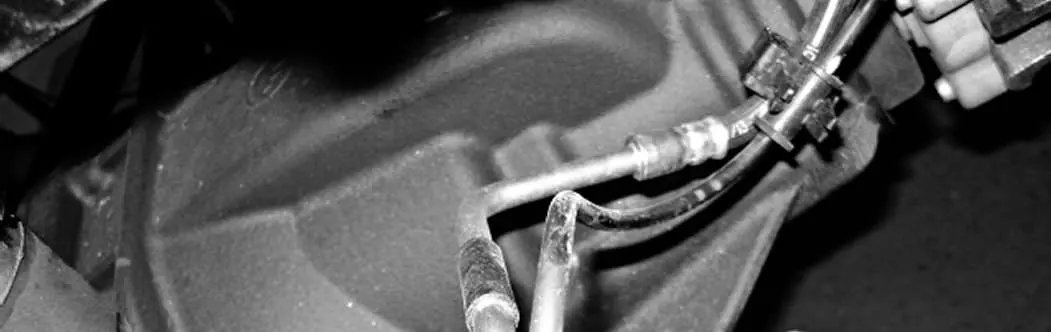
- Brake Line Relocation: Mount the brake line relocation bracket to the frame.
Post-Installation
Adjust the steering wheel to center using the collar on the drag link. Re-torque all hardware after 500 miles and perform a professional alignment.
Practical help
Common problems
Ride height concerns
Measure ride height before and after installation to provide accurate data to technical support.
Exhaust clearance issues
6.4L Gas models require exhaust modification to clear the front driveshaft.
Steering wheel off-center
Adjust the steering wheel to center with the collar on the drag link and lock the jam nuts.
Before use
- Verify all fasteners are torqued to specification.
- Check for adequate clearance between all rotating, mobile, and heated members.
- Perform steering sweep to ensure front brake hoses have adequate slack.
- Perform head light check and adjustment.
- Re-torque all fasteners after 500 miles.
Images and diagrams
- Figure 14: Shows the 1/4" thick trackbar spacer tube installation.
- Figure 17C: Shows the drag link trim measurement (1-1/4" long).
Model compatibility
- Dodge Ram 2500 4WD (2014-2018)
- Dodge Ram 3500 4WD (2013-2018)

Manual page author
Michael Turner
Technical manual editor
Reviews PDF manuals for structure, safety notes, and practical product details so readers can find the right information quickly.