Electronics / Televisions
User Guide for Belleze 36"/42" Fireplace Heater
Comprehensive user guide for Belleze 36" and 42" Fireplace Heaters. Includes installation steps for table top and wall mounting, control panel operation, remote control usage, and troubleshooting.
Table of contents
Manual images
Jump to the sectionQuick guide from the manual
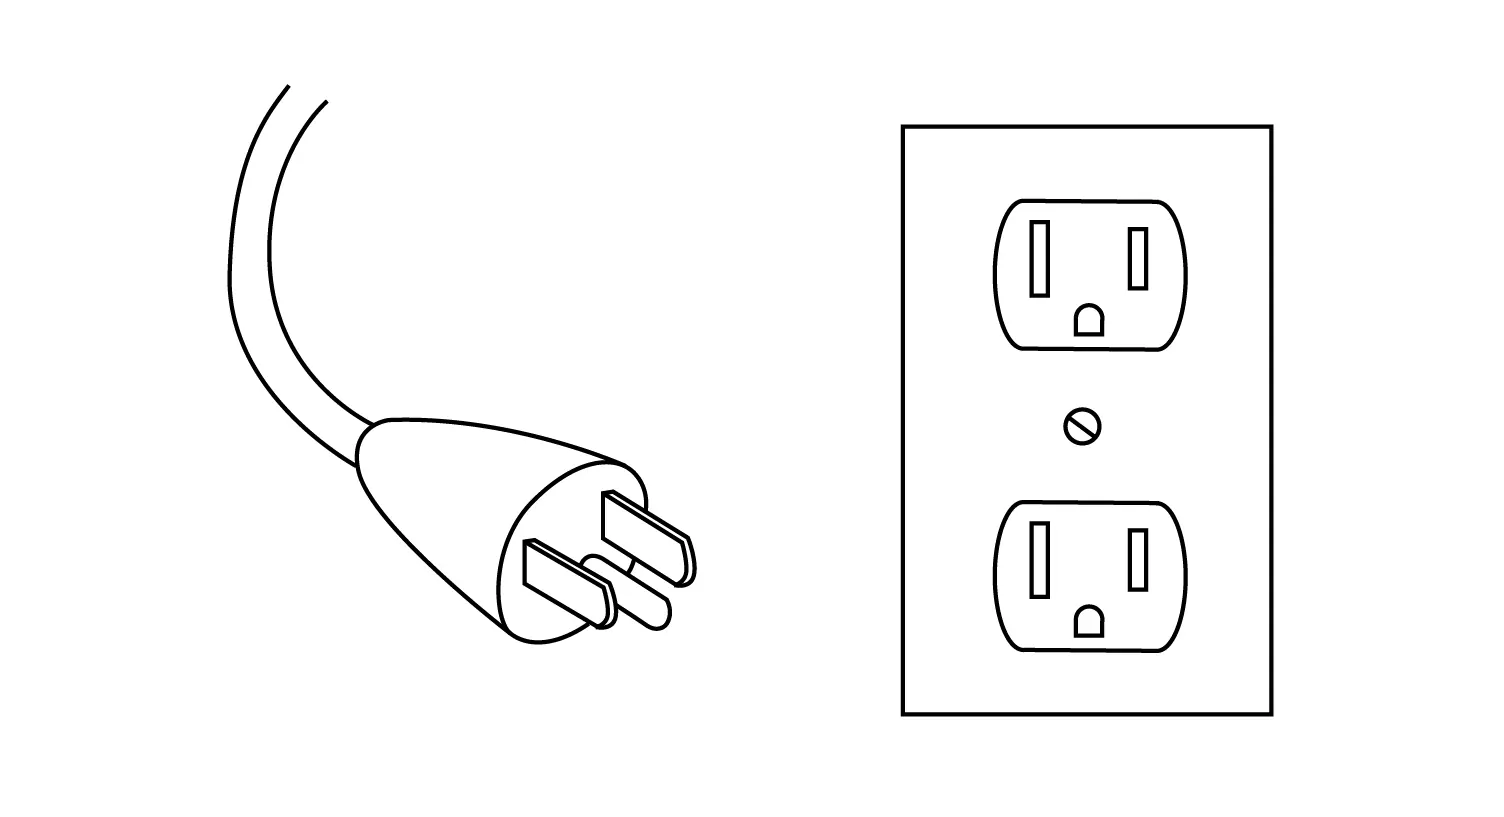
This fireplace heater is designed for indoor use. Before operating, ensure the air intake and exhaust vents are not obstructed and that the unit is plugged into a properly grounded outlet. Keep combustible materials at least 3 feet (0.9 m) away from the heater. The unit requires two people for assembly.
Installation (Table Top)
To assemble the unit for table top use:
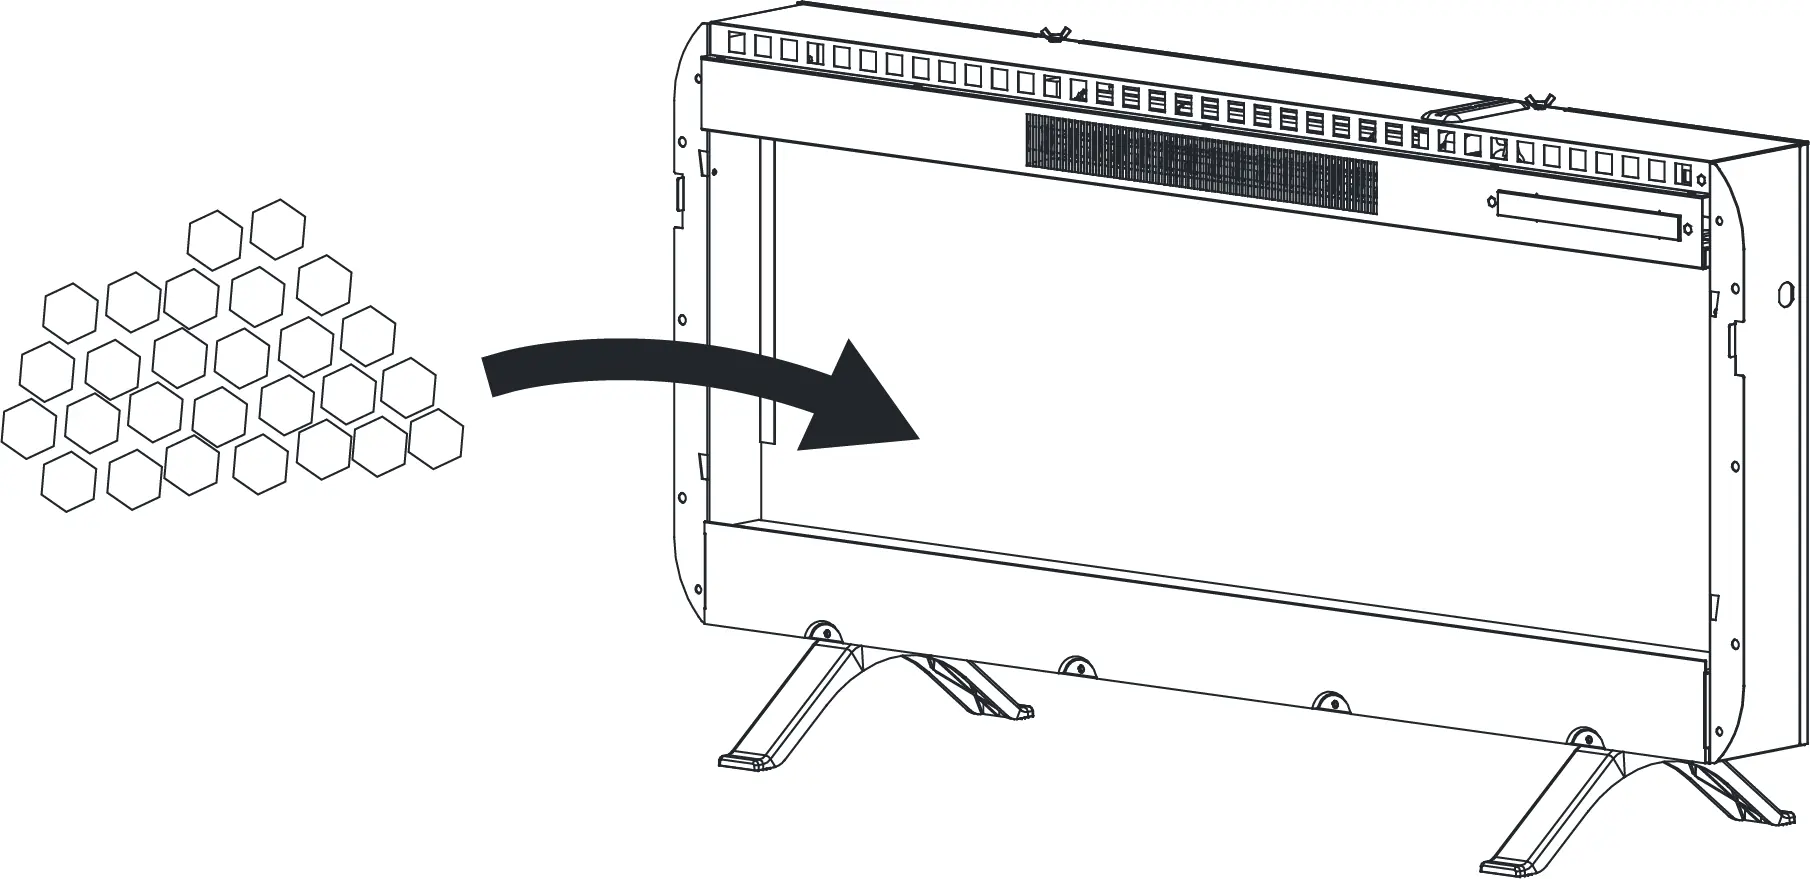


- Attach the table top supports to the underside of the heater using the provided screws.
- Place the decorative crystals inside the heater unit.
- Position the glass front panel onto the heater.
- Secure the glass front panel to the heater using the provided screws.
Caution: Be careful when handling the glass panel to prevent injury or damage.
Installation (Wall Mounting)
To mount the unit on a wall:

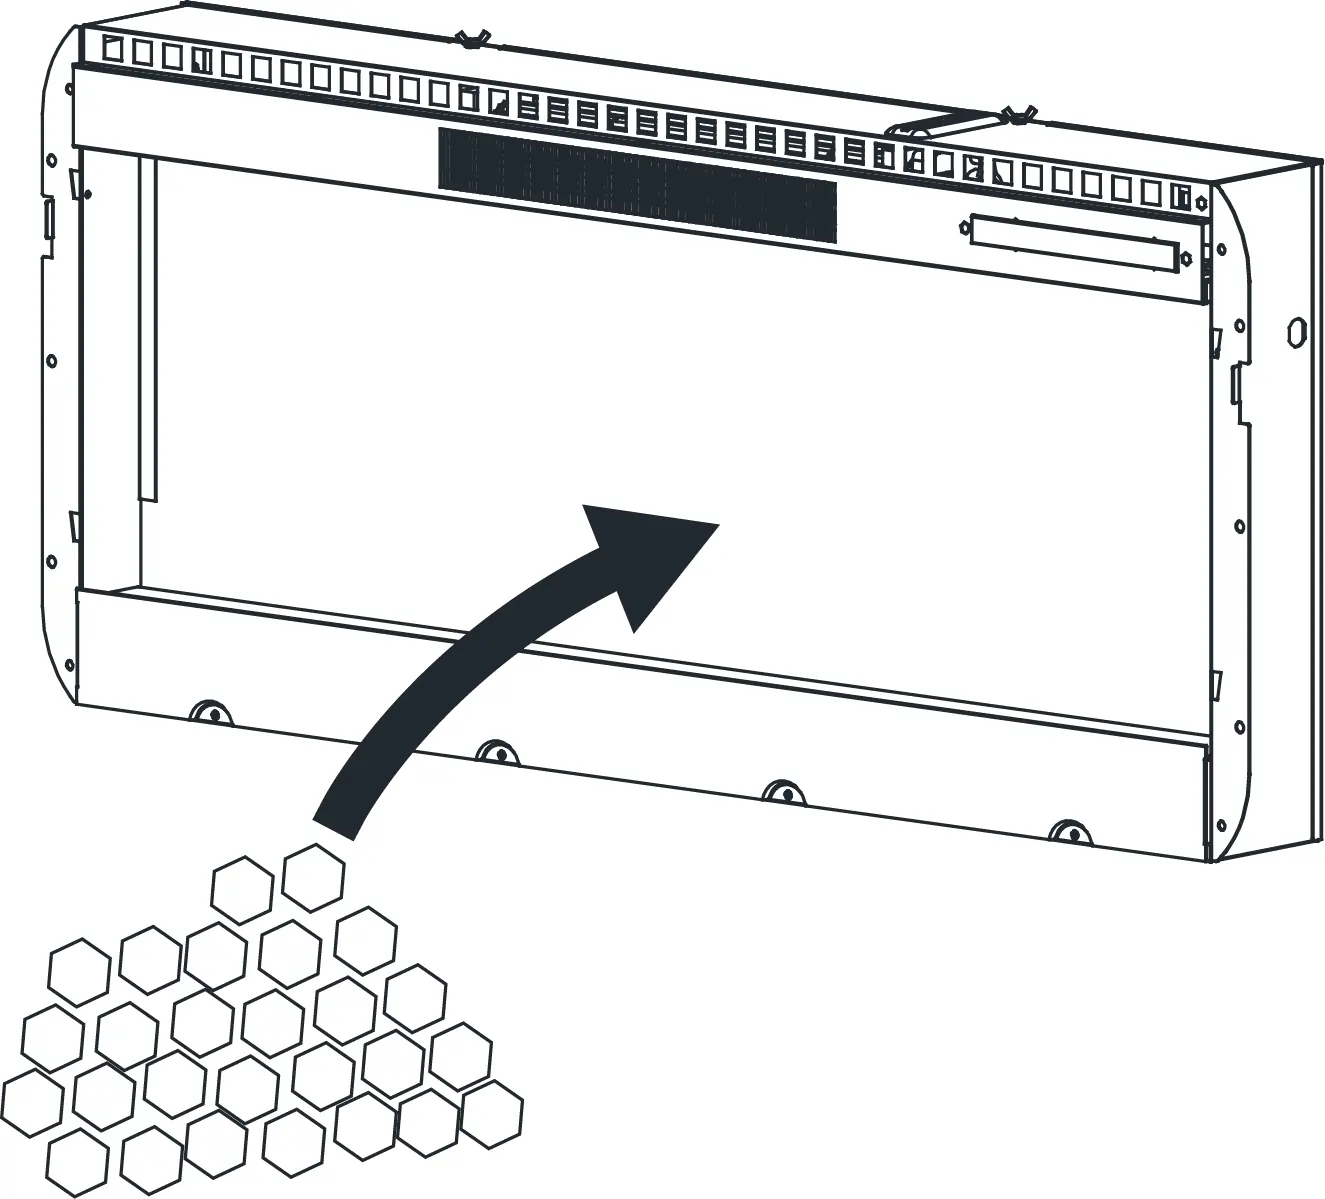
- Remove the mounting bracket from the back of the heater.
- Attach the mounting bracket to the wall. Note: Wall anchors are not required if mounting directly into wall studs.
- Mount the heater onto the installed bracket.
- Place the decorative crystals inside the heater.
- Attach the glass front panel and secure it with the provided screws.
User Instructions
The control panel is located on the top right corner of the unit. Touch any button to wake the panel; it will turn off after 10 seconds of inactivity.
- Power: Turns the unit on or off.
- Heat: Enables the heat function. Default temperature is 82°F. Press repeatedly to set the temperature between 64°F and 82°F (18°C to 27°C). Hold for 10 seconds to lock/unlock the heat function.
- Flame: Cycles through color rotation and 15 color options.
- Ember Bed: Cycles through color rotation and 15 color options.
- Brightness: Adjusts the brightness of the flame and ember bed (L1-L5 for flame, d1-d5 for ember).
- Timer: Cycles through timer settings from 1H to 9H.
F / °C Conversion: When the heat function is ON, press and hold the power button to toggle between Fahrenheit and Celsius.
Remote Control
The remote control functions mirror the control panel. Note that the remote cannot be used to lock/unlock the heat function or change the temperature unit. The remote includes a dedicated Speed button to adjust the flame effect speed.
Care and Maintenance
- Always turn off and unplug the unit before cleaning.
- Wait for the unit to cool down completely.
- Remove accumulated dust using a vacuum or duster.
- Clean surfaces with a lightly dampened cloth or soft brush.
- Do not use abrasive cleaners.
Troubleshooting
If the unit malfunctions, check the following error codes:
- E1: Heater is overheating. Contact customer service.
- E2: NTC is defective. Contact customer service.
- E3: Heat is not working. Ensure vents are not clogged, unplug the unit for 5 minutes, then restart. If the issue persists, contact customer service.
Manufacturer information
Belleze Furniture
Practical help
Common problems
E1 Error Code
The heater is overheating. Contact customer service.
E2 Error Code
NTC is defective. Contact customer service.
E3 Error Code
Heat is not working. Ensure vents are not clogged, unplug the unit for 5 minutes, then restart.
Before use
- Check that air intake and exhaust are not covered.
- Ensure combustible objects are at least 3 ft (0.9 m) away.
- Plug the unit into a properly grounded power socket.
- Verify all parts are present before assembly.
- Ensure two people are available for assembly.
Specs in practice
- Power Rating
- 1400 W
Images and diagrams
- The control panel is located on the top right corner of the unit.
- The remote control includes a Speed button not found on the main panel.
- The battery compartment for the remote requires 2 AAA batteries.
Model compatibility
- Wall anchors are not needed if the bracket is mounted directly on wall studs.
- The unit must be grounded according to local electrical codes.

Manual page author
Emily Carter
User documentation editor
Prepares concise manual descriptions and highlights the most useful setup, operation, and maintenance information for readers.