Home Appliances / Vacuum Cleaners
User Guide for Bissell Zing 22Q3 Series Canister Vacuum
Comprehensive user guide for the Bissell Zing 22Q3 Series canister vacuum. Includes assembly instructions, operation tips, maintenance procedures, filter cleaning, and troubleshooting.
Quick answers from the manual
Quick answer
- The Bissell Zing 22Q3 Series is a canister vacuum. Key operations include assembly, using the variable suction control, replacing the dust bag, and cleaning the pre-motor and post-motor filters. p. 1, 4, 5, 6
Key actions
- Replace dust bag p. 7
- Clean filters p. 8
- Reset thermal protector p. 8
First start
- Assemble the swivel hose, telescoping wand, and floor nozzle. Ensure the dust bag and filters are installed before plugging in. p. 5, 6
Show 3 more answers Show less
Problems and fixes
Vacuum cleaner won't run
Check electrical plug, press power button, or allow 30 minutes for thermal protector to reset.
p. 9
Vacuum cleaner won't pick up or low suction
Remove blockages, clean/replace filters, replace dust bag, secure hose, or adjust suction control.
p. 9Maintenance and reset
- Thermal protector resets automatically after approximately 30 minutes of cooling. p. 8
Where to find it in the PDF
- Assembly p. 5
- Maintenance p. 7, 8
Table of contents
Manual images
Click an image to enlargeImportant Information
The Bissell Zing 22Q3 Series is a canister vacuum designed for household use. Before operating, ensure the dust bag and all filters (pre-motor and post-motor) are correctly installed. Do not use the vacuum to pick up flammable materials, toxic substances, or sharp objects. Always unplug the unit before performing maintenance.
Product Overview
The vacuum features a swivel hose, telescoping extension wand, and a floor nozzle. Controls include a power button and a variable suction power control located on the top of the unit. An automatic cord rewind button is also provided.
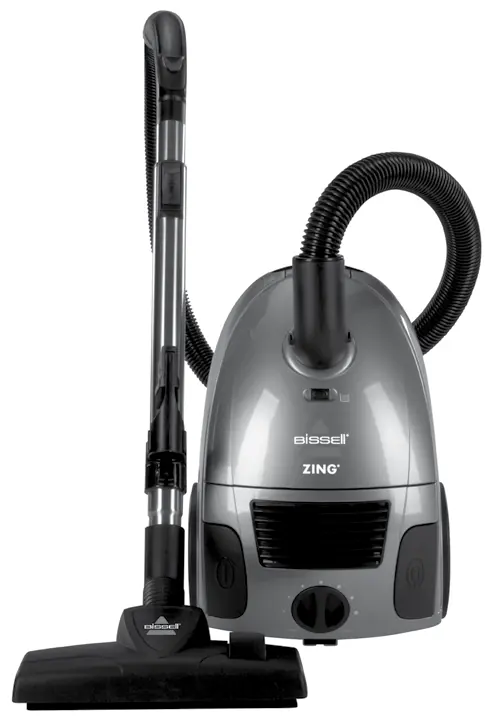
Assembly
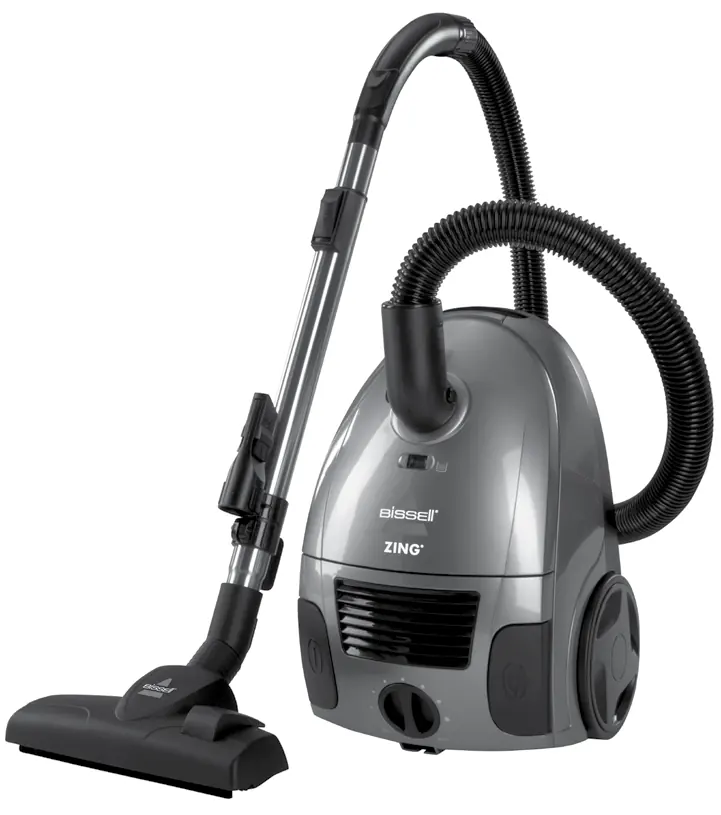
- Connect the swivel hose by squeezing the locking buttons and inserting it into the suction opening on the canister until it clicks.
- Attach the telescoping extension wand to the handle end of the flex hose.
- Connect the floor nozzle to the telescoping extension wand.
- Insert the combination crevice tool/dusting brush into the holder.
- To extend the telescopic tube, push the black release button and pull to the desired length.
Operations
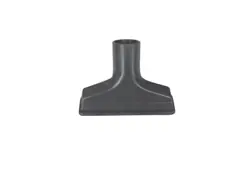
Special Tools: The vacuum includes a floor nozzle with a brush switch. Push the switch to the carpet position to retract brushes, or to the bare floor position to extend brushes. Use the upholstery tool for curtains and fabrics, and the combination crevice tool/dusting brush for tight spaces.
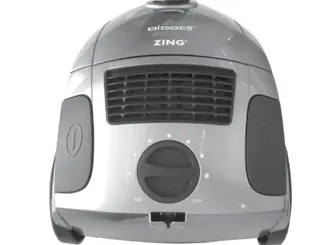
Power and Suction: Use the power button to turn the unit on or off. The variable suction power control allows you to adjust suction: turn toward larger dots for maximum suction, or toward smaller dots for delicate fabrics.
Cord Management: Pull the power cord out until the yellow line is visible. Do not pull beyond the red line. To rewind, press the automatic cord rewind button while holding the plug.
Maintenance and Care
Bag Change Indicator: If the indicator turns orange, the dust bag may be full or airflow is blocked. Replace the bag if necessary.
Dust Bag Replacement: Turn off and unplug the vacuum. Open the dust bag compartment, lift out the holder, press the clip to release the old bag, and insert a new one. Ensure the bag is tucked below the seal gasket before closing the door.
Filter Cleaning: Remove the filter frame from the holder. Wash the filter in warm water with mild detergent. Allow it to air dry completely before re-installing. Ensure the protective frame is visible when replacing.
Thermal Motor Protection: If the vacuum overheats, the thermal protector will shut off the motor. Unplug the unit, check for clogs or dirty filters, and allow it to cool for approximately 30 minutes before restarting.
Troubleshooting
If the vacuum won't run, check the power plug, power button, and thermal protector. If suction is low, check for blockages in the hose or wands, replace the dust bag, clean filters, and ensure the hose is securely attached.
Manufacturer information
Bissell Inc.
Practical help
Common problems
Vacuum won't run
Check electrical plug, ensure power button is pressed, and allow 30 minutes for the thermal protector to reset if it activated.
Low suction
Check for blockages in hose/wands, replace full dust bag, clean filters, ensure hose is securely attached, and check suction control setting.
Visible dust escaping
Replace full dust bag, check filter installation, clean filters, and check for hose blockages or cracks.
Before use
- Ensure dust bag is installed.
- Ensure pre-motor and post-motor filters are in place.
- Check for blockages in hose and tools.
- Ensure power cord is not damaged.
- Verify the vacuum is on a level surface.
Show more Show less
Specs in practice
- Variable Suction Control
- Adjusts suction power; use max for floors, min for delicate fabrics.
- Bag Change Indicator
- Turns orange when the bag needs replacement or airflow is restricted.
Images and diagrams
- Bag Change Indicator is located below the swivel hose.
- Variable Suction Power Control is located on top of the vacuum.
Model compatibility
- Use only BISSELL replacement filters.
- For household use only; do not use for commercial or industrial purposes.

Manual page author
Emily Carter
User documentation editor