Computers / Printers
Wired LAN Connection and Driver Installation Guide for Canon PIXMA PRO-200S
Step-by-step guide for connecting your Canon PIXMA PRO-200S printer to a wired LAN network and installing the necessary Windows drivers.
Quick answers from the manual
Quick answer
- To connect the PIXMA PRO-200S via wired LAN, connect an Ethernet cable to the port on the back left of the printer, enable 'Wired LAN' in the printer's 'LAN settings' menu, and then run the driver installer on your Windows PC. p. 1, 2, 3, 4
Key actions
- Enable Wired LAN on printer p. 2, 3, 4
First start
- Connect Ethernet cable and enable Wired LAN in settings p. 1, 2, 3, 4
Show 1 more answers Show less
Where to find it in the PDF
- Wired LAN Setup p. 1, 2, 3, 4
- Driver Installation p. 5, 6, 7, 8
Table of contents
Manual images
Click an image to enlargeQuick guide from the manual
This document provides instructions for connecting the Canon PIXMA PRO-200S printer to a wired LAN network and installing the required printer driver on a Windows computer. Ensure you have an Ethernet cable available before starting.
Wired LAN Setup
Follow these steps to physically connect and configure the printer for a wired network:
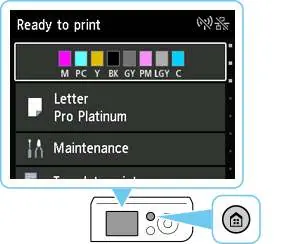
- Ensure the printer is powered on.
- Obtain an Ethernet cable (sold separately).
- Remove the cap from the port located on the back left side of the printer.
- Connect the printer to your network device (router) using the Ethernet cable.
- Press the HOME button on the printer.
- Navigate to LAN settings, select Wired LAN, then Settings.
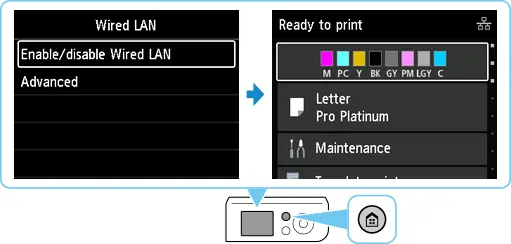
- Select Enable/disable Wired LAN and choose Enable.
Driver Download and Installation
Once the network connection is established, proceed with the driver installation:
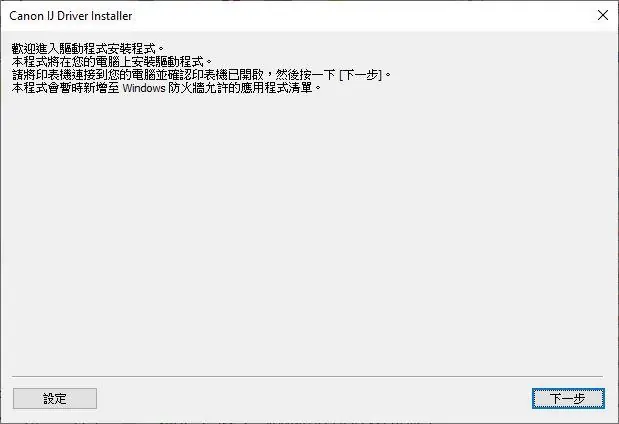
- Visit the official Canon support website at https://hk.canon/en/support/pixma%20pro-200s/model.
- Download the PRO-200S Printer Driver for Windows.
- Run the downloaded file to start the installer.
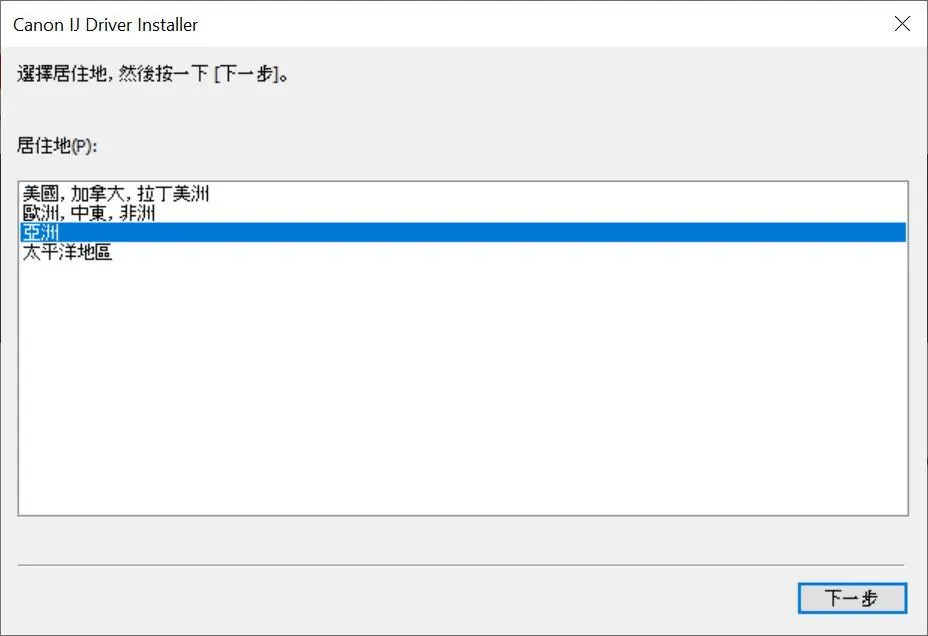
- Follow the on-screen instructions, selecting your region and accepting the license agreement.
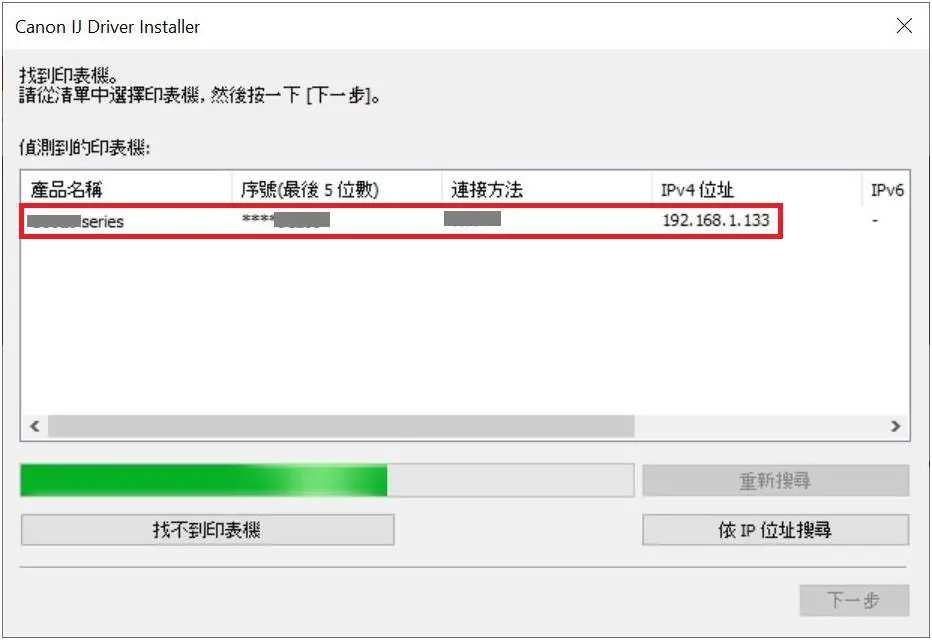
- Select the printer with the LAN connection method when prompted.
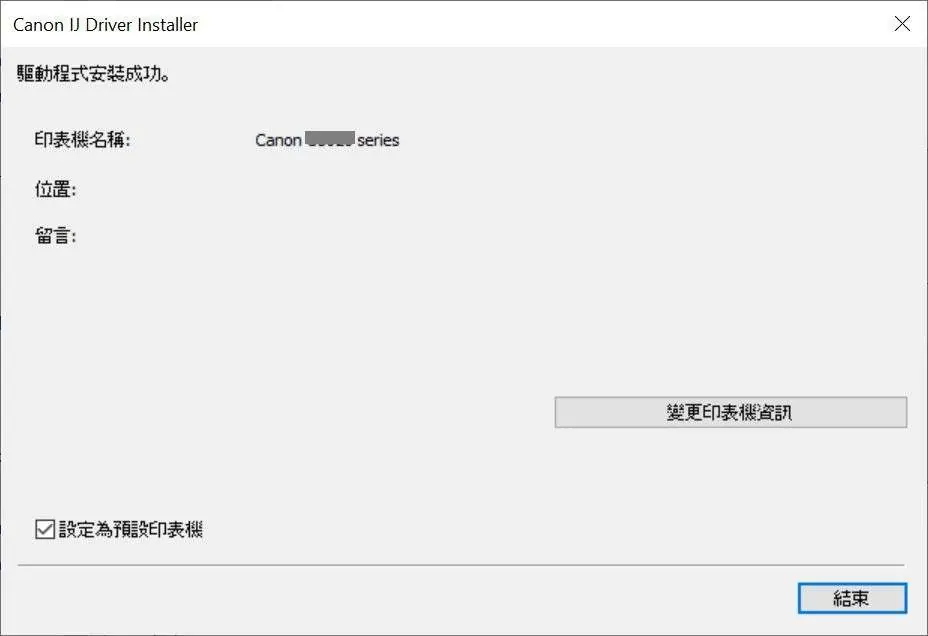
- Wait for the installation to complete and click Finish.
Official resources from the manual
Manufacturer information
Canon Inc.
Practical help
Common problems
Printer not detected during installation
Ensure the printer is powered on, the Ethernet cable is securely connected, and Wired LAN is enabled in the printer's LAN settings menu.
Before use
- Printer is powered on
- Ethernet cable available
- Computer connected to the same network
Show more Show less
Images and diagrams
- The port is located on the back left side of the printer.
- The wired LAN icon appears at the top right of the screen when connected.
Model compatibility
- Requires Windows OS
- Ethernet cable is not included

Manual page author
David Miller
Documentation analyst