Furniture / TV Stands
User Manual for Cosmo Mini Power Supply
Quick guide for the Cosmo Mini power supply. Learn how to install, connect, and troubleshoot your 12V power solution for Starlink Mini.
Table of contents
Manual images
Click an image to enlargeQuick guide from the manual
The Cosmo Mini is a power supply solution designed to operate the Starlink Mini system directly from a 12V caravan battery, eliminating the need for an inverter. It allows users to maintain full control of the Starlink system via the Starlink app.
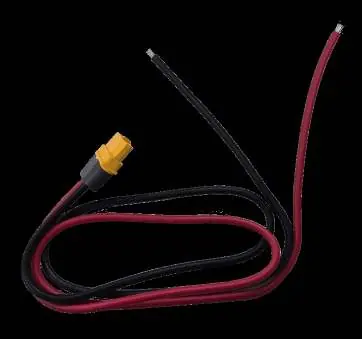
Package contents
The base package includes the Cosmo Mini power supply and a 50cm power lead with an XT60 connector. Optional extras include a cigarette plug power cable or an Anderson power cable.
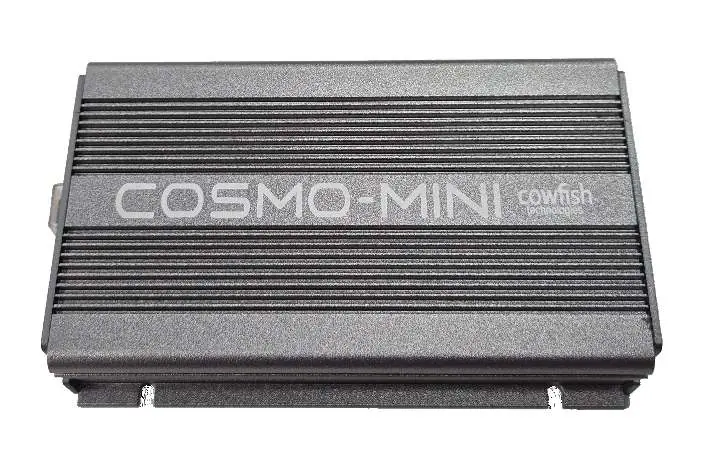
Hardware overview
The unit features the following components:
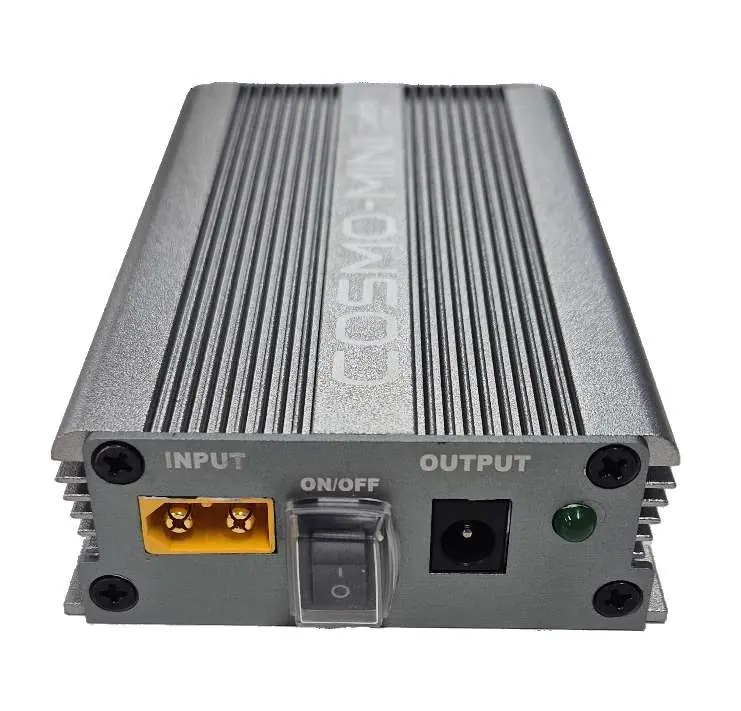
- Input connector: For 12/24V power input.
- ON/OFF switch: Controls the power to the unit.
- Power out connector: Connects to the Starlink Mini.
- ON/OFF indicator: LED light showing the unit's status.
Installation
Installation should be performed in a location that is easily accessible for connecting the Starlink Mini and operating the power switch. It is advised that installation be performed by a certified auto electrician.

- Mount the Cosmo Mini securely.
- Connect the unit to the caravan's power supply using a minimum of 14 AWG (2.5 mm²) electrical wire.
- Ensure the cable is correctly fused.
- Connect the Starlink Mini cable to the power out point on the Cosmo Mini.
Important: Insufficient power supply due to inadequate cable size, long cable runs, or piggybacking off existing power outlets may prevent the Starlink system from booting up.
Frequently asked questions
The Cosmo Mini operates off your caravan's 12V system, so no inverter or mains power is required. You do not need to modify any Starlink hardware. The Starlink app remains fully functional for administration. If connecting to a VanConnect router, you may need to change the router's IP range to avoid conflicts with the Starlink Mini dish.
Troubleshooting
If the power LED does not light up, check the power cables, ensure they are connected properly, and verify that the fuse is in working condition. If the Starlink Mini is not powering on, confirm the Power LED on the Cosmo Mini is lit, check the cable connection to the Starlink Mini, ensure the electrical cable size is adequate, and inspect the Starlink Mini cable for damage.
Technical specifications
- Input power: DC12V / DC24V at max 4A
- Output power: DC48V at max 2A
- Max power rating: 96W
- Dimensions: 123mm x 76mm x 28mm
- Operating Temperature: -10 to 45°C
- Storage Temperature: -20 to 70°C
Manufacturer information
CosmoLiving
Practical help
Common problems
Power LED does not light up
Check power cables, ensure they are connected properly, and verify that the fuse is in working condition.
Starlink Mini is not powering on
Confirm the Power LED on the Cosmo Mini is on, check the cable connection to the Starlink Mini, ensure the electrical cable size is adequate, and check for damage to the Starlink Mini cable.
Before use
- Ensure a 12V/24V power source is available.
- Use a minimum of 14 AWG (2.5 mm²) electrical wire for input.
- Ensure the input cable is correctly fused.
- Consult a certified auto electrician for installation.
- Verify the location allows easy access to the power switch.
Specs in practice
- Output power
- Provides 48V DC output at a maximum of 2A.
- Max power rating
- The unit is rated for a maximum of 96W.
Images and diagrams
- The input connector is located on the left side for 12/24V power.
- The ON/OFF switch is located in the center.
- The power out connector for the Starlink Mini is located on the right.
- The ON/OFF indicator LED is located on the far right.
Model compatibility
- Designed specifically for use with Starlink Mini.
- Compatible with 12V caravan battery systems.
- Can be used with VanConnect routers (requires IP range adjustment).

Manual page author
Michael Turner
Technical manual editor
Reviews PDF manuals for structure, safety notes, and practical product details so readers can find the right information quickly.