Tools / Saws
User Manual for Craftsman 10-Inch Deluxe Electronic Radial Saw
Comprehensive user manual for the Craftsman 10-Inch Deluxe Electronic Radial Saw (Models 113.198411 and 113.198611). Includes detailed assembly instructions, safety guidelines, operation procedures, alignment, maintenance, and...
Table of contents
Manual images
Click an image to enlargeQuick Guide
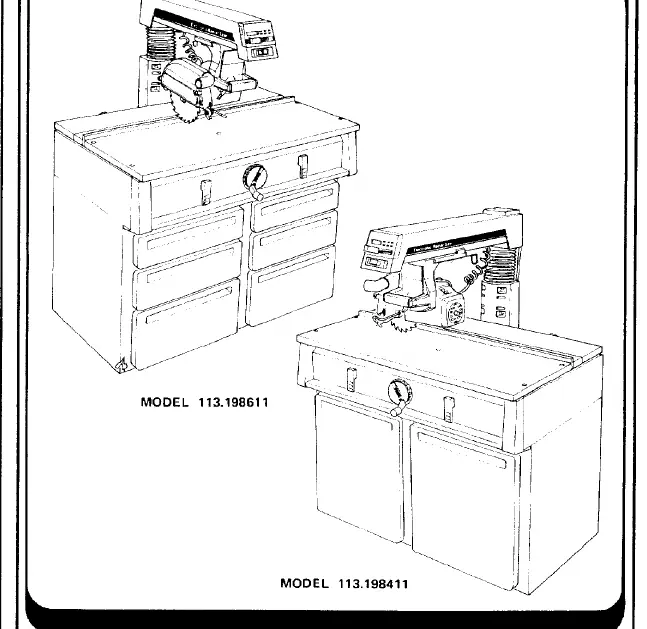
This manual covers the assembly, operation, and maintenance of the Craftsman 10-Inch Deluxe Electronic Radial Saw. Model 113.198611 features a cabinet with drawers, while model 113.198411 features a cabinet with doors. Always read the safety information before operating the saw. Ensure the yellow key is removed from the red switch when the saw is not in use to prevent accidental starting.
Assembly
The saw requires careful assembly. Follow the instructions for your specific model (113.198411 or 113.198611). Key assembly steps include:
- Cabinet Assembly: Assemble the shelf, side panels, skirts, and supports.
- Caster/Foot Assemblies: Install the leveling feet and casters.
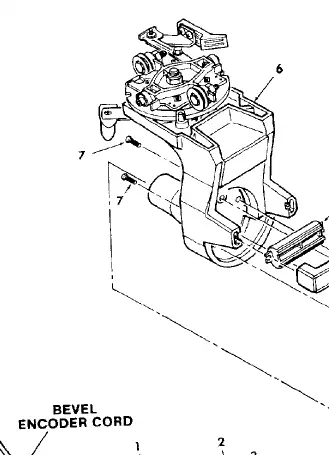
- Motor Mounting: Mount the motor onto the pivot support.
- Saw Mounting: Secure the saw to the cabinet.
- Table Assembly: Install the front table, rear table, fence, and table locks.
- Drawer Assembly (Model 113.198611): Assemble drawers and install them into the cabinet.
Controls
Familiarize yourself with the following controls:
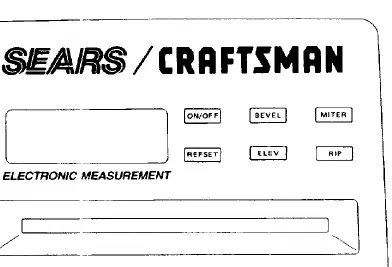
- On/Off Switch: Uses a removable yellow key for safety.
- Miter Lock: Holds the radial arm at various angles.
- Bevel Lock: Holds the blade at various angles to the table.
- Swivel Lock: Holds the blade in crosscut, in-rip, or out-rip positions.
- Rip Lock: Holds the motor and blade at a fixed position along the radial arm.
- Handwheel: Controls the height of the radial arm.
Alignment
Proper alignment is critical for accurate cuts and safety. Perform these adjustments in order:
- Adjusting Elevation: Ensure smooth and firm upward/downward movement.
- Leveling Front Table: Ensure the table is flat and parallel to the radial arm.
- Squaring Crosscut Travel: Ensure the blade travels perpendicular to the fence.
- Squaring Blade to Table: Ensure the blade is perpendicular to the table for crosscutting.
- Squaring Blade to Fence: Ensure the blade is perpendicular to the fence for ripping.
Operations
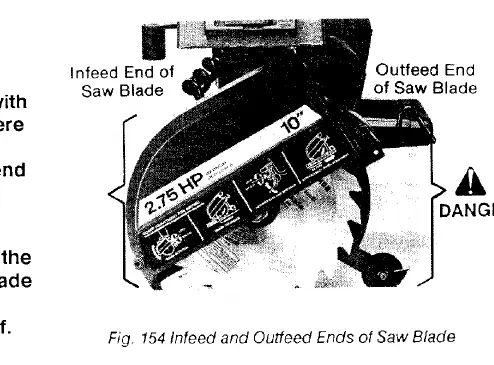
The saw is designed for crosscutting, ripping, dadoing, molding, and edging. Always use the appropriate guards and safety accessories like push sticks, push blocks, and featherboards. Never feed the workpiece into the outfeed end of the saw.
Maintenance
Keep the saw clean and properly lubricated. Periodically remove sawdust build-up. Lubricate specified points with SAE No 10W-30 automotive engine oil. Do not lubricate carriage ball bearings or motor bearings as they are sealed. Check and adjust for wear on the bevel lock, swivel lock, and carriage bearings as needed.
Troubleshooting
If the saw fails to run, check the overload protector on the motor. If the digital display shows errors, check battery installation or reset reference points. Refer to the troubleshooting section for specific issues regarding motor power, accuracy, and saw operation.
Manufacturer information
CRAFTSMAN
Practical help
Common problems
Motor will not run
Check for open protector (push red button on motor), low voltage, or short circuit.
Display shows EEE.E or EE.EE
Arm or carriage moved too rapidly; reset reference points.
Saw cuts at slight bevel
Level work table, square blade to table, or adjust carriage bearings.
Workpiece binds or smokes
Dull blade, feed rate too fast, or saw blade heels.
Before use
- Yellow key removed from red switch.
- Saw unplugged and switch off.
- No play in carriage, yoke, or column.
- Arbor nut snug.
- Fence secure and in correct position.
- Blade guard horizontal.
Images and diagrams
- Figure 86: On/Off switch operation.
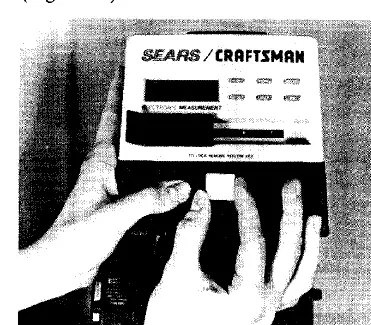
- Figure 129: Digital display interface.
- Figure 154: Infeed and outfeed ends of the saw blade.
- Figure 174: Lubrication points for swivel and bevel index pins.
Model compatibility
- Model 113.198611 includes drawers.
- Model 113.198411 includes doors.
- Use only blades marked for 3450 rpm or higher.
- Do not cut metal materials.

Manual page author
Michael Turner
Technical manual editor
Reviews PDF manuals for structure, safety notes, and practical product details so readers can find the right information quickly.