HVAC / Thermostats & Controls
User Manual for Danfoss 102E7 Electronic Mini Programmer
Quick guide for the Danfoss 102E7 7-day electronic mini-programmer. Learn how to install, wire, set up programs, and use overrides for your heating and hot water system.
Table of contents
Manual images
Click an image to enlargeQuick guide from the manual
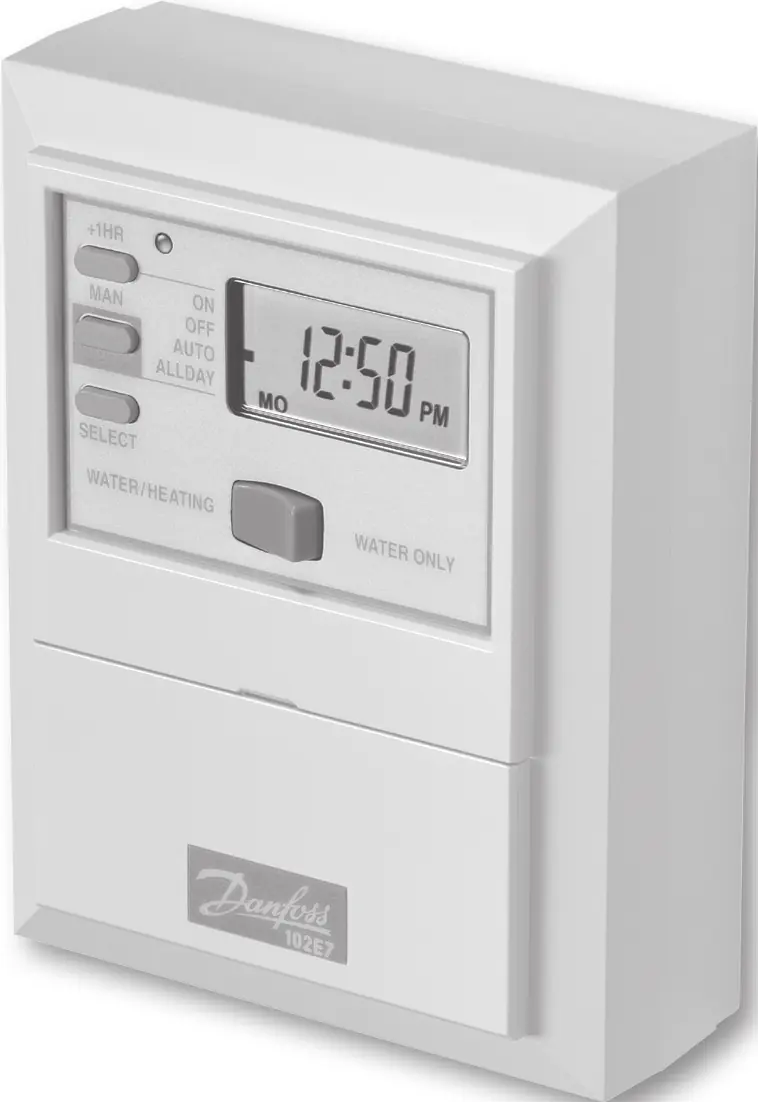
The Danfoss 102E7 is a 7-day electronic mini-programmer designed to control hot water and heating systems. It offers 3 ON and 3 OFF periods per day. Users can choose between 7-day control (different programs for each day) or 5/2-day control (one program for weekdays, another for weekends). The unit features a battery backup to retain settings during power cuts for up to 2 days.
Installation and Wiring
Warning: This product must be installed by a qualified electrician or competent heating installer in accordance with current IEEE wiring regulations.
Installation Steps:
- Loosen the fixing screw in the base to release the wiring cover.
- Press firmly in the center of the wallplate to slide it apart from the module.
- Fix the wallplate to the wall or plaster box. Ensure screw heads do not protrude beyond the vertical center rib.
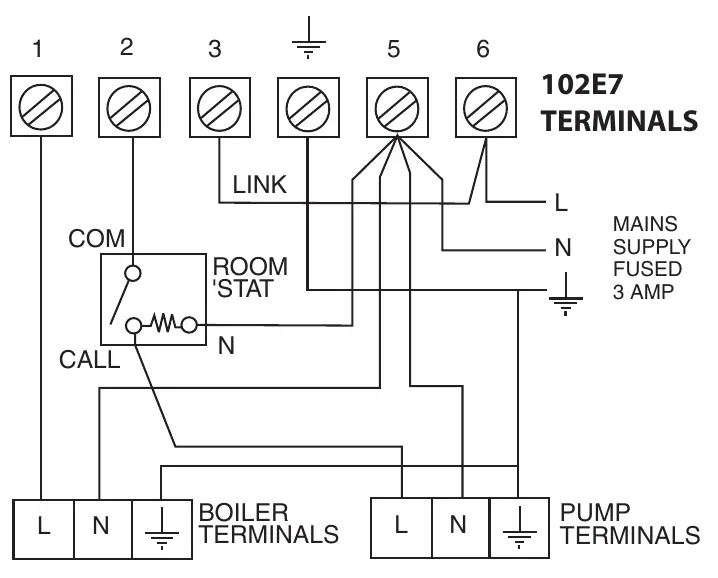
- Connect wires according to the wiring diagrams provided in the manual (pages 6-9).
- If the system is 230Vac, terminals 3 and L must be linked with insulated cable.
- Plug the module into the wallplate, ensuring the hook at the top engages with the slot.
Initial Setup and Reset
Before programming, perform a full reset to ensure the unit is in a known state:
- Open the flap on the front of the unit.
- Press and hold the +1HR and MAN buttons.
- Press and release the R/S button using a small, non-metallic object (e.g., a matchstick).
- Release the +1HR and MAN buttons.
To set the time and day, press and hold PROG for 5 seconds to display the year, then use the + or - buttons to adjust. Use the DAY button to toggle between day and month settings.
Programming the Programmer
The unit can be set to 7-day or 5/2-day mode. To convert to 5/2-day mode, remove the small two-way connector from the pins on the rear of the module and press the R/S button.
Programming Steps:
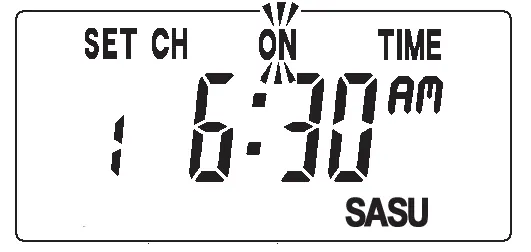
- Press PROGRAMME until SET ON TIME appears.
- Use DAY to select the day(s).
- Use + and - to set the desired ON time.
- Press NEXT ON/OFF to move to the next event.
- Repeat for all events.
- Press PROGRAMME to return to RUN mode.
Operating Modes and Overrides
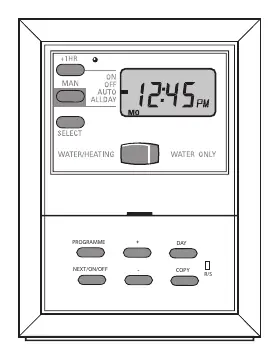
Use the rocker switch to select WATER/HEATING or WATER ONLY. Press the SELECT button to cycle through modes:
- ON: Heating/hot water remains on constantly.
- OFF: Heating/hot water will not come on.
- AUTO: Follows programmed times.
- ALLDAY: Comes on at the first programmed ON and stays on until the last programmed OFF.
Temporary Overrides:
- +1HOUR: Adds an extra hour of operation. Press again to cancel.
- MAN: Manually overrides the current program (only in AUTO or ALLDAY mode). Press again to cancel.
Battery Backup
The built-in battery retains time and program settings for up to 2 days during a power cut. If power is lost for longer, the unit must be reset using the R/S button and reprogrammed.
Manufacturer information
Danfoss A/S
Practical help
Common problems
Unit loses time and settings after power cut
The battery backup lasts for 2 days. If power is out longer, reset the unit using the R/S button and reprogram.
Heating or hot water not operating as expected
Check if the unit is in the correct mode (AUTO or ALLDAY). Verify the rocker switch is set to the desired function (WATER/HEATING or WATER ONLY).
Programming confusion
Press the R/S button to reset the unit and return to factory preset programs.
Before use
- Ensure installation is performed by a qualified electrician.
- Verify mains supply is 230Vac, 50Hz.
- Determine if 7-day or 5/2-day mode is required.
- Perform a full reset before initial programming.
- Check that the rocker switch is set to the correct heating/water mode.
Specs in practice
- Power supply
- 230 Vac ± 15%, 50 Hz
- Switching action
- 1 x SPST, Type 1B
- Power Reserve
- Minimum 24 hours
- Max. Ambient Temperature
- 45°C
Images and diagrams
- Wiring diagrams illustrate connections for gravity DHW with pumped heating, 3-port mid-position valves, and 2-port zone valves.
- Terminal identification is provided for mains supply and heating/water controls.
Model compatibility
- Compatible with domestic gas or oil-fired central heating systems.
- Can be used with 3-port mid-position valves or 2-port zone valves.

Manual page author
Emily Carter
User documentation editor
Prepares concise manual descriptions and highlights the most useful setup, operation, and maintenance information for readers.