Garden / Brushcutters & Trimmers
User Manual for Greenworks GD40LT 40V Cordless Trimmer
Comprehensive user guide for the Greenworks GD40LT 40V cordless trimmer. Includes assembly instructions, operation tips, maintenance procedures, and troubleshooting steps.
PDF source: RU · summary: English
Quick answers from the manual
Quick answer
- The Greenworks GD40LT is a 40V cordless grass trimmer. This manual covers assembly, safe operation, maintenance, and troubleshooting. p. 1, 2
Key actions
- Assemble the guard, shaft, and handle before use. p. 6, 7
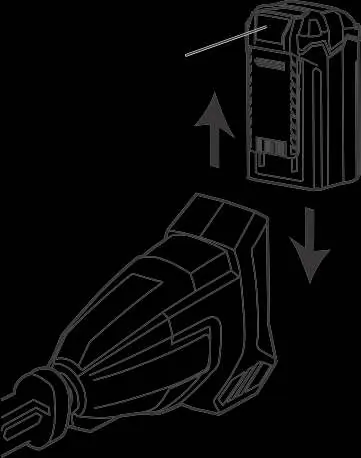
- Install the battery pack by aligning ribs with slots until it clicks. p. 9
- Replace the spool by pressing side tabs and winding new line. p. 12, 13
First start
- Ensure the battery is charged, assemble the unit, insert the battery, and press the lock-off lever and trigger simultaneously to start. p. 9
Show 4 more answers Show less
Problems and fixes
Machine won't start
Check battery connection and charge.
p. 14Maintenance and reset
- Clean the machine after each use and keep ventilation openings clear. p. 12
Technical specifications
| Parameter | Value | Meaning | Pages |
|---|---|---|---|
| Voltage | 40V DC | Operating voltage | p. 15 |
| Cutting Width | 330 mm / 381 mm | Cutting path width | p. 15 |
Where to find it in the PDF
- Installation p. 6, 7, 8
- Operation p. 9, 10
- Maintenance p. 11, 12, 13
Table of contents
Manual images
Click an image to enlargeQuick Guide from the Manual
This manual provides essential instructions for the safe and efficient use of the Greenworks GD40LT 40V cordless trimmer. Before operating, ensure the battery is fully charged and the trimmer is correctly assembled. Always wear eye and ear protection during operation.
Product Description
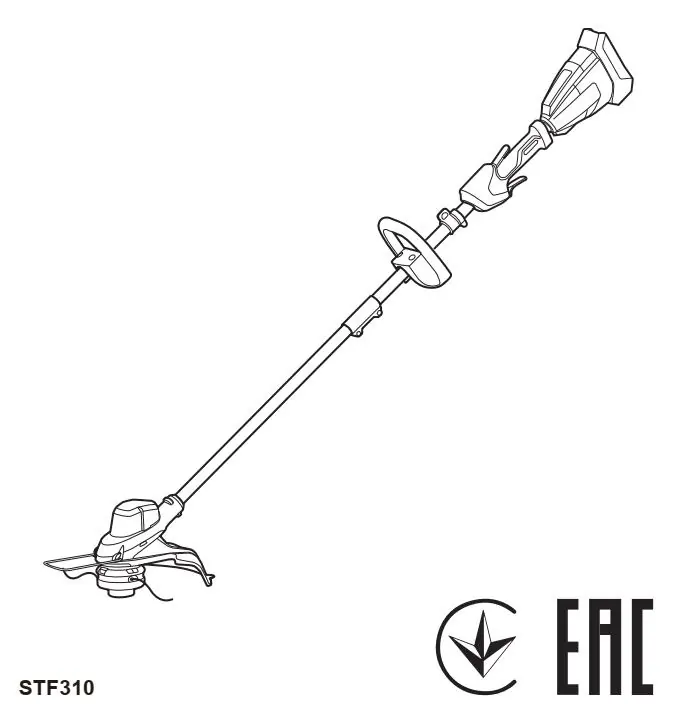
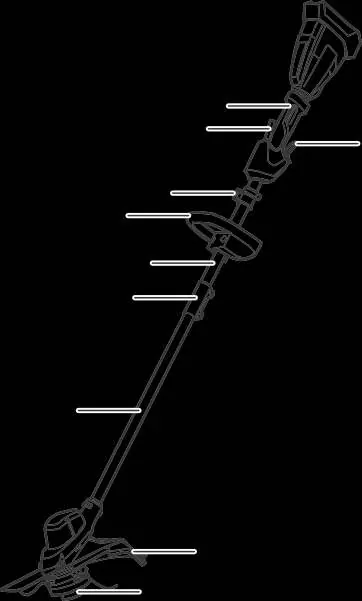
The trimmer consists of the following main components:
- Rear handle with trigger and lock-off lever
- Front handle
- Shaft (upper and lower parts)
- Trimmer head with guard
- Wire guard
Installation
Guard Installation
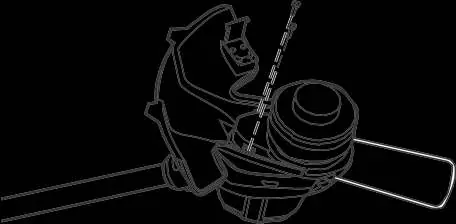
Remove screws from the trimmer head using a Phillips screwdriver. Place the guard onto the head, align the screw holes, and tighten the screws securely.
Shaft Assembly
Loosen the screw on the coupler. Press the locking button on the lower shaft and slide the two shafts together until the button clicks into the mounting hole. Tighten the coupler screw securely.
Handle Installation
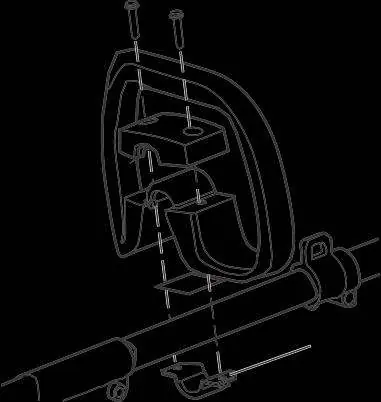
Remove screws from the handle. Secure the auxiliary handle and lower clamp onto the shaft. Adjust to a comfortable position and tighten the screws.
Operation
Battery Installation
Align the ribs on the battery pack with the slots in the battery compartment. Push the battery in until it clicks into place.
Starting and Stopping
To start, press the lock-off lever and squeeze the trigger simultaneously. To stop, release the trigger.
Cutting Tips
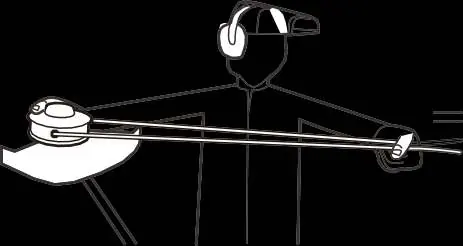
Tilt the machine toward the area to be cut. Use the tip of the cutting line for grass. Move the machine from right to left to avoid debris hitting the operator. Cut tall grass from top to bottom.
Maintenance
Cleaning
Clean the machine after each use with a damp cloth and neutral detergent. Keep ventilation openings free of debris to prevent motor overheating.
Spool Replacement
Press the tabs on the sides of the trimmer head to remove the spool cap. Remove old line, clean the area, and replace the spool if worn. Install the new spool, ensuring the line is in the slot and pulled out approximately 15 cm.
Troubleshooting
If the machine does not start, check the battery connection and charge level. If the machine stops during use, check for debris in the trimmer head or motor. If the line does not feed, ensure there is enough line on the spool and that it is not tangled.
Manufacturer information
Greenworks
Practical help
Common problems
Machine does not start
Check battery connection, charge the battery, and ensure the lock-off lever and trigger are pressed simultaneously.
Machine stops during cutting
Check for debris in the trimmer head, remove the battery, and clear the obstruction.
Line does not feed
Lubricate with silicone spray, add more line, or untangle the line on the spool.
Line breaks frequently
Cut only with the tip of the line, avoid hard objects like stones or walls, and advance the line regularly.
Before use
- Check the battery pack for signs of damage.
- Inspect all guards and safety devices.
- Ensure all bolts, nuts, and screws are tight.
- Wear appropriate eye and ear protection.
- Clear the work area of bystanders and pets.
Show more Show less
Specs in practice
- Cutting Width
- Adjustable between 330 mm and 381 mm.
- Line Diameter
- 2 mm nylon line.
Images and diagrams
- The parts diagram identifies the handle, trigger, shaft, and trimmer head.
- Assembly diagrams show the step-by-step installation of the guard, shaft, and auxiliary handle.
- Spool replacement diagrams illustrate how to remove the cap and wind the new line.
Model compatibility
- Compatible with Greenworks 40V battery series (e.g., 2958507, 2958607, 2927207).
- Compatible with Greenworks 40V chargers (e.g., 2946507, 2945107, 2938807).

Manual page author
David Miller
Documentation analyst